• HOME
  • ABOUT
  • CONTACT
  • LETTERING SERVICES
    • Lettering Services
    • Latest Lettering Gigs
    • Lettering Portfolio
  • BLOG
    • DIY
    • food & drink
    • home decor
    • lettering
    • life & love
  • FREEBIES
  • CART

Lovely Olive Living

Graphic & Hand Lettering Designer

DIY Choker Necklace – All For Under $10

February 22, 2017 DIY, life & love

Have you ever spent a stupid amount of time looking for an accessory to match your perfectly styled outfit, but find little when you shop in your local mall or even online? Are you ever on the hunt for a specific color and come up empty?  Well today, I’ll be showing you how to make your very own DIY choker necklace using any color ribbon and any bejeweled accessory – all for under $10. The beauty of DIYing this v.s. buying it in the store, is that you can search for exactly what colors and style you want and still spend less than what you would in the store. Let’s do this.

Supplies

Ribbon (any color you want and any size. I chose this navy blue velvet ribbon. Trendy and matches my outfit!) – $1.00

Bejeweled headband from Forever 21 (or any old jewelry you have laying around) –  $3.90

Hot Glue Gun (had it)

Velcro – $2.00-3.00 (depending on where you shop)

Total = Roughly $7.00

DIY Supplies

Step one:

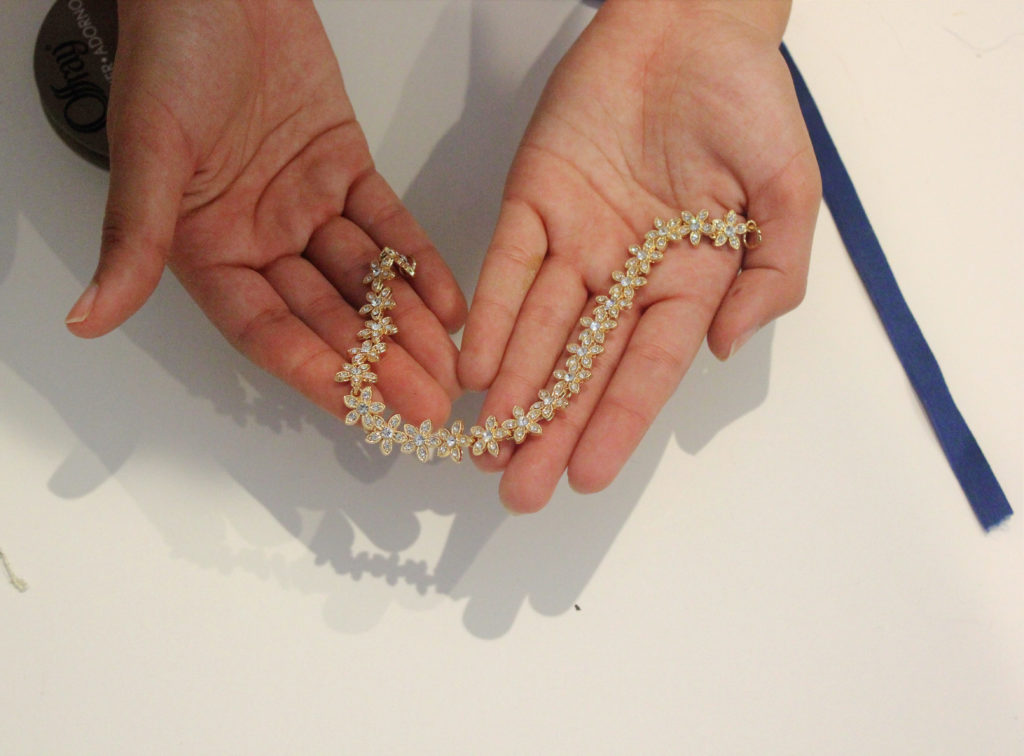
Remove the elastic band from your headband, leaving the loops behind. If you’re using old jewelry this will work about the same way.
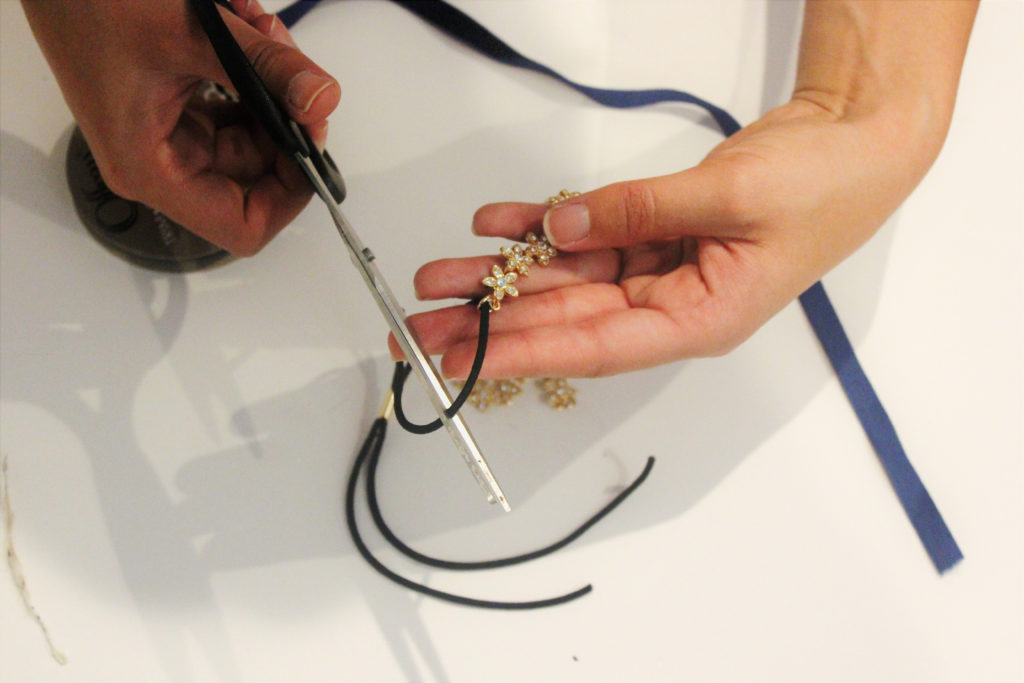
DIY Necklace

DIY supplies

Step two:

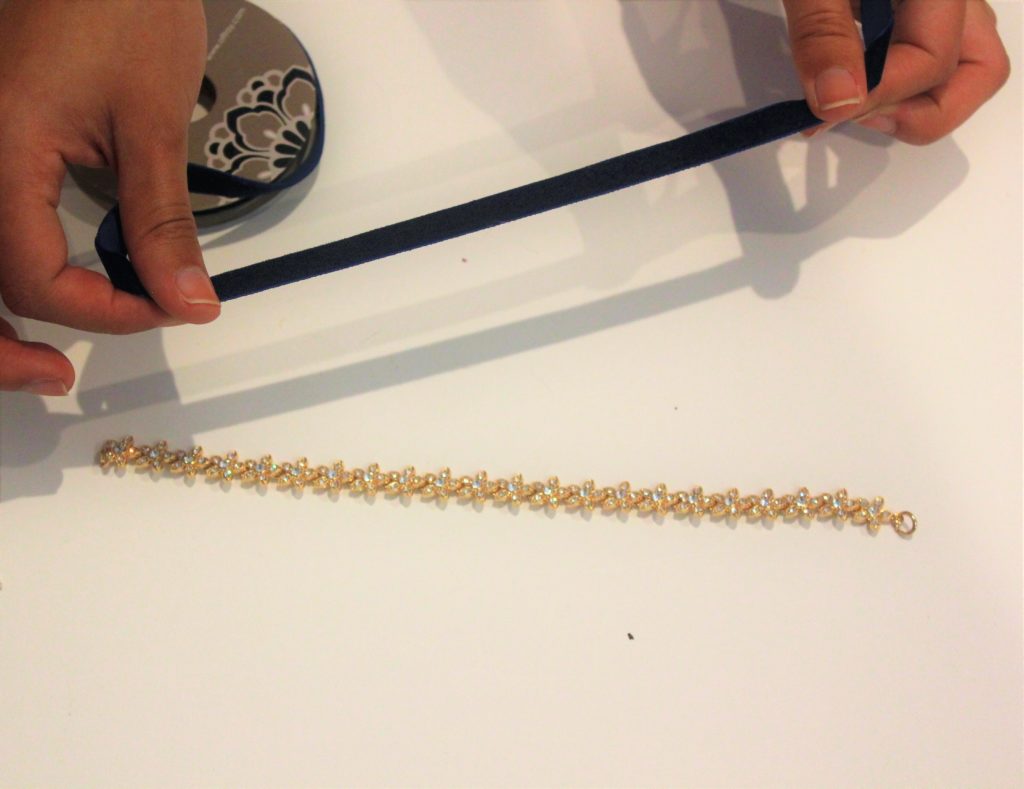
Measure out a piece of ribbon that will fit around your neck and cut, leaving about 1-2 inches on either side for error. Then, line up your jeweled parts with your ribbon to center it.
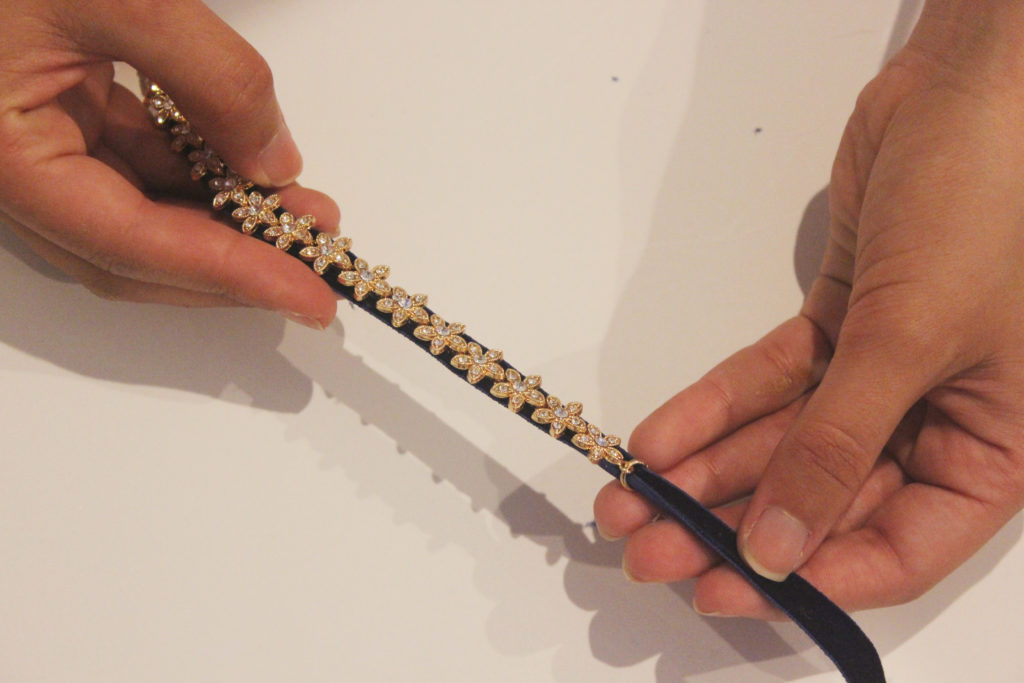
DIY

DIY Necklace

Step three:

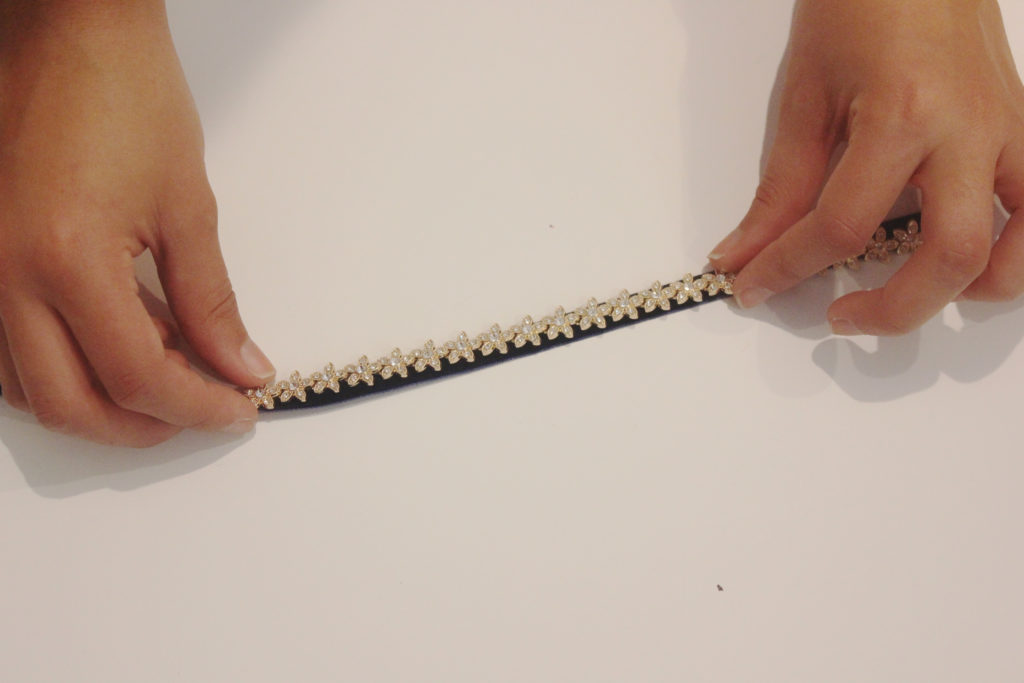
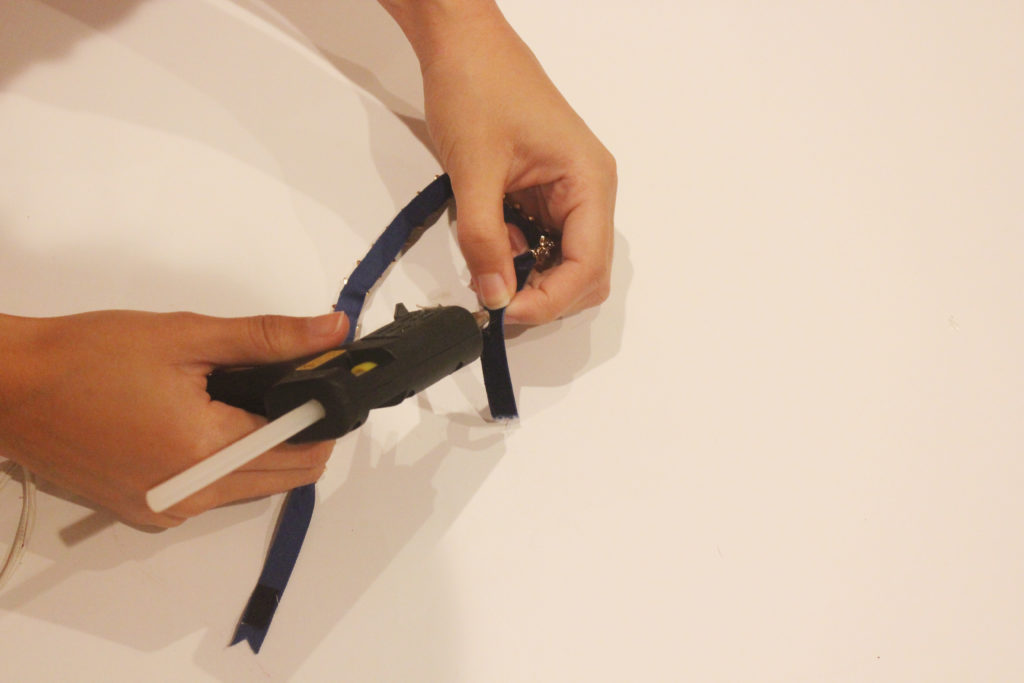
Using your hot glue gun, fasten your bejeweled parts to the ribbon. Work quickly or your glue will dry and your materials will not stick properly! I did mine a few centimeters at a time to prevent it from drying too quickly.
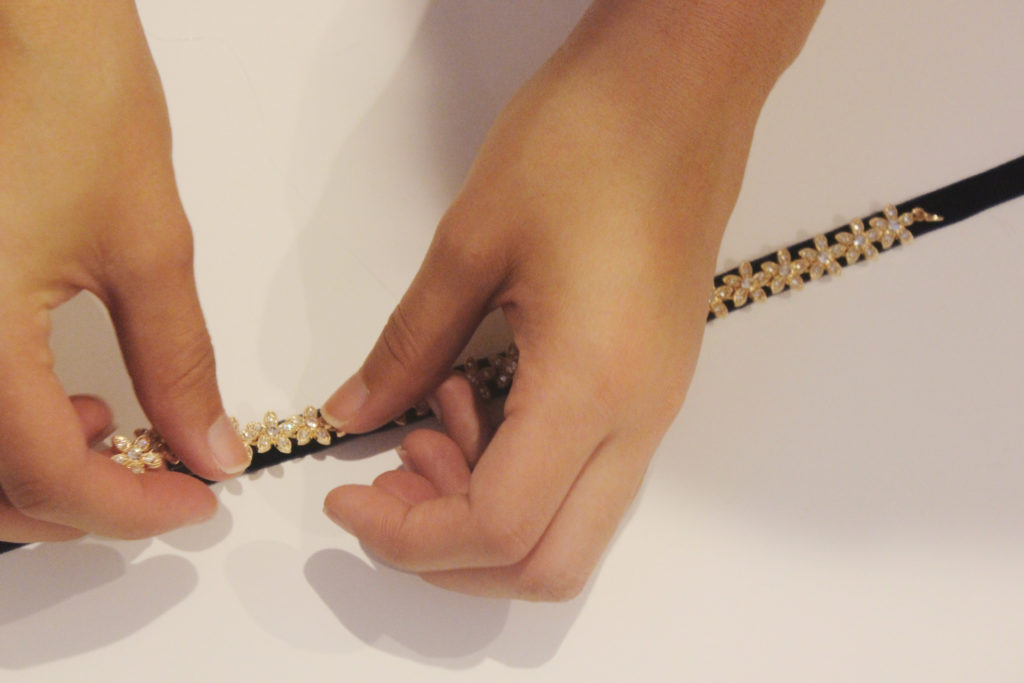
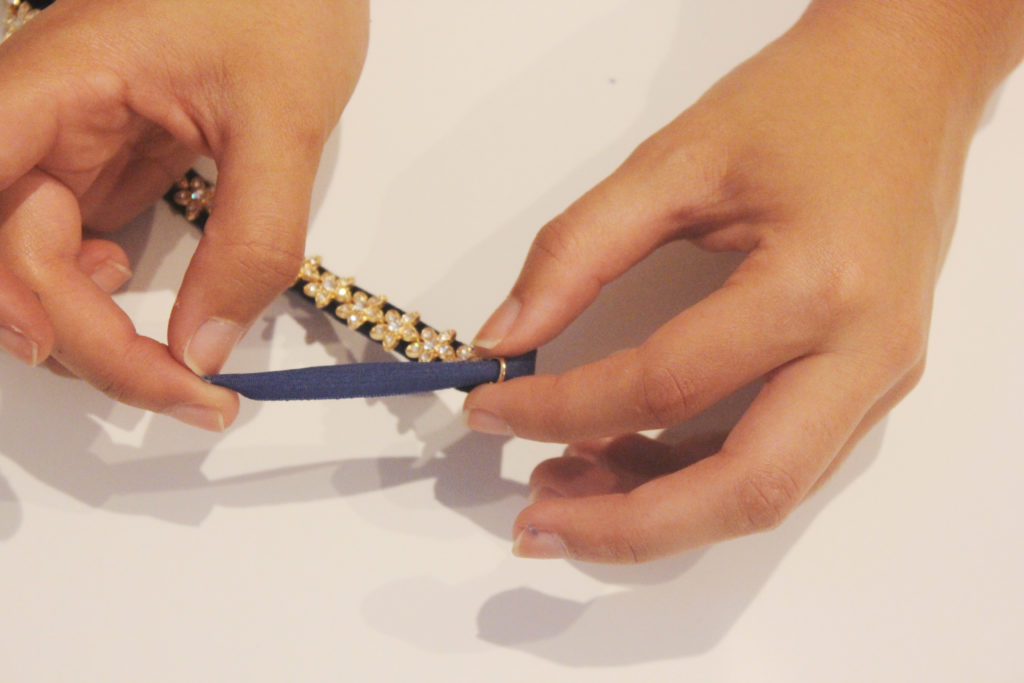
glue gun  diy choker

Step four:

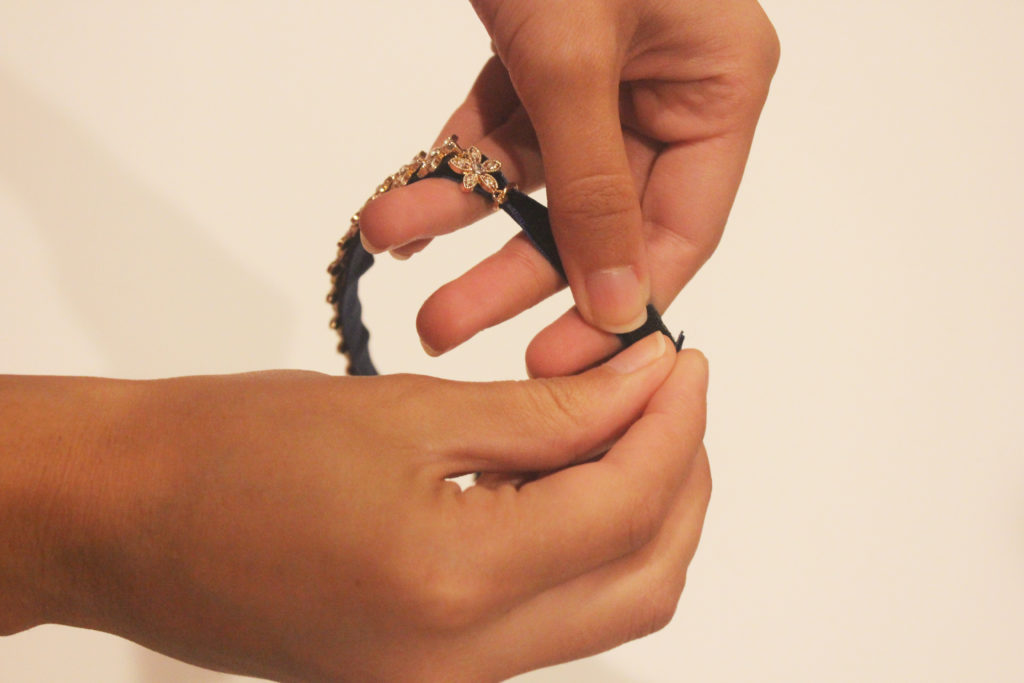
Take each end of your jeweled piece and loop your ribbon through. If you aren’t using one with loops you should be fine without it. This was just for extra security measures!

diy choker

diy choker

Step five:

Now it’s time for your velcro. Using a pair of scissors, cut one small section of velcro (cut your velcro when it’s stuck together to prevent both sides from being different sizes). You should end up with one soft strip and one rough strip to be attached to either end of your choker.
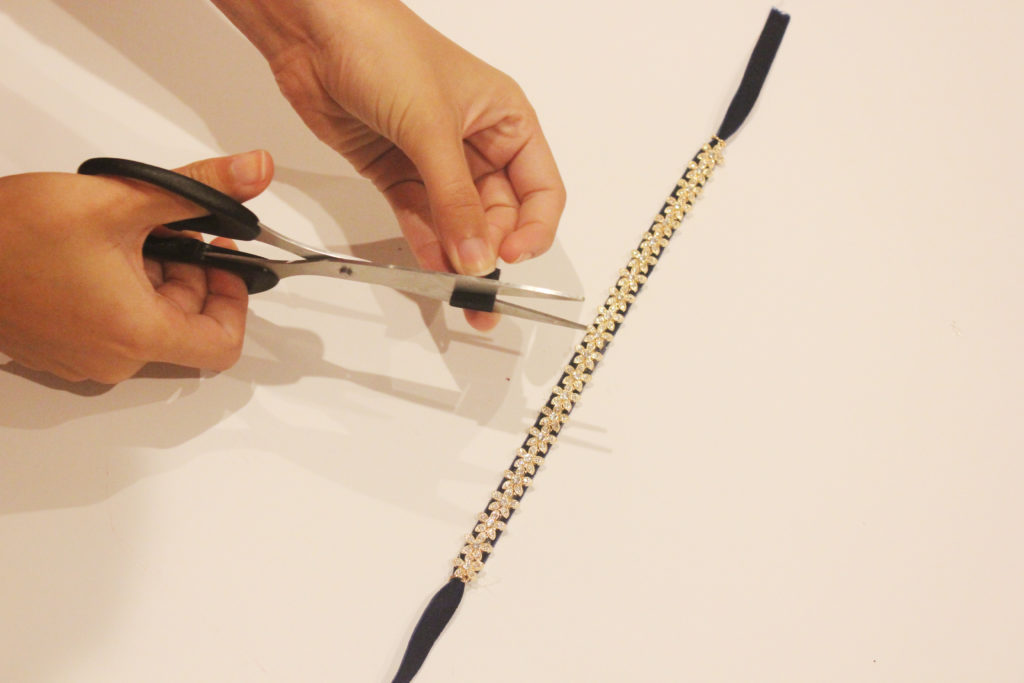
velcro

Step six:

Finally, using your hot glue gun, attach your velcro strips with a small dab of hot glue to the both ends of the ribbon. One strip should be glued to the inside of the ribbon and the other strip to the outside. (This is to make sure that it will lay flat on the back of your neck!)

velcro diy diy choker

The Final Product: Your very own DIY choker necklace!

diy choker

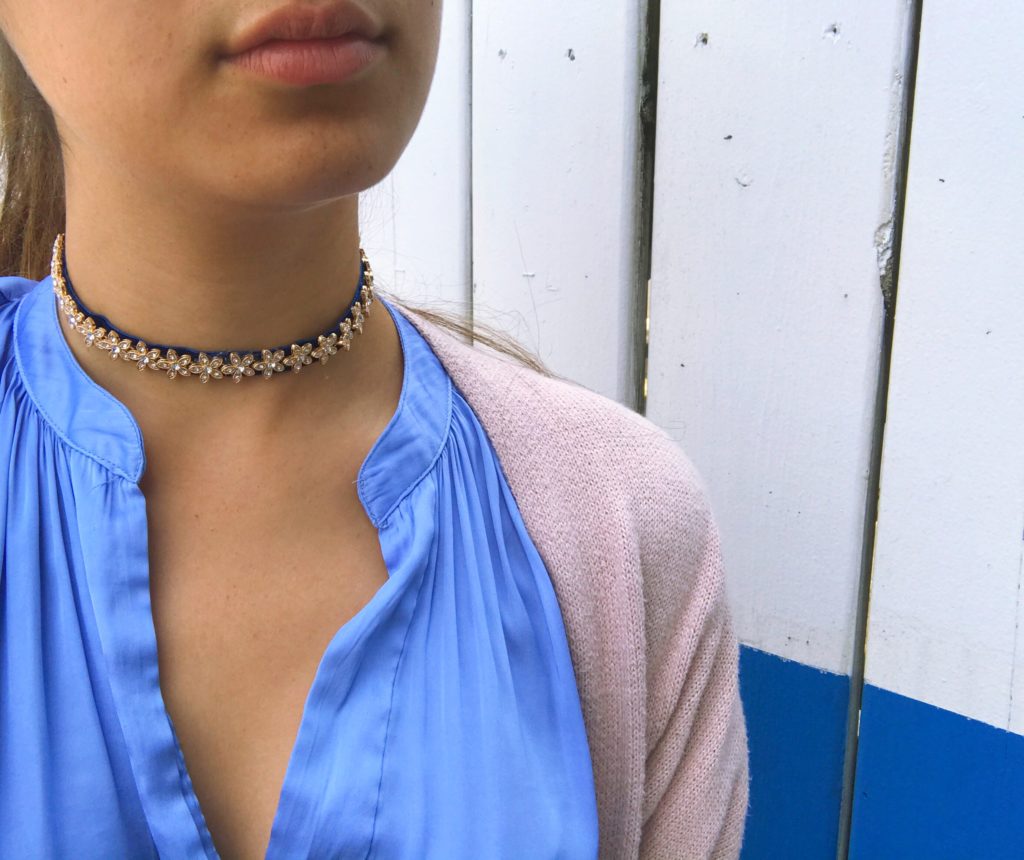
 Enjoy and good luck crafting!

DIY glue gun diy choker diy choker velcro velcro diy diy choker diy chokerSave

Save

Save

Save

« Hand lettered wine bottle – Happy Birthday!
It’s National Craft Month on Lovely Olive Living! »

Leave a Reply Cancel reply

Your email address will not be published. Required fields are marked *

lovelyoliveliving

Lovely Olive Living. Custom commission art and lettering services for bridal, home decor, gifts, graphic design and events. Dm or email me to collab!

Visual recap of my beautiful cousin and momma to b Visual recap of my beautiful cousin and momma to be’s shower. 💙💛✨Bonjour bébé Jonas, we can’t wait to meet you!
It was truly a happy birthday to my favorite Old M It was truly a happy birthday to my favorite Old Macdonald loving two year old! Birthday party queen @beecampp  strikes again! Thanks for bringing me in to help create Cal’s special day!
Looking forward to this Italian countryside weddin Looking forward to this Italian countryside wedding. Childhood bestie invites are some of my favorite projects 🙌🙌🤗🥰😍 @madisenbocenda
When your best friend let’s you pick your color When your best friend let’s you pick your color ☺️☺️ Kimmy, it was an honor to help you build your beautiful day with the man of your dreams ❤️❤️❤️✨✨ I love youuuu!!
When your bride wants faux marble for her dance fl When your bride wants faux marble for her dance floor, you give her this andddd everything else 😂😂🙌✨✨ floor design and menu design by #lovelyoliveliving and brought to life by stellar vendors @alavisheventdesign @thecardcottage
Details by yours truly special for The Hiebras✨✨ #hiebrafoundhisbelle
A whole lot of love for this special lady’s brid A whole lot of love for this special lady’s bridal shower today. @kimvanbelle To my bestie, I can’t wait to watch you walk down the aisle and cries my eyes out. 😅  humble brag: Stationery and signage designed by #lovelyoliveliving. Only the best for this bride ❤️❤️
All the feels for this whimsical bridal shower for All the feels for this whimsical bridal shower for the beautiful @diandra_blanco creatively imagined by the lovely @beecampp  Loved designing these menus and cocktail napkins for this magical day!
So happy to have been able to celebrate my best fr So happy to have been able to celebrate my best friend who will soon be a Mrs.!! Holy cow the time has flown by and I am truly so thrilled and elated that you and @justin_021 found each other. There could not have been a more perfect match!! You are a beautiful bride and I can’t wait to cheers to the Hiebra’s!! #hiebrafoundhisbelle #bestfwends4eva
Eventually I’ll write a long blog post showing e Eventually I’ll write a long blog post showing everyone how all of our wedding design details came together, but in the meantime, please enjoy this bar sign as much as I do ✨💁🏻‍♀️🤗🍻

Copyright © 2023 Lovely Olive Living

- THEME BY ECLAIR DESIGNS -

Cleantalk Pixel