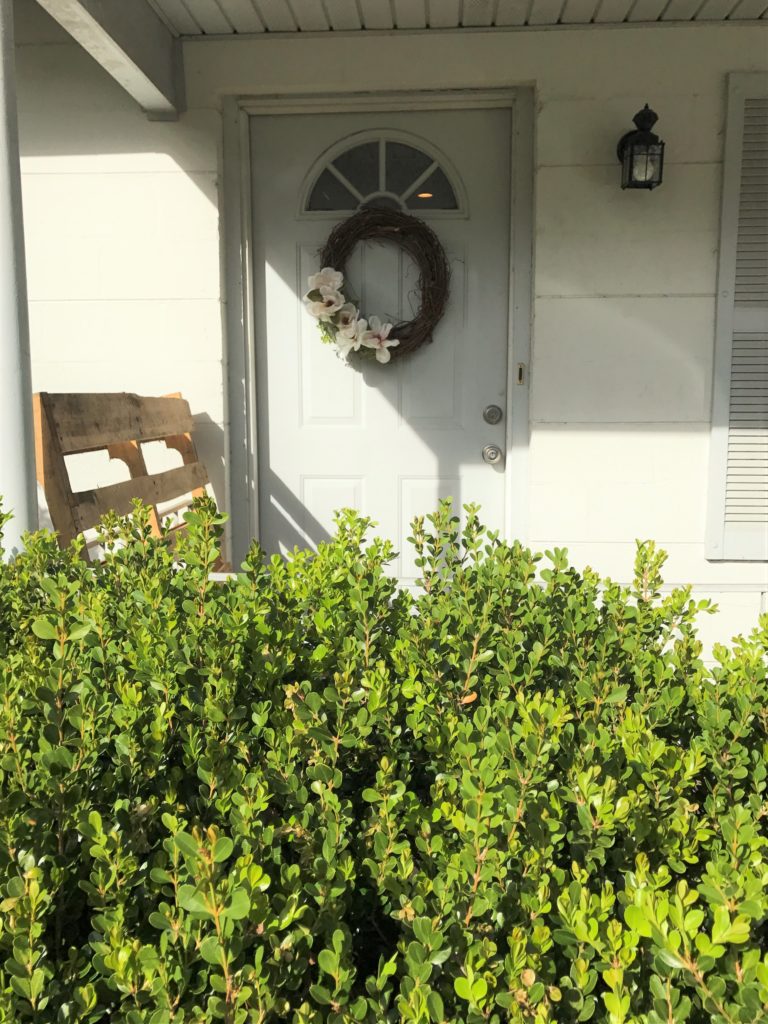
The beauty of living in a house, is that there are so many options for decorating. I love the way houses look when they hang a wreath on the front door, so I decided to add a DIY wreath to my front door that I could keep up all year-round and make small changes for each coming season or holiday.
Adding a wreath can add a touch of TLC and curb appeal to your house, especially when you are in the middle of a home renovation like us (excuse the dust, the house is in need of a pressure-wash lol.)
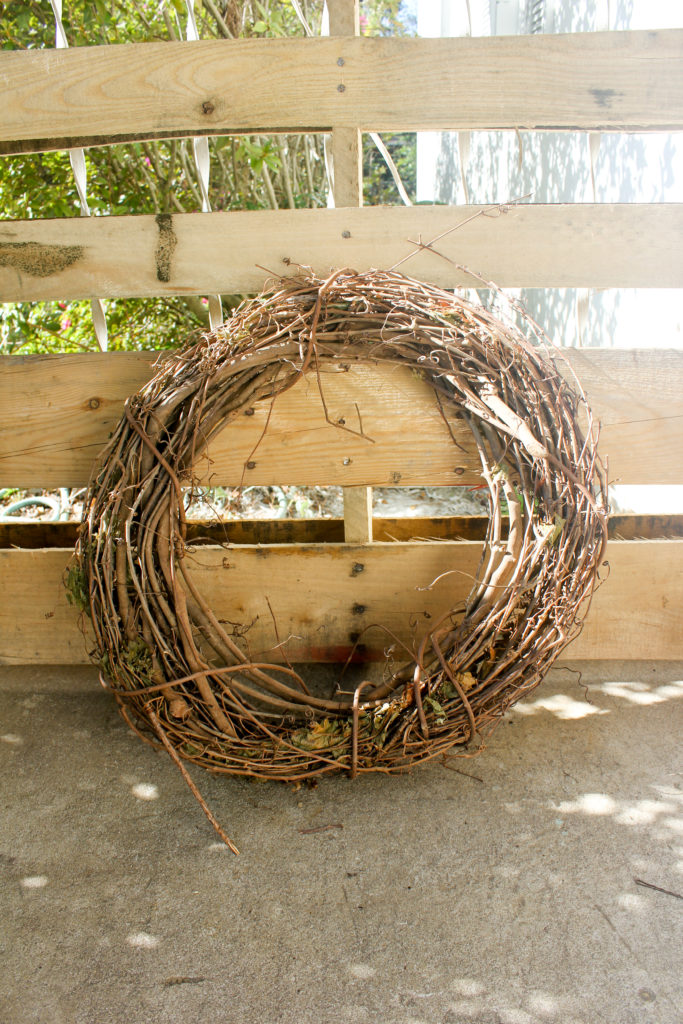
Last time I was shopping, I saw this plain grapevine wreath just waiting to be bought. So what did I do? I bought it, with these two thoughts in mind…
1. This would be such an easy way to make the house look more inviting.
2. Another thing for me to DIY, Yay!
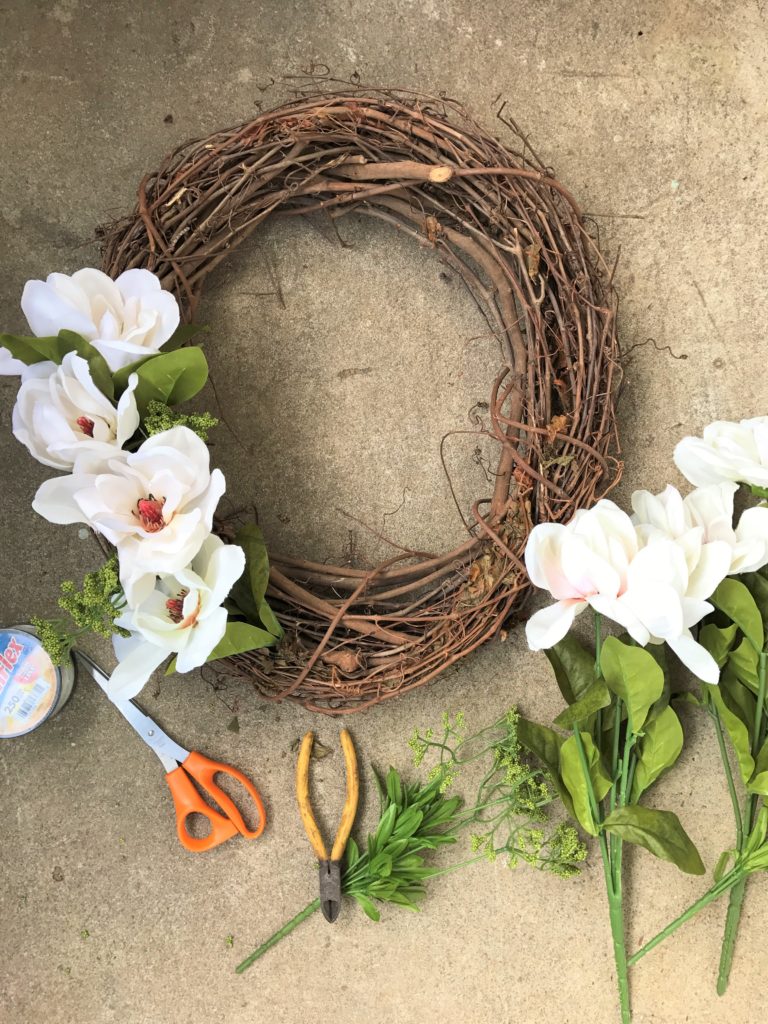
Supplies:
Now, most people think that you have to spend big bucks on materials and supplies to make something beautiful – I am here to tell you this is a myth. As long as you shop smart and keep your eye out for good buys, then you’re golden.
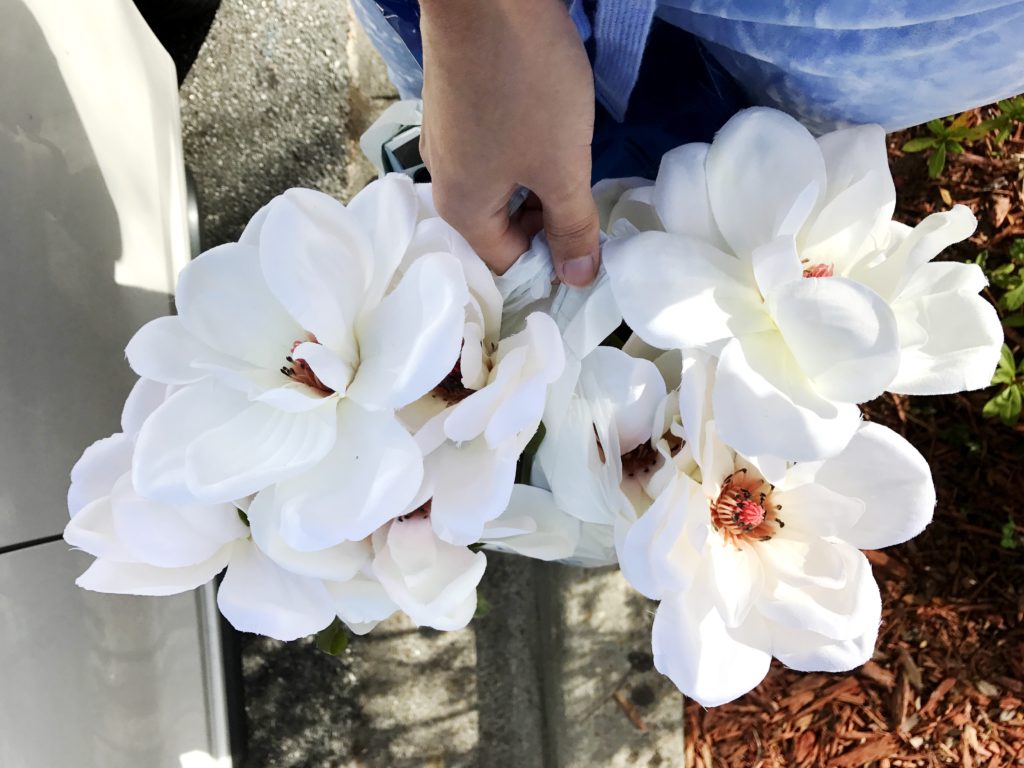
Take these flowers for example, WALMART. Yes, you heard me – Wally-world. Not exactly the most decadent place in the whole world. I got these and the rest of my supplies, aside from the wreath, from Walmart for a whopping $5.71!
*Tip:
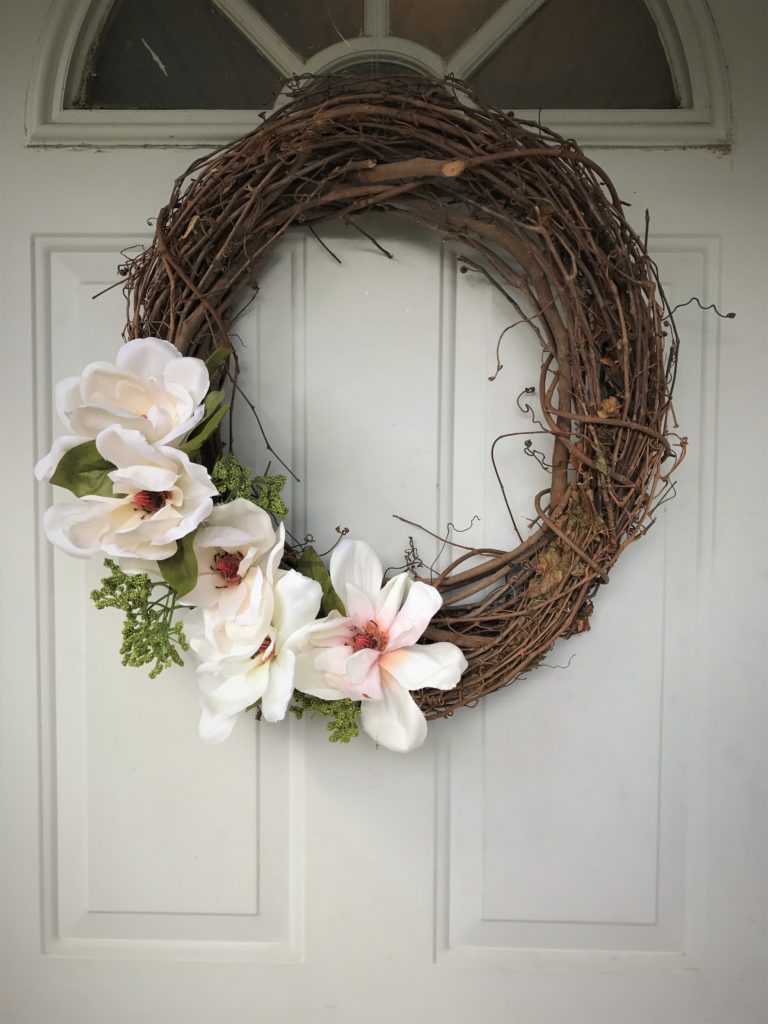
Make sure when you’re buying inexpensive fake flowers, to only select flowers in natural colors and try to stay away from roses or daisies (they can easily look cheap). These faux magnolias were super simple and neutral. The perfect addition to an interchangeable wreath.
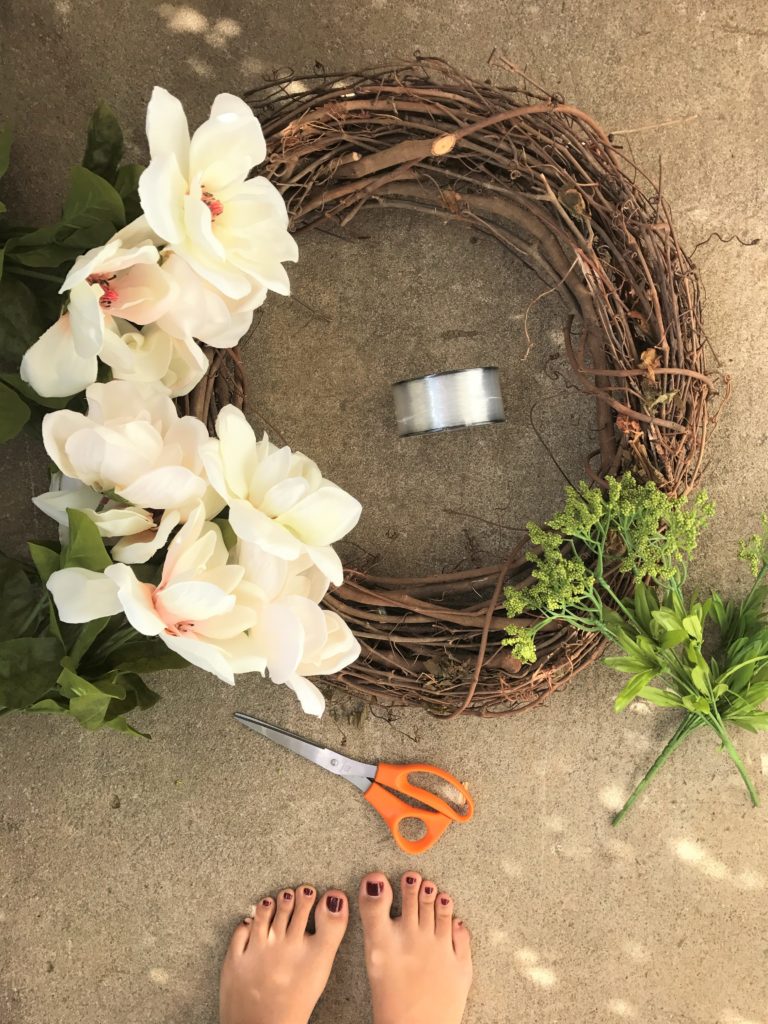
Adding in a texture greenery is also important – this is the best way to make your arrangement look the most natural. I loved these mini berry bushes!

Plan it out:
Now that you’ve found your supplies, you’ll want to lay out your main flowers and plan how you want your arrangement to look. I opted for an arc around the lower left of my wreath.
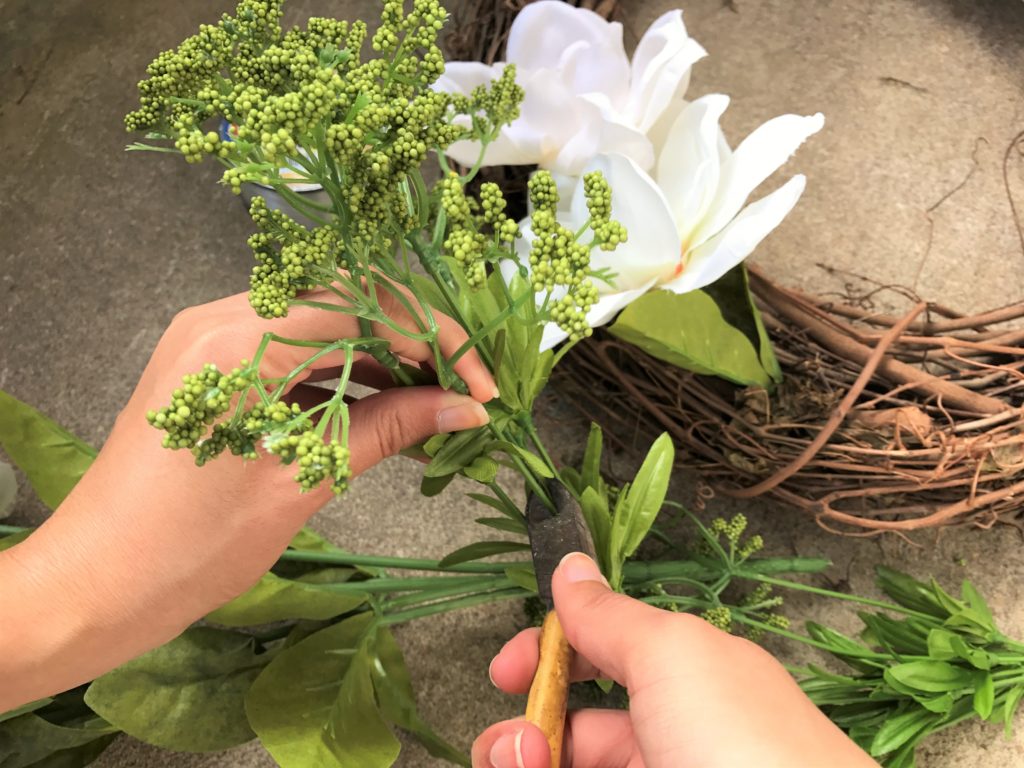
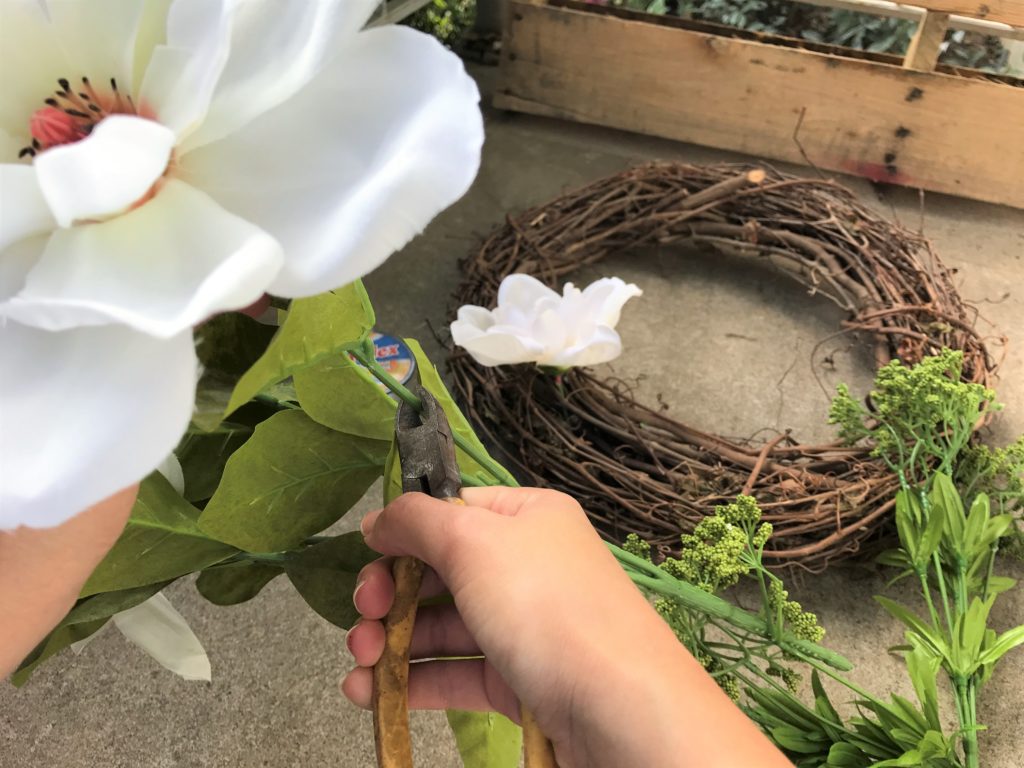
Cut your flowers:
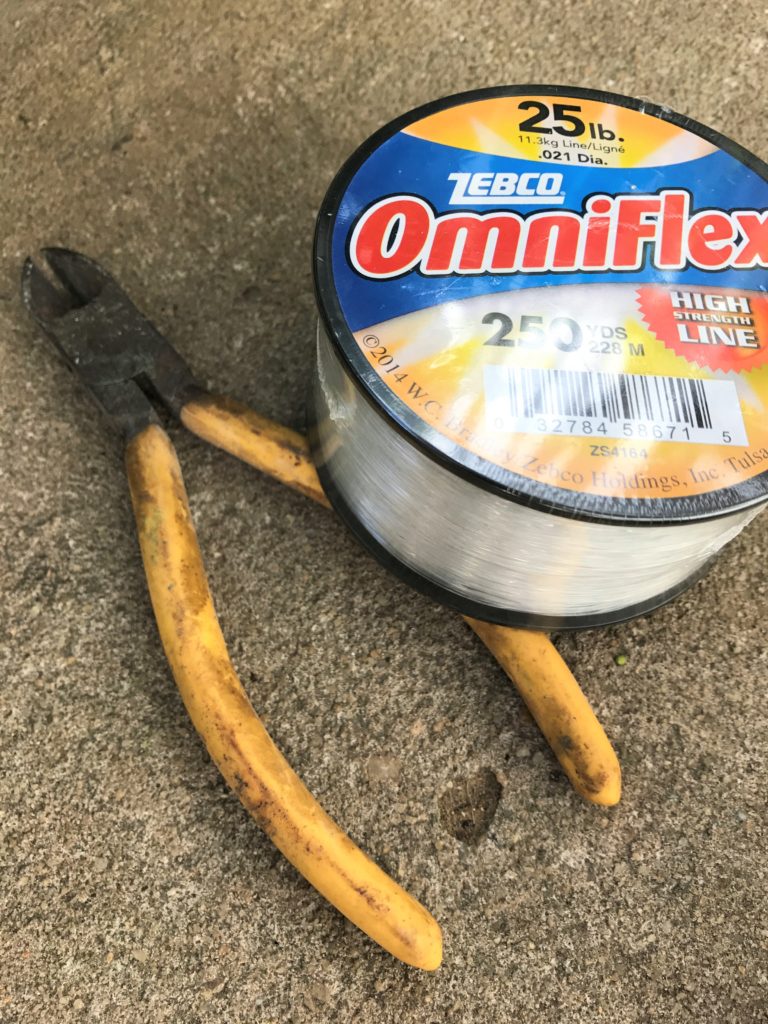
Next, you’ll want to go ahead and use a pair of pliers to cut your flowers/greenery. The pliers can cut through the stems easily and you won’t break your hand and/or your only pair of scissors trying to cut through the wire that gives the stems their shape. (It’s always handy to have a pair of wire cutters or pliers in your crafting tool-belt.)
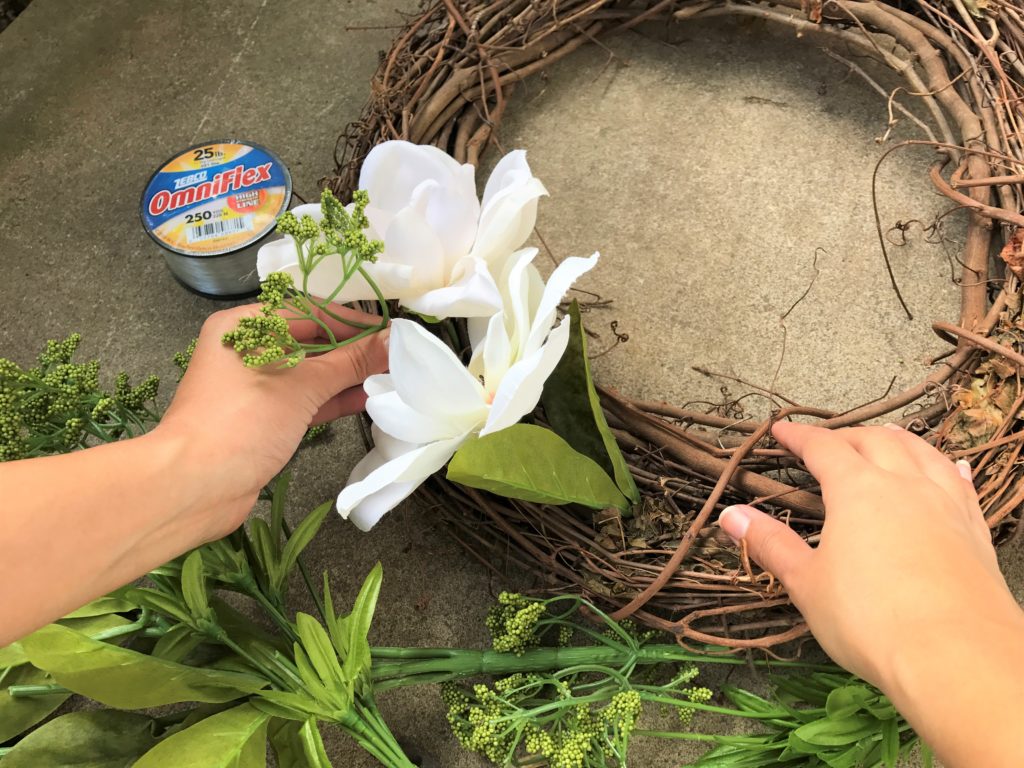
Arrange to your liking:
Arrange your flowers in the area that you previously planned out and then sprinkle in some of the greenery – this is where you’ll have to play around to find out what you like the best! Don’t forget to bend the back of any stems that might poke through the back of your wreath (this will secure them in place).
How to hang:
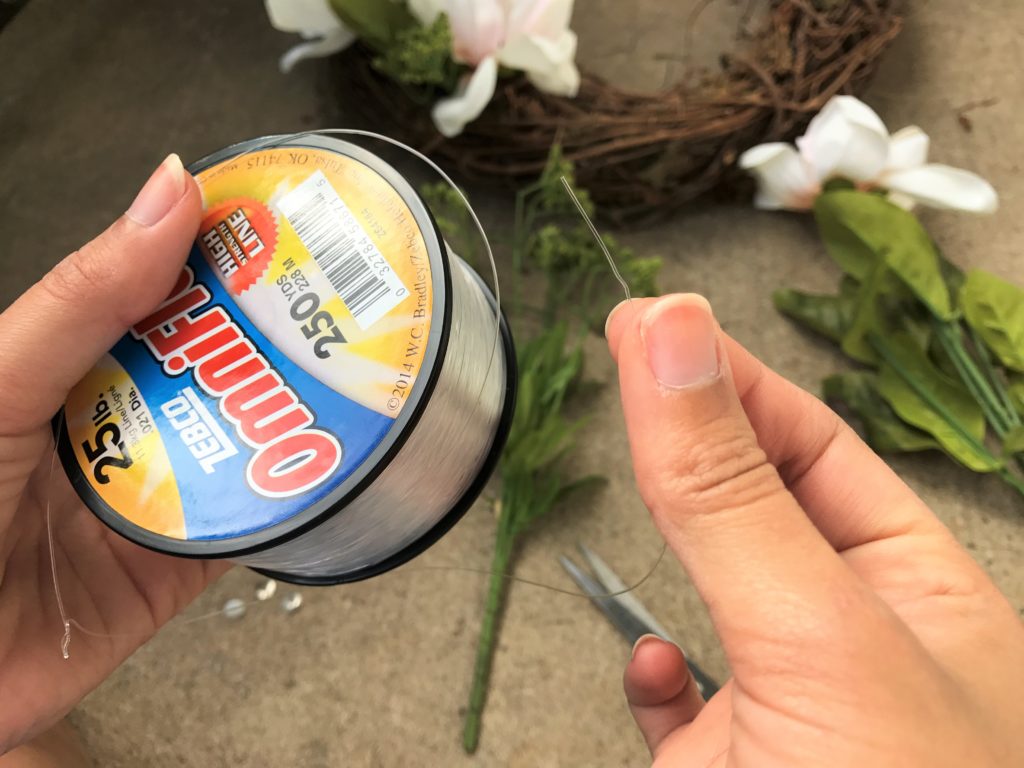
Once you get your wreath looking exactly how you want it, you’ll need those wire cutters and some fishing line (it’s invisible!), about 25lb. strength will do, but if you anticipate hanging something heavier, you can purchase strength 75 lb. and stronger!
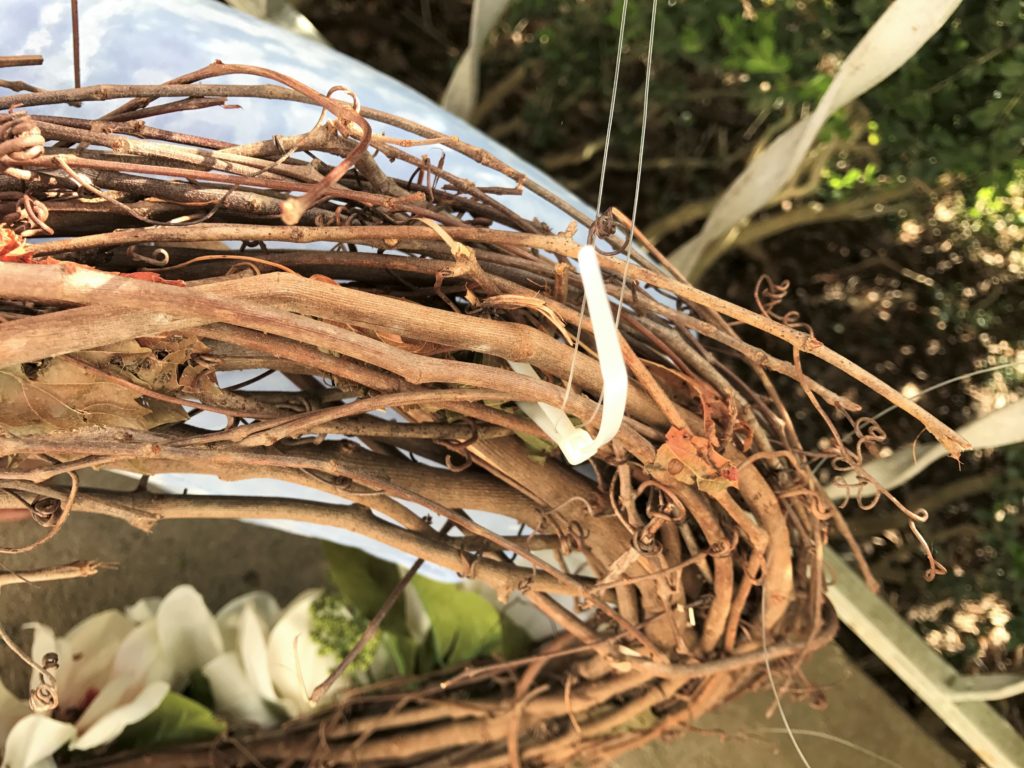
Cut a long piece of fishing line about the span of your arms. Then, loop the line around the hook or in my case tie-wrap, on the back of your wreath. This is how you will hang your wreath, without the hassle of one of those bulky over the door hangers. Peach out door hangers!
*Handy Hanging Trick:
This is where the handy little trick comes in. Now, I can’t take full credit for this since my mom does this every year and passed along this nifty knowledge. (Keep in mind, this will only work if the core of your door is wood)
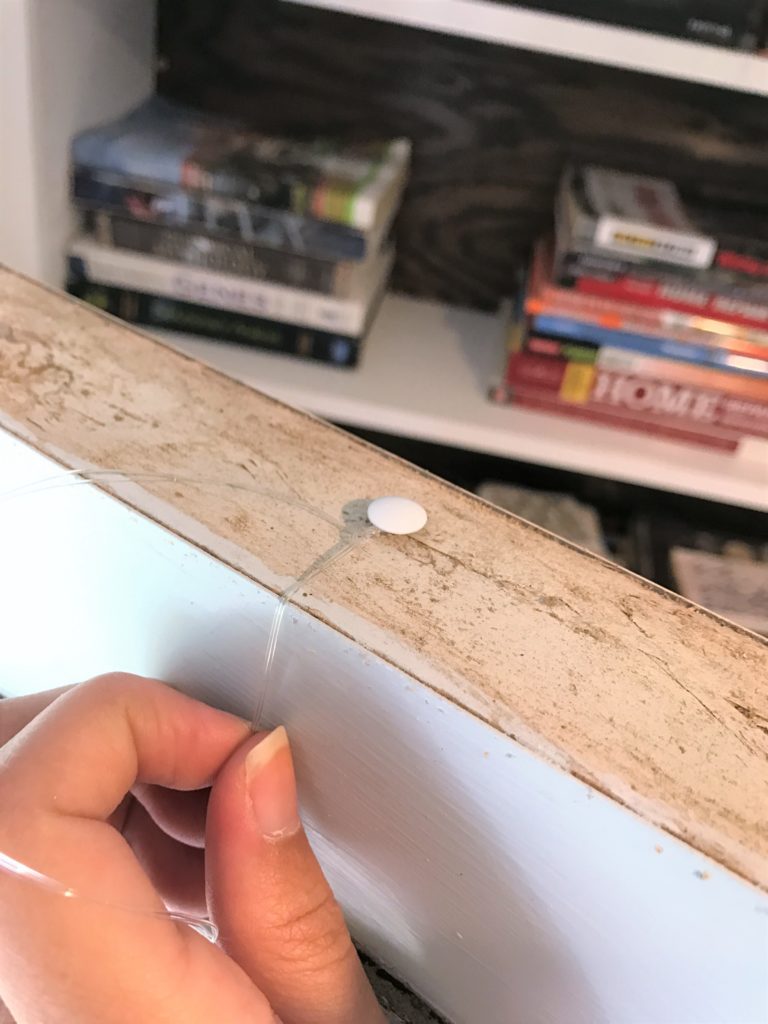
Find the center of the top of your door, and press a flat thumbtack into the wood. Then, loop your fishing line and wreath around the tack – knotting a few times. Press the tack in and secure the line.
And there you have it! A super simple and curb appeal-friendly wreath that can be used and abused all year round. 🙂
If you have any questions feel free to send me a message!


Leave a Reply