• HOME
  • ABOUT
  • CONTACT
  • DESIGN SERVICES
    • Design Services
    • Latest Lettering Gigs
    • Design Portfolio
  • BLOG
    • DIY
    • food & drink
    • home decor
    • Design
    • life & love
  • FREEBIES
  • CART

Lovely Olive Living

Graphic Designer & Artist

Off The Bluff Farms Sign | Stained Wood Tutorial

March 28, 2017 DIY, lettering

So happy to share this project because it was for my lovely boyfriend Jonathan’s (you know him as Chef Jonathan) urban farm – Off The Bluff Farms!

He’s always had a passion for growing things and the environment and I’m so excited that he’s finally taking the delicious food that I eat on daily basis, to our local Tallahassee farmer’s market. That being said, what kind of creative girlfriend would I be if I didn’t make a him a LEGIT sign for his booth.

Now, if you’re looking to put together a sign for something – whether inside your house or for a business, like this one, a wood sign is really a great way to go. It has a rustic feel, and stands up great to the elements if you’re going to be outside for any reason. One of my favorite ways to complement a nice piece of wood, is to stain it first, so I felt that it would be nice informative DIY to show you how you can create your own sign and stain it yourself!
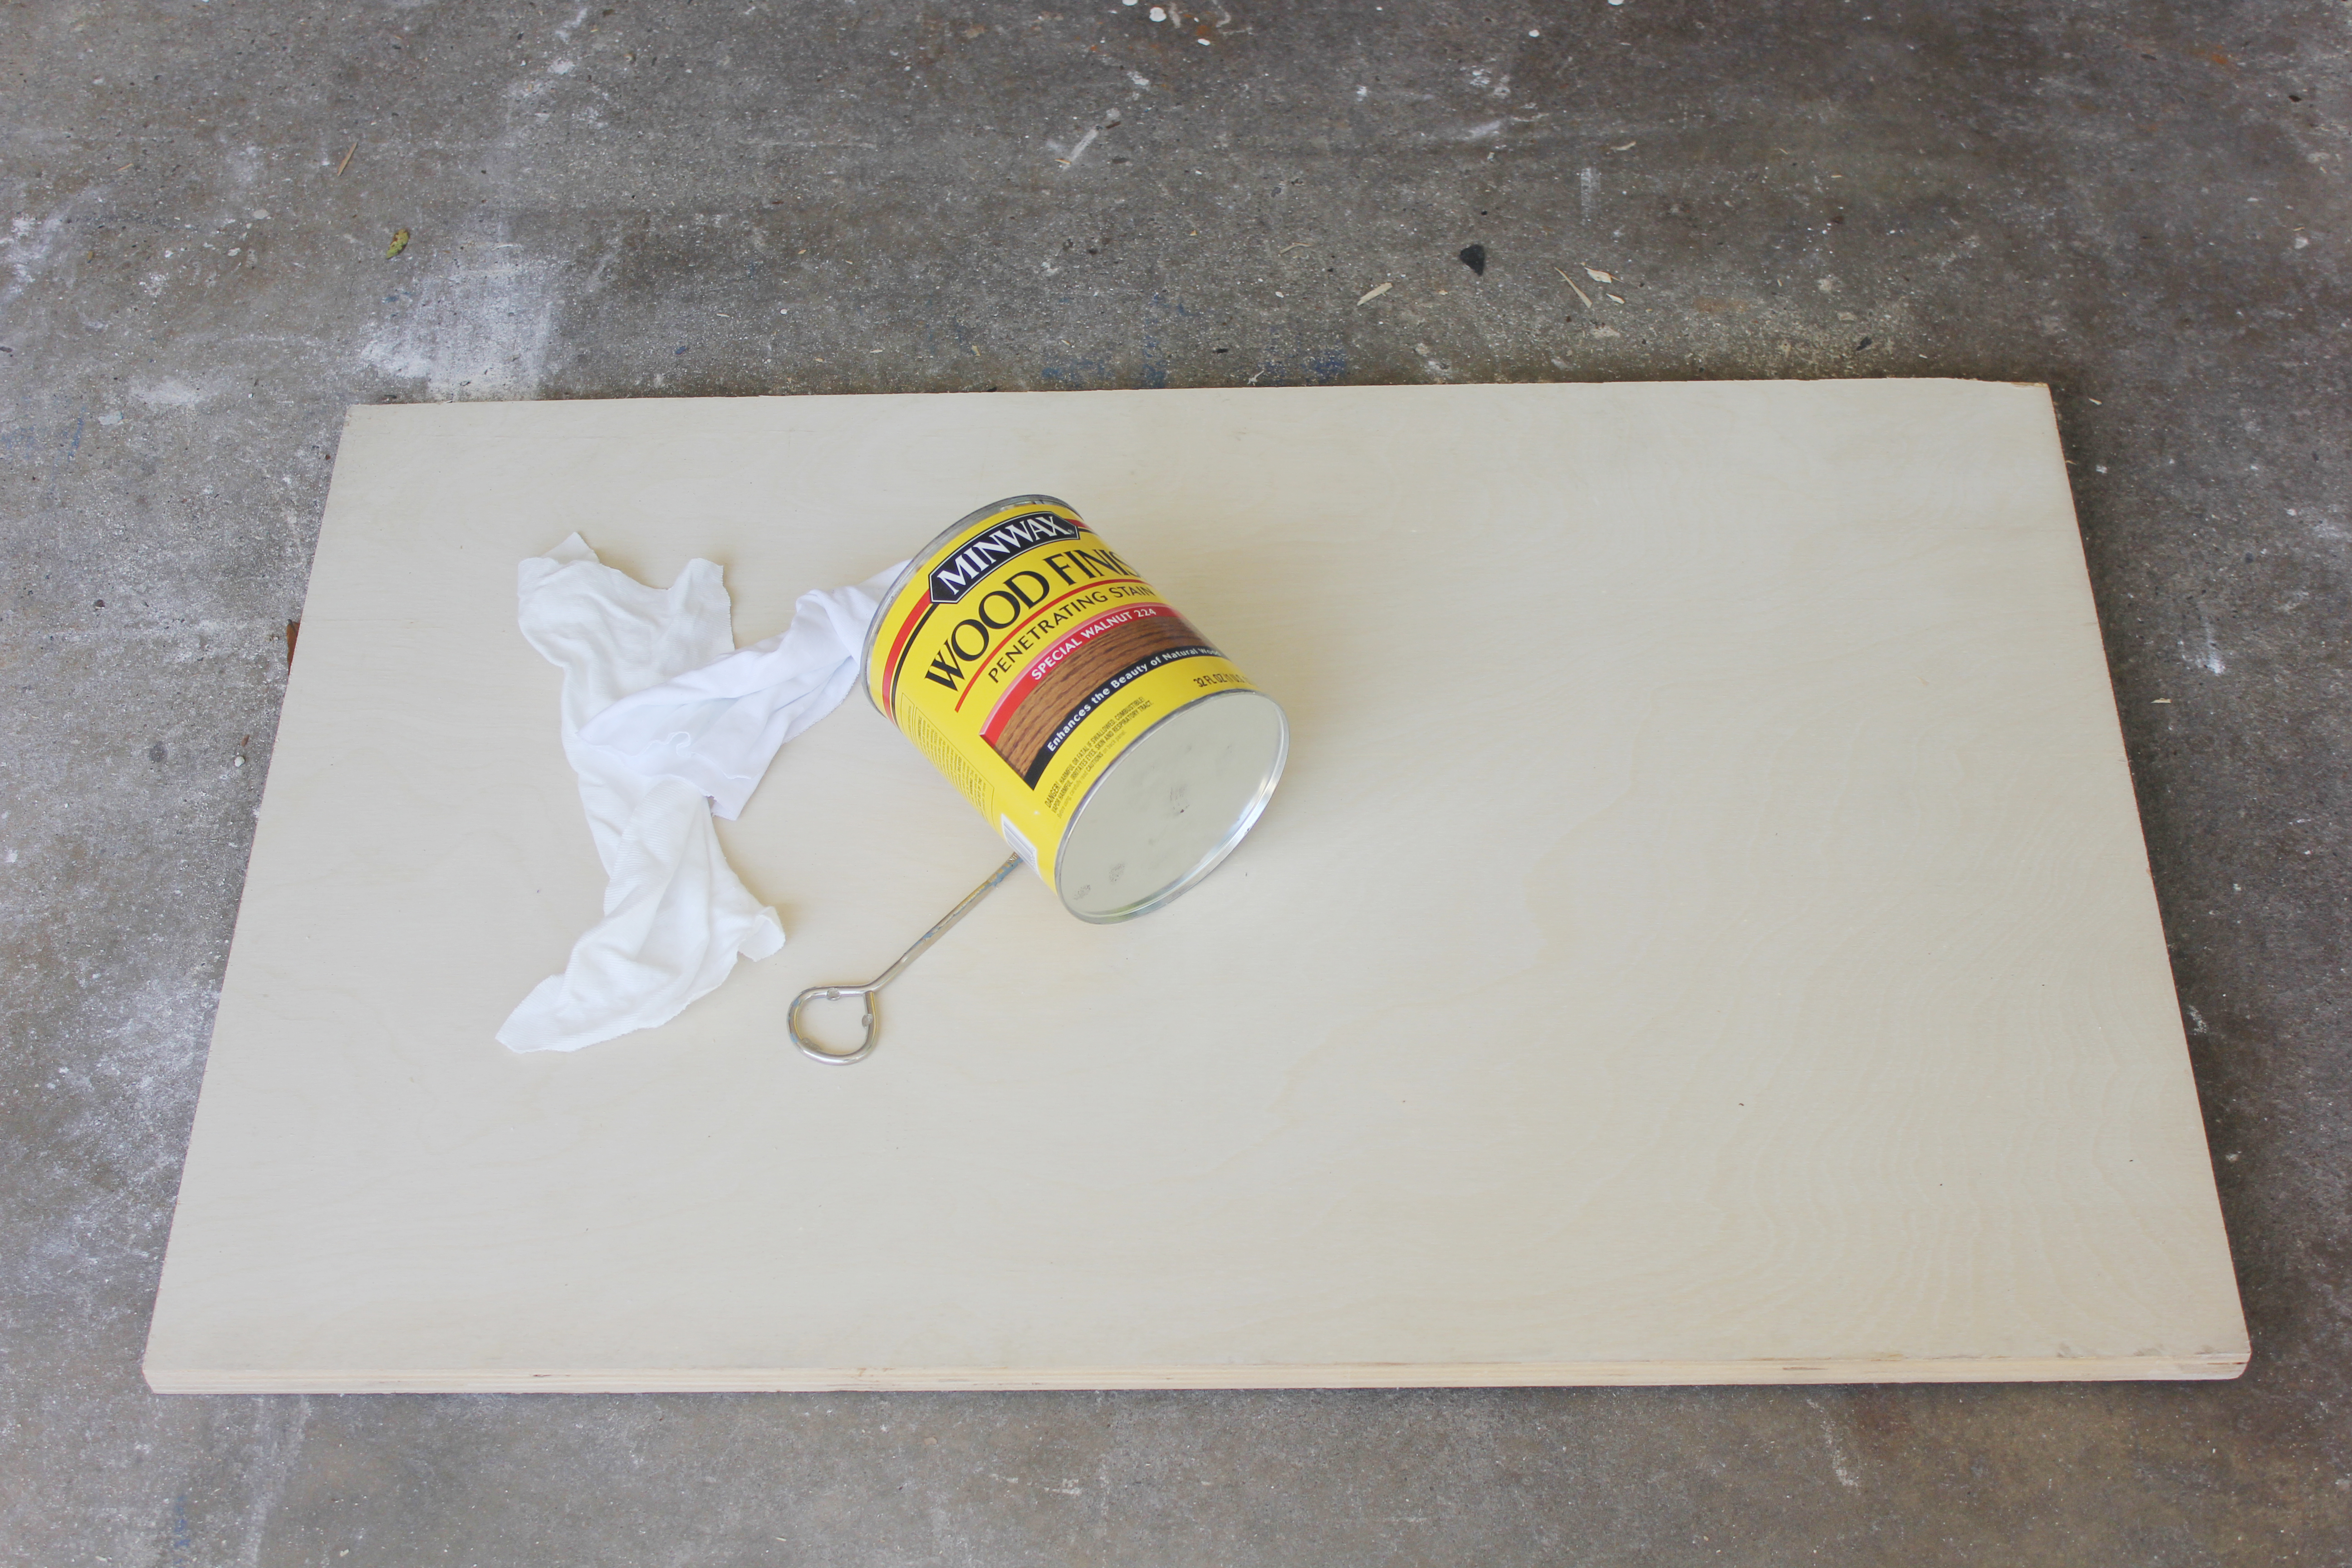
 

Supplies

Wood – Really depends on the size of the piece

Paint Key – $.99

Minwax Stain in Special Walnut – $7.00/1 qt. But you could definitely get away with a smaller container

I created this sign using a piece of wood left over from our built-in bookshelves and stained it using Minwax stain in Special Walnut.

supplies


Prepare your stain

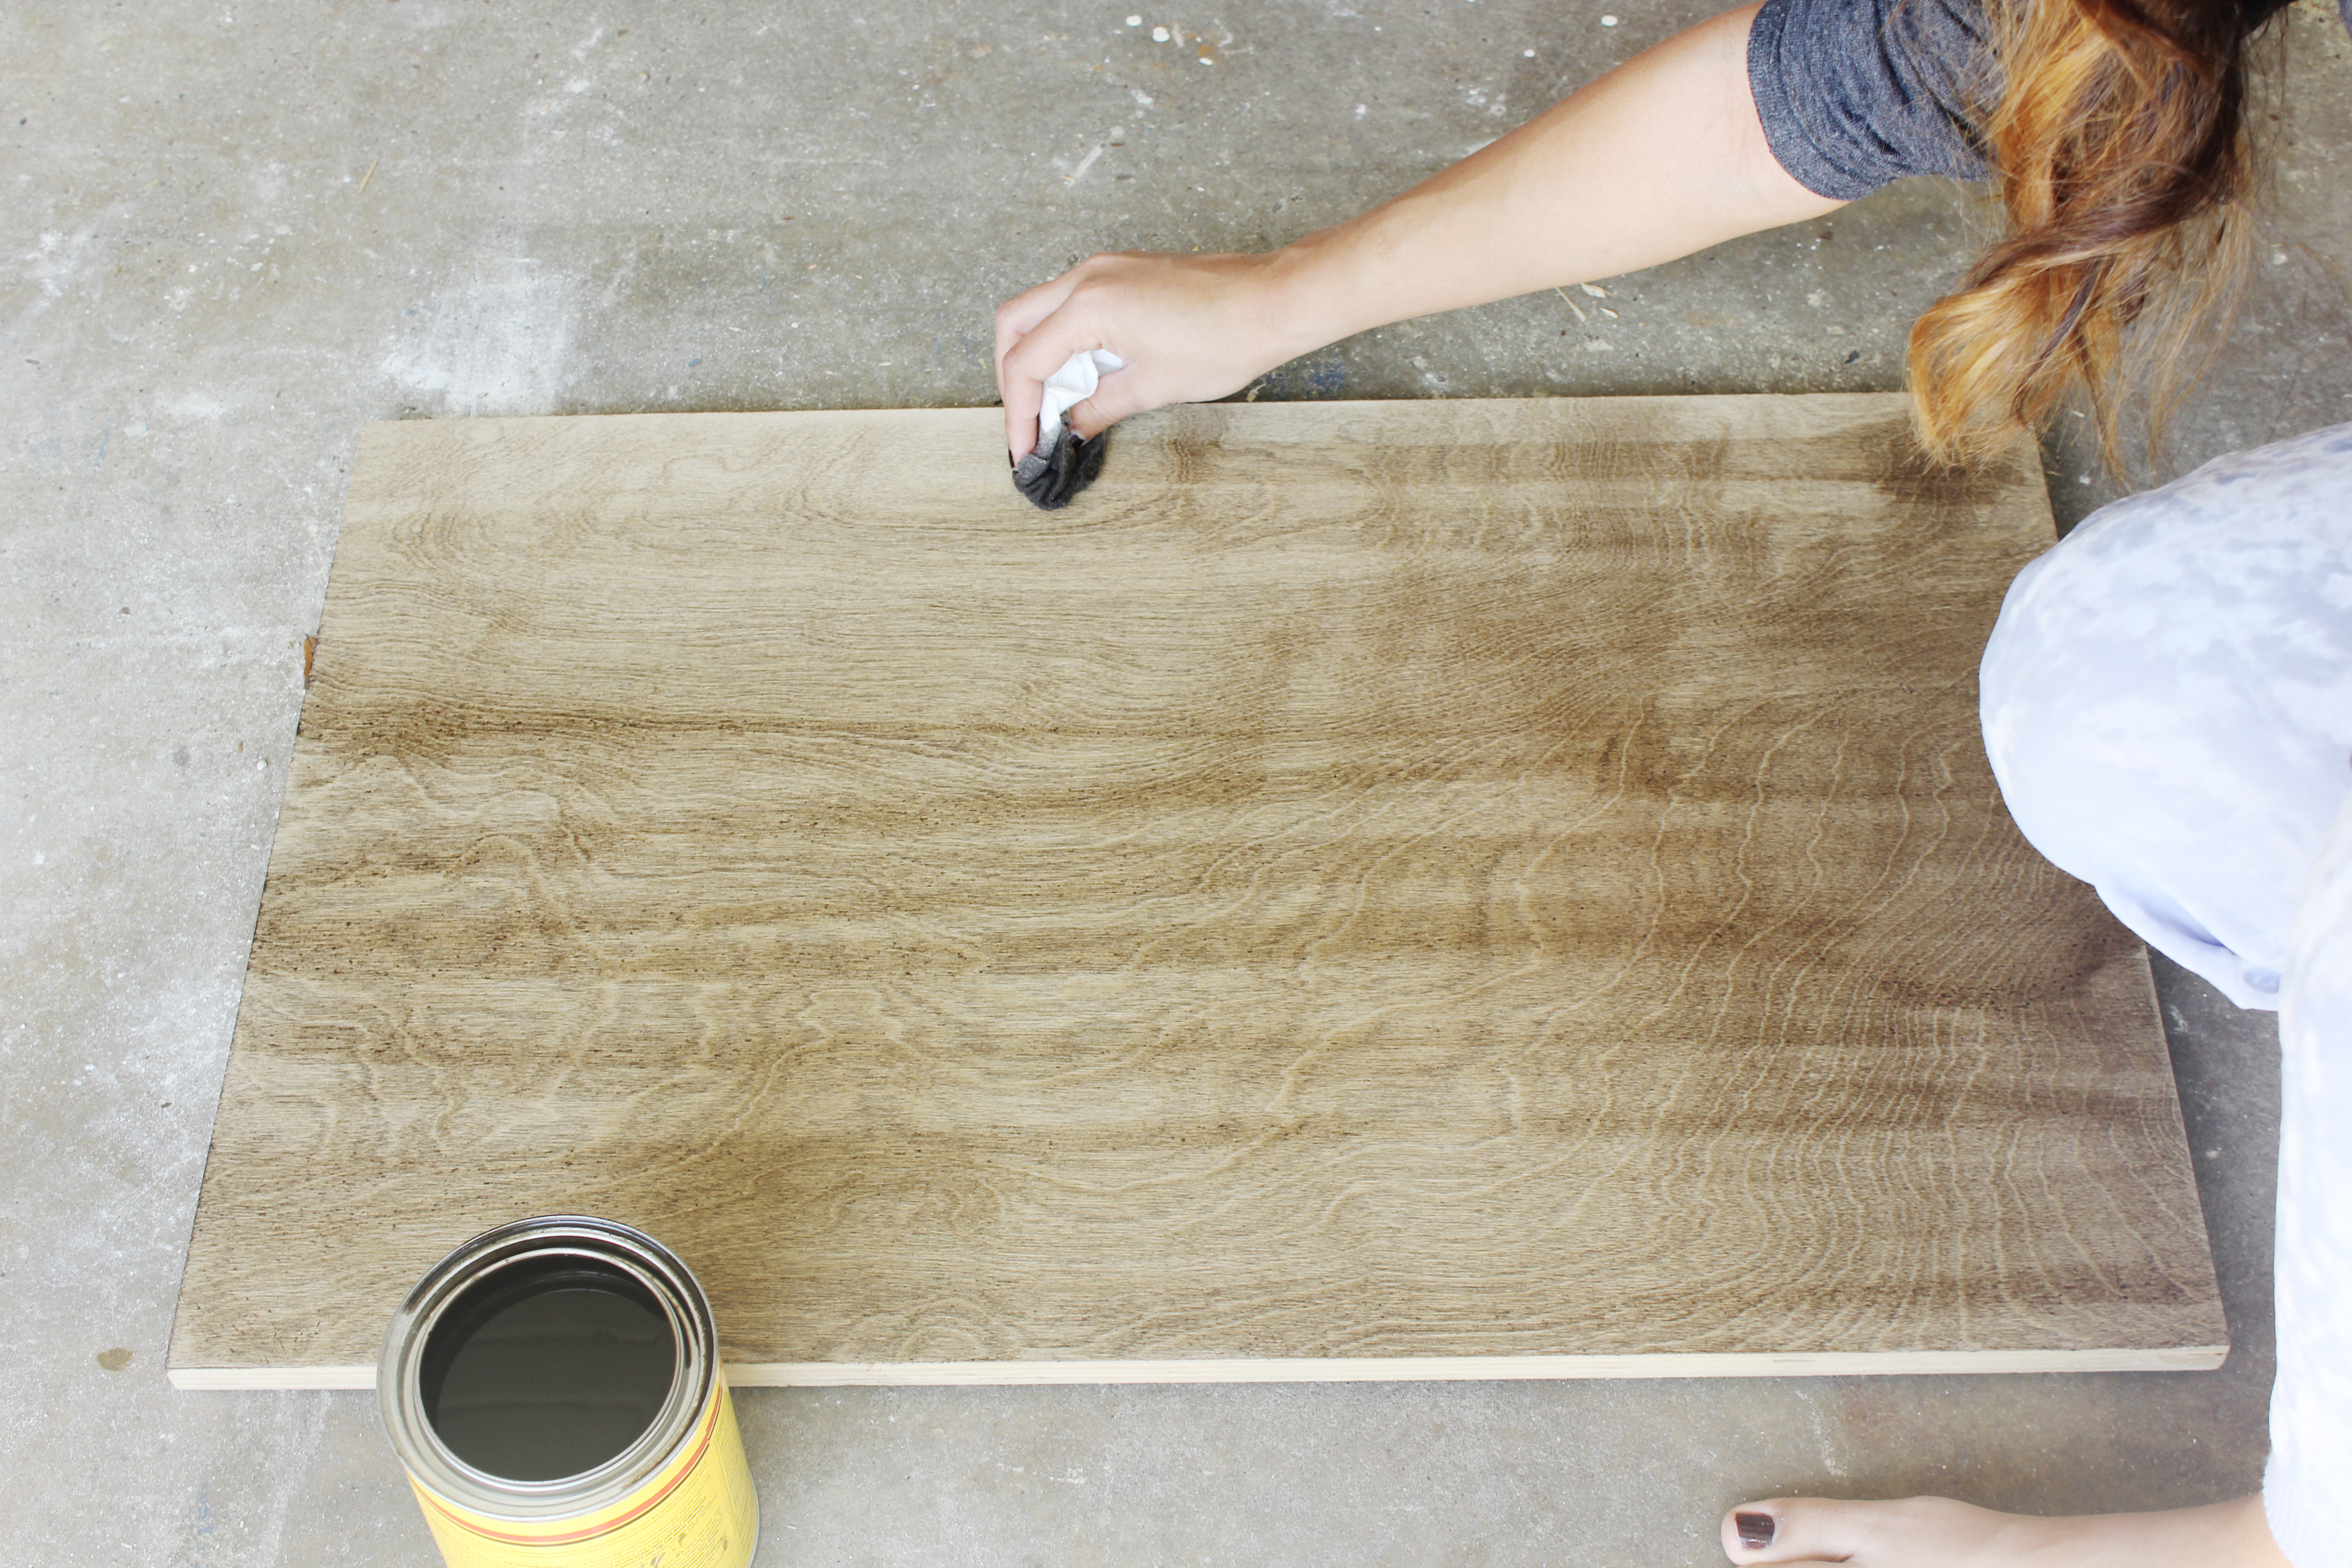
Make sure to shake thoroughly before opening your stain, as the pigment will settle to the bottom. Then, use a paint key or
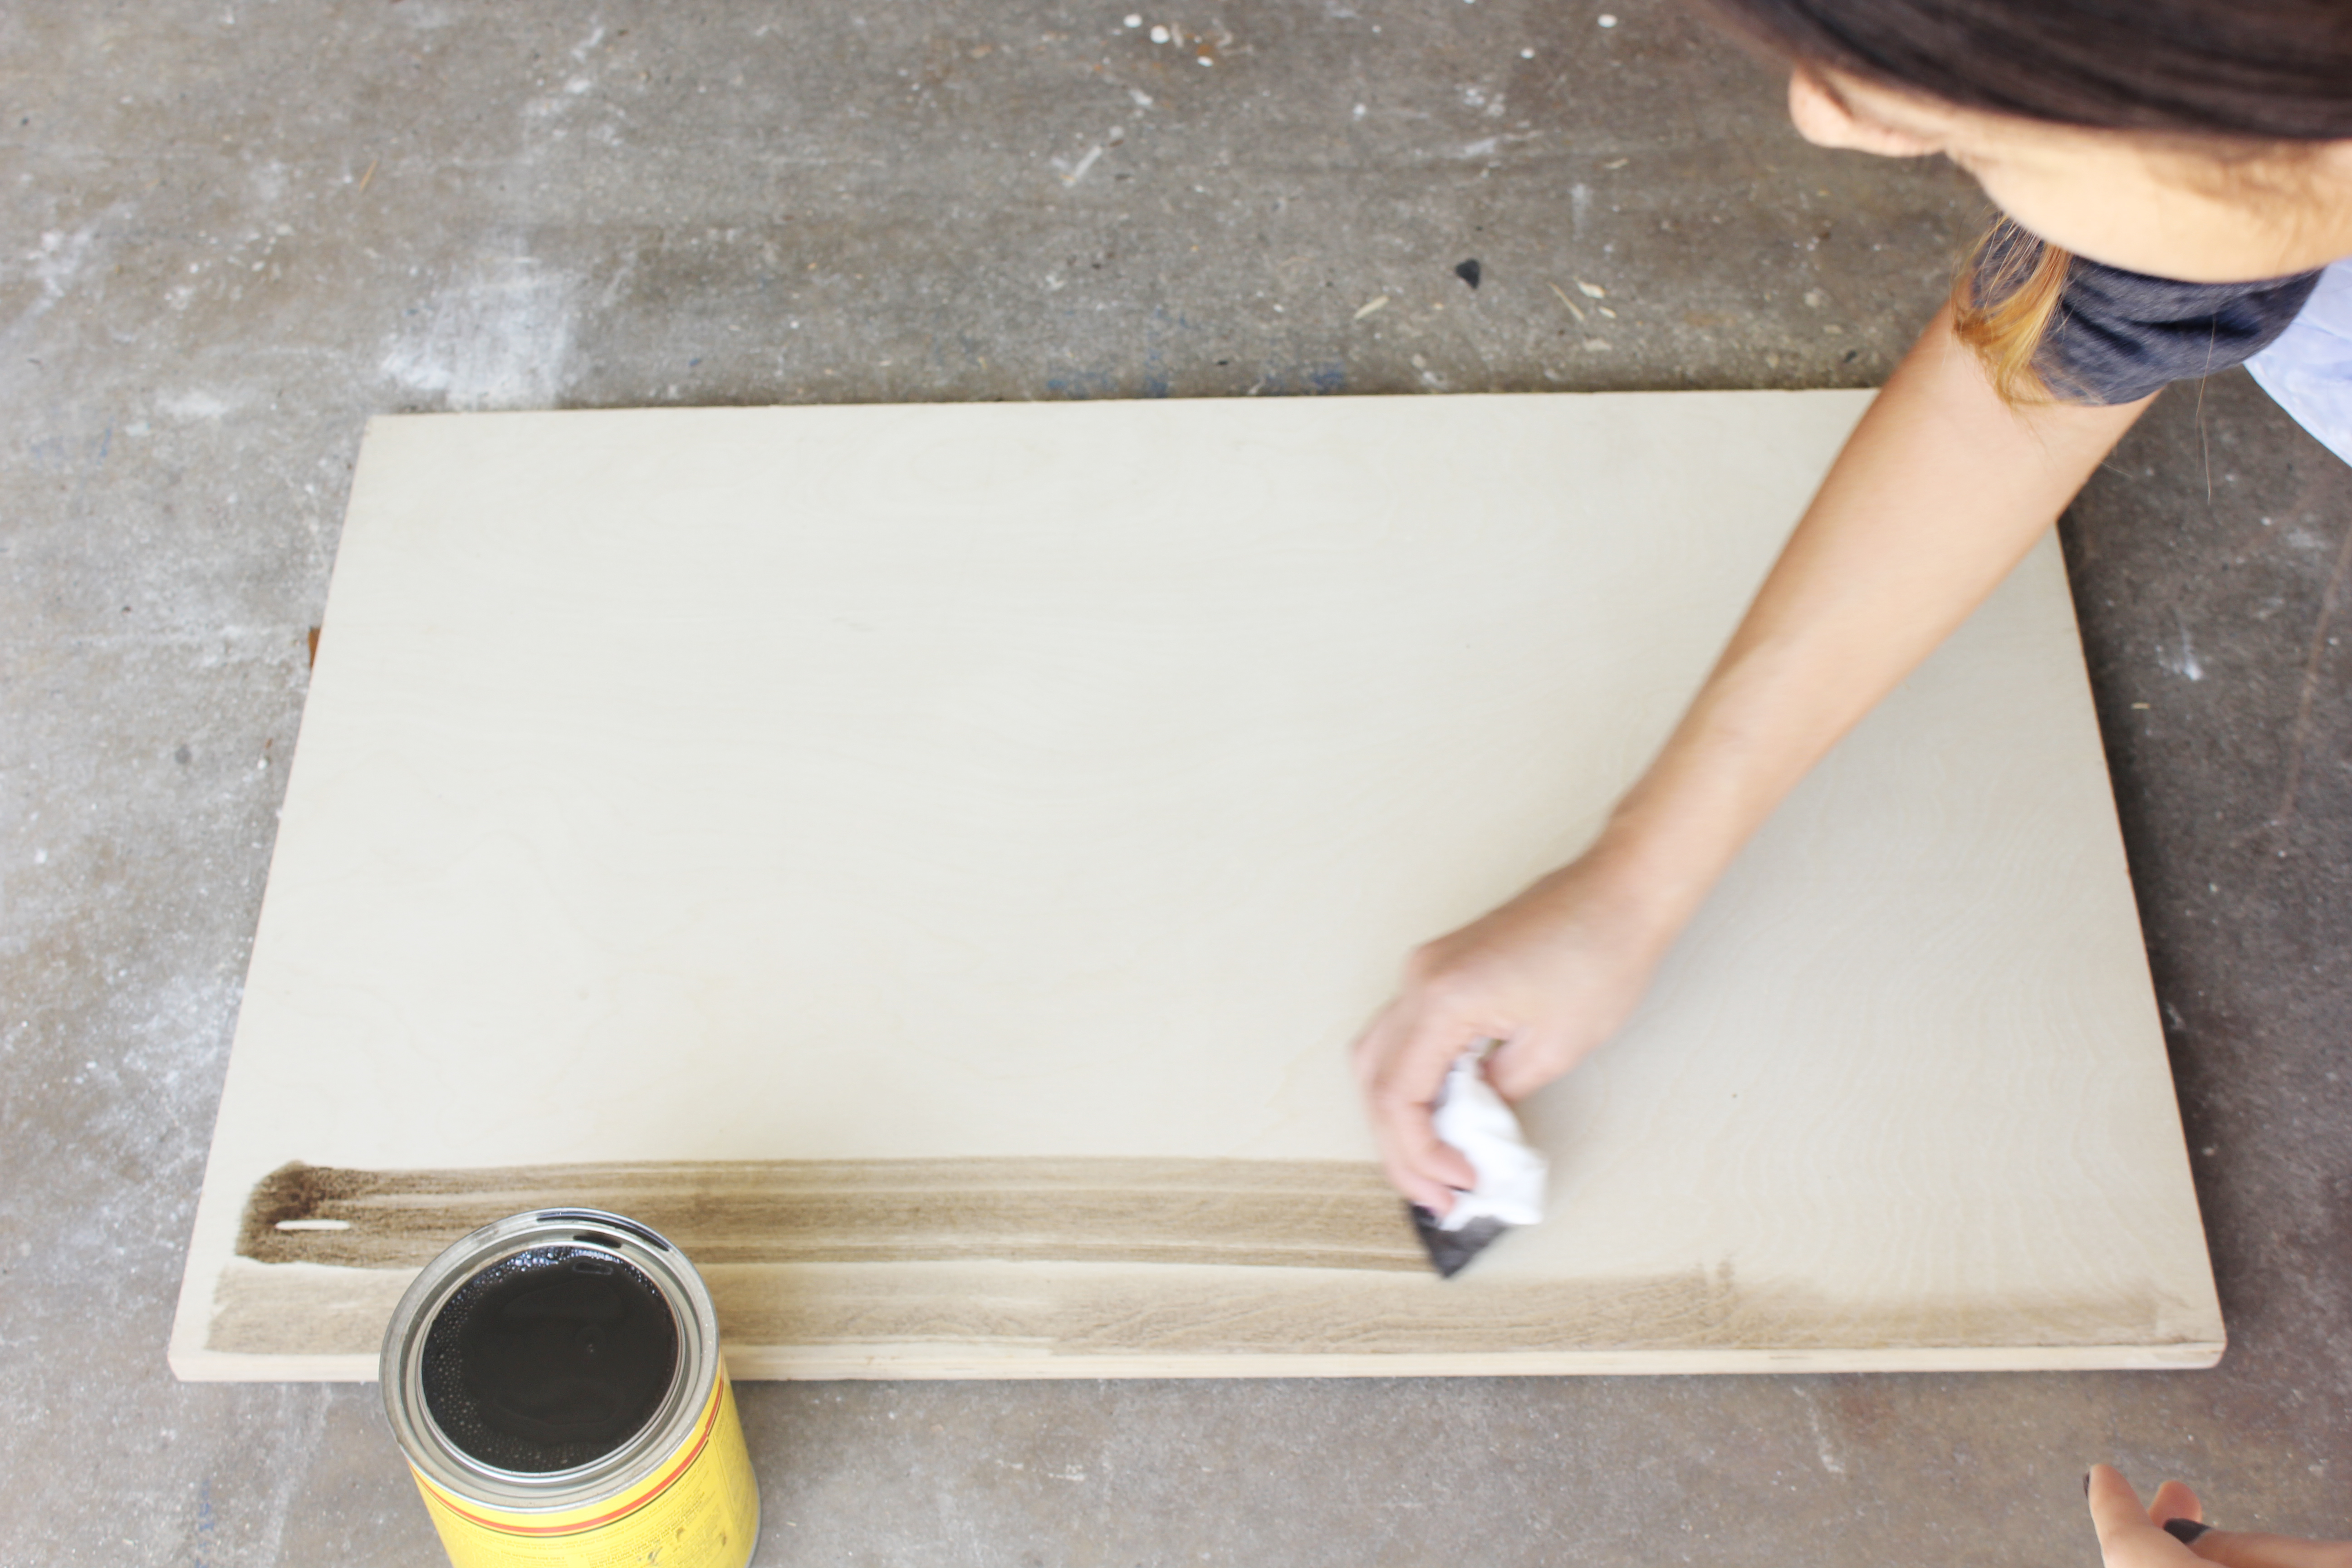
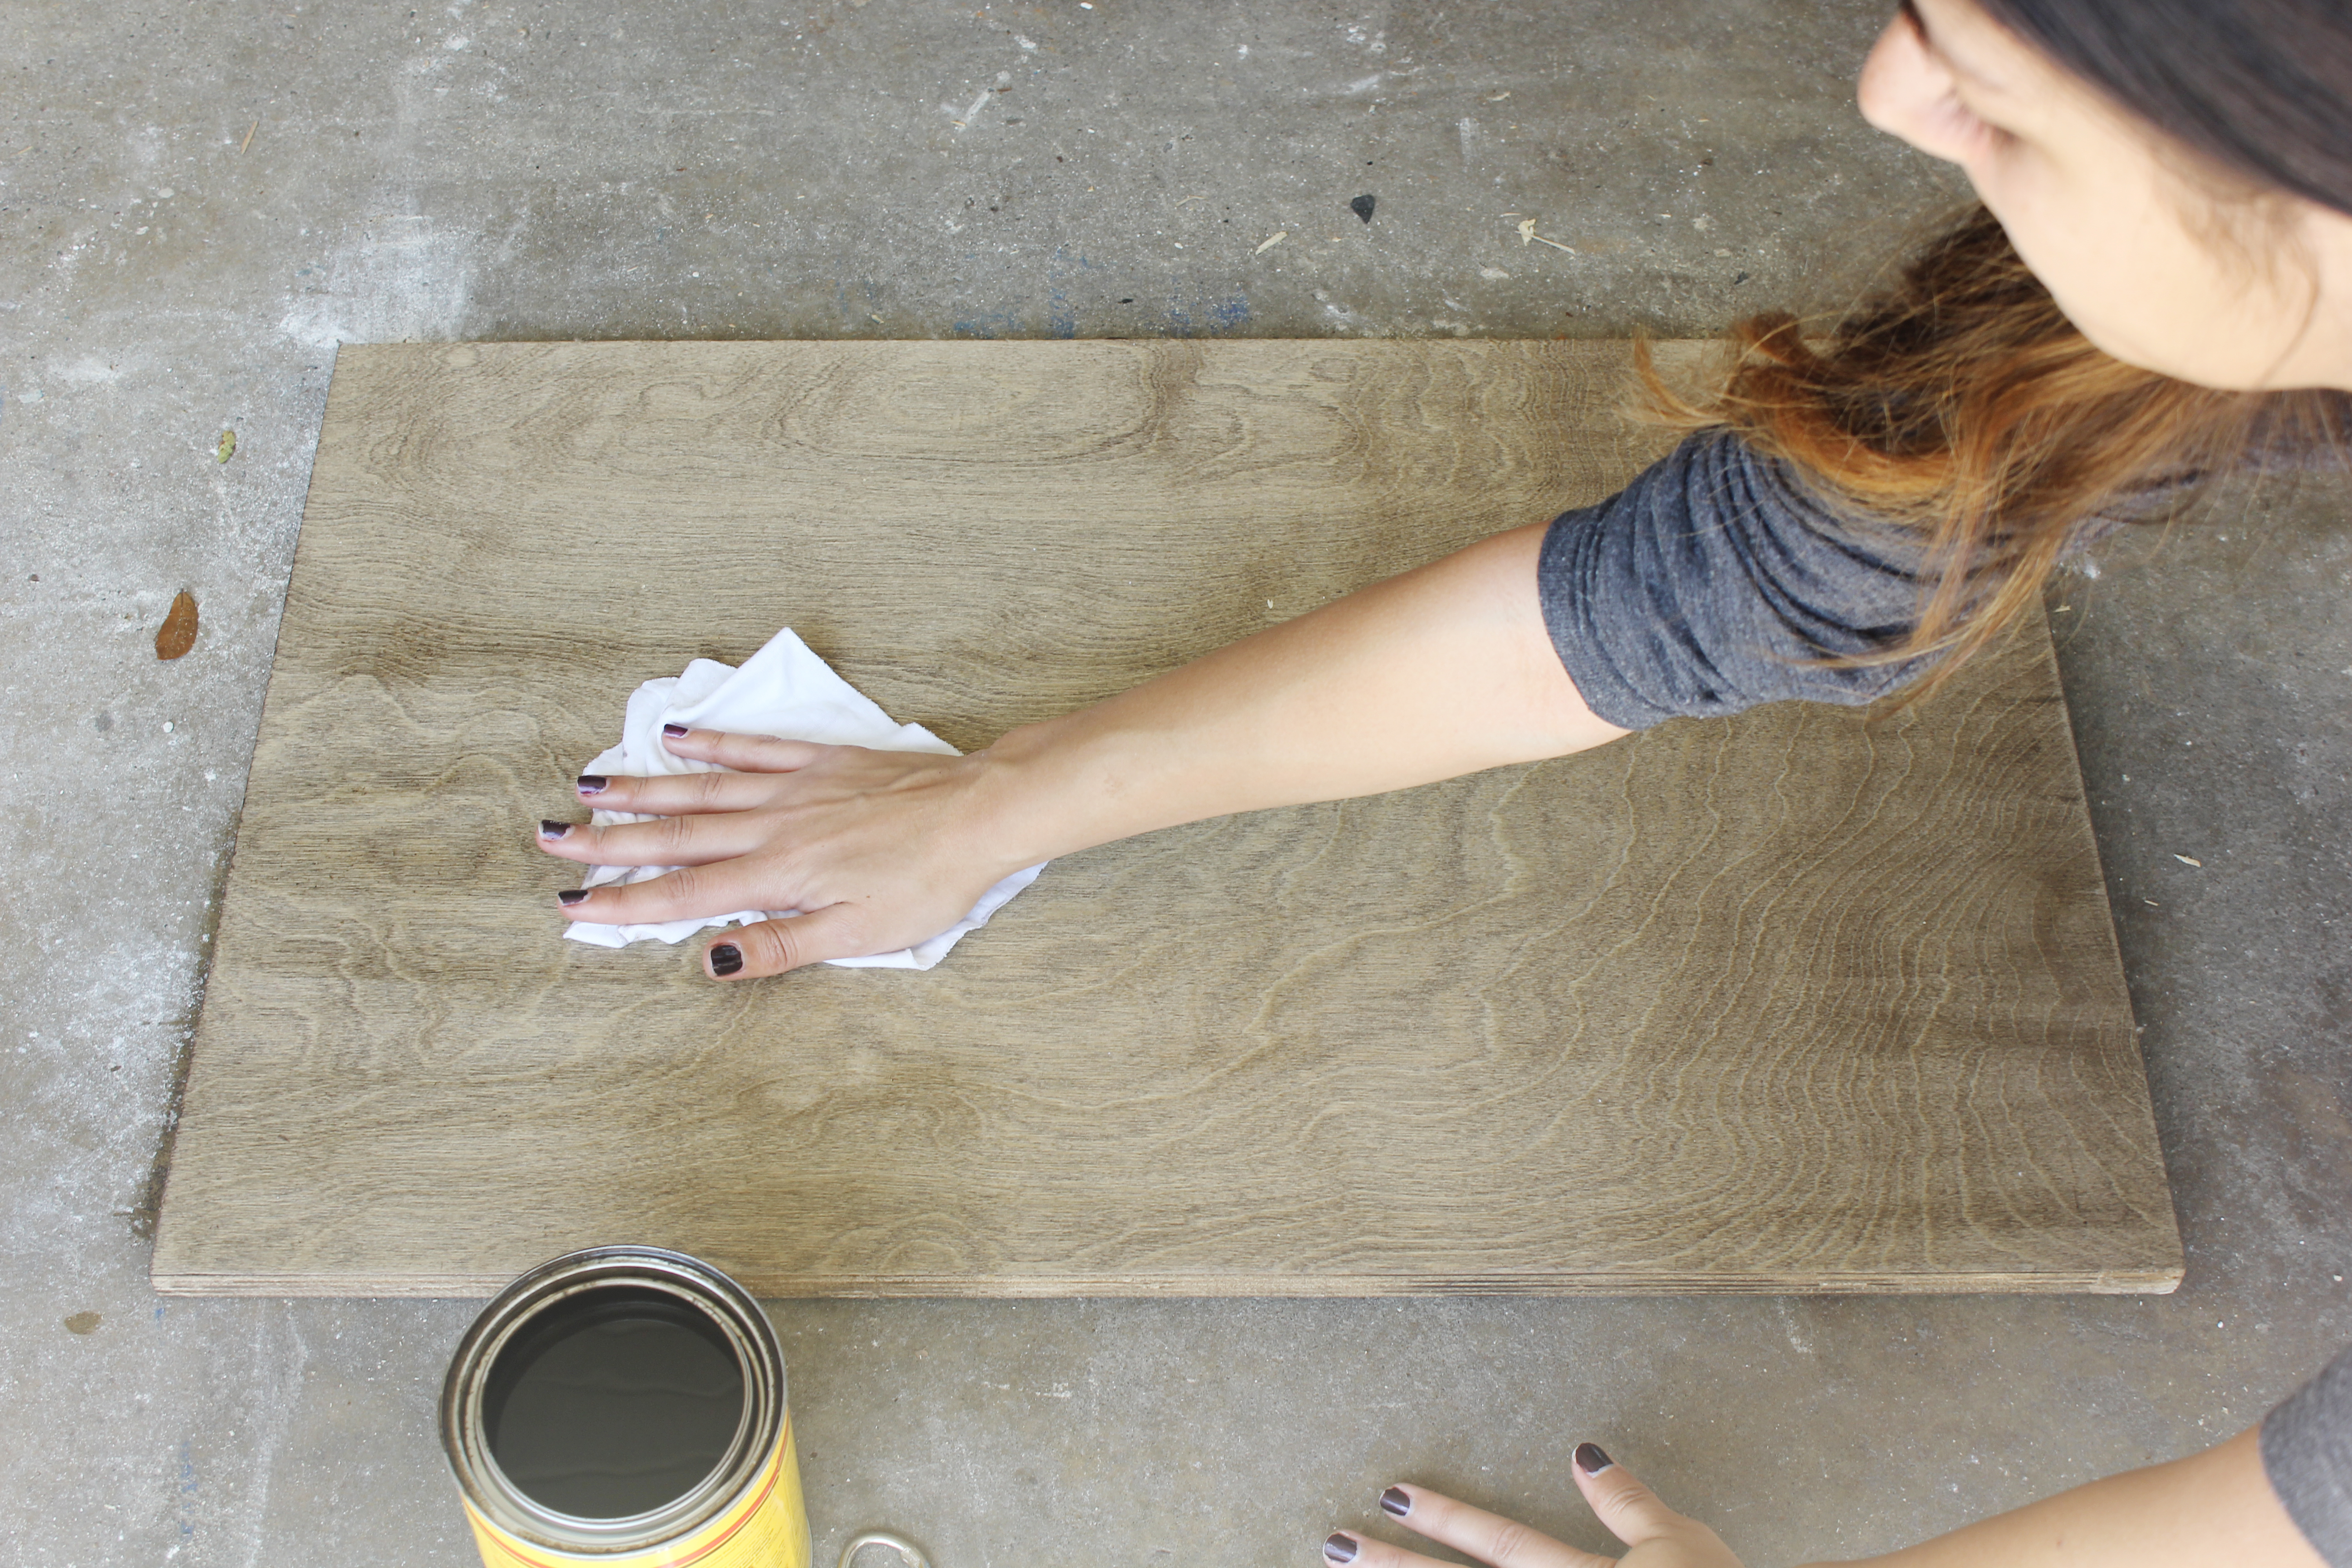
 supplies for sign


Stain Your Wood

Now, make sure when you’re applying your stain, you use a clean piece of cloth. Dip the corner into the stain, being careful not to soak it too much. Then, spread the stain evenly in long lines across the wood. staining stain minxwax staining technique


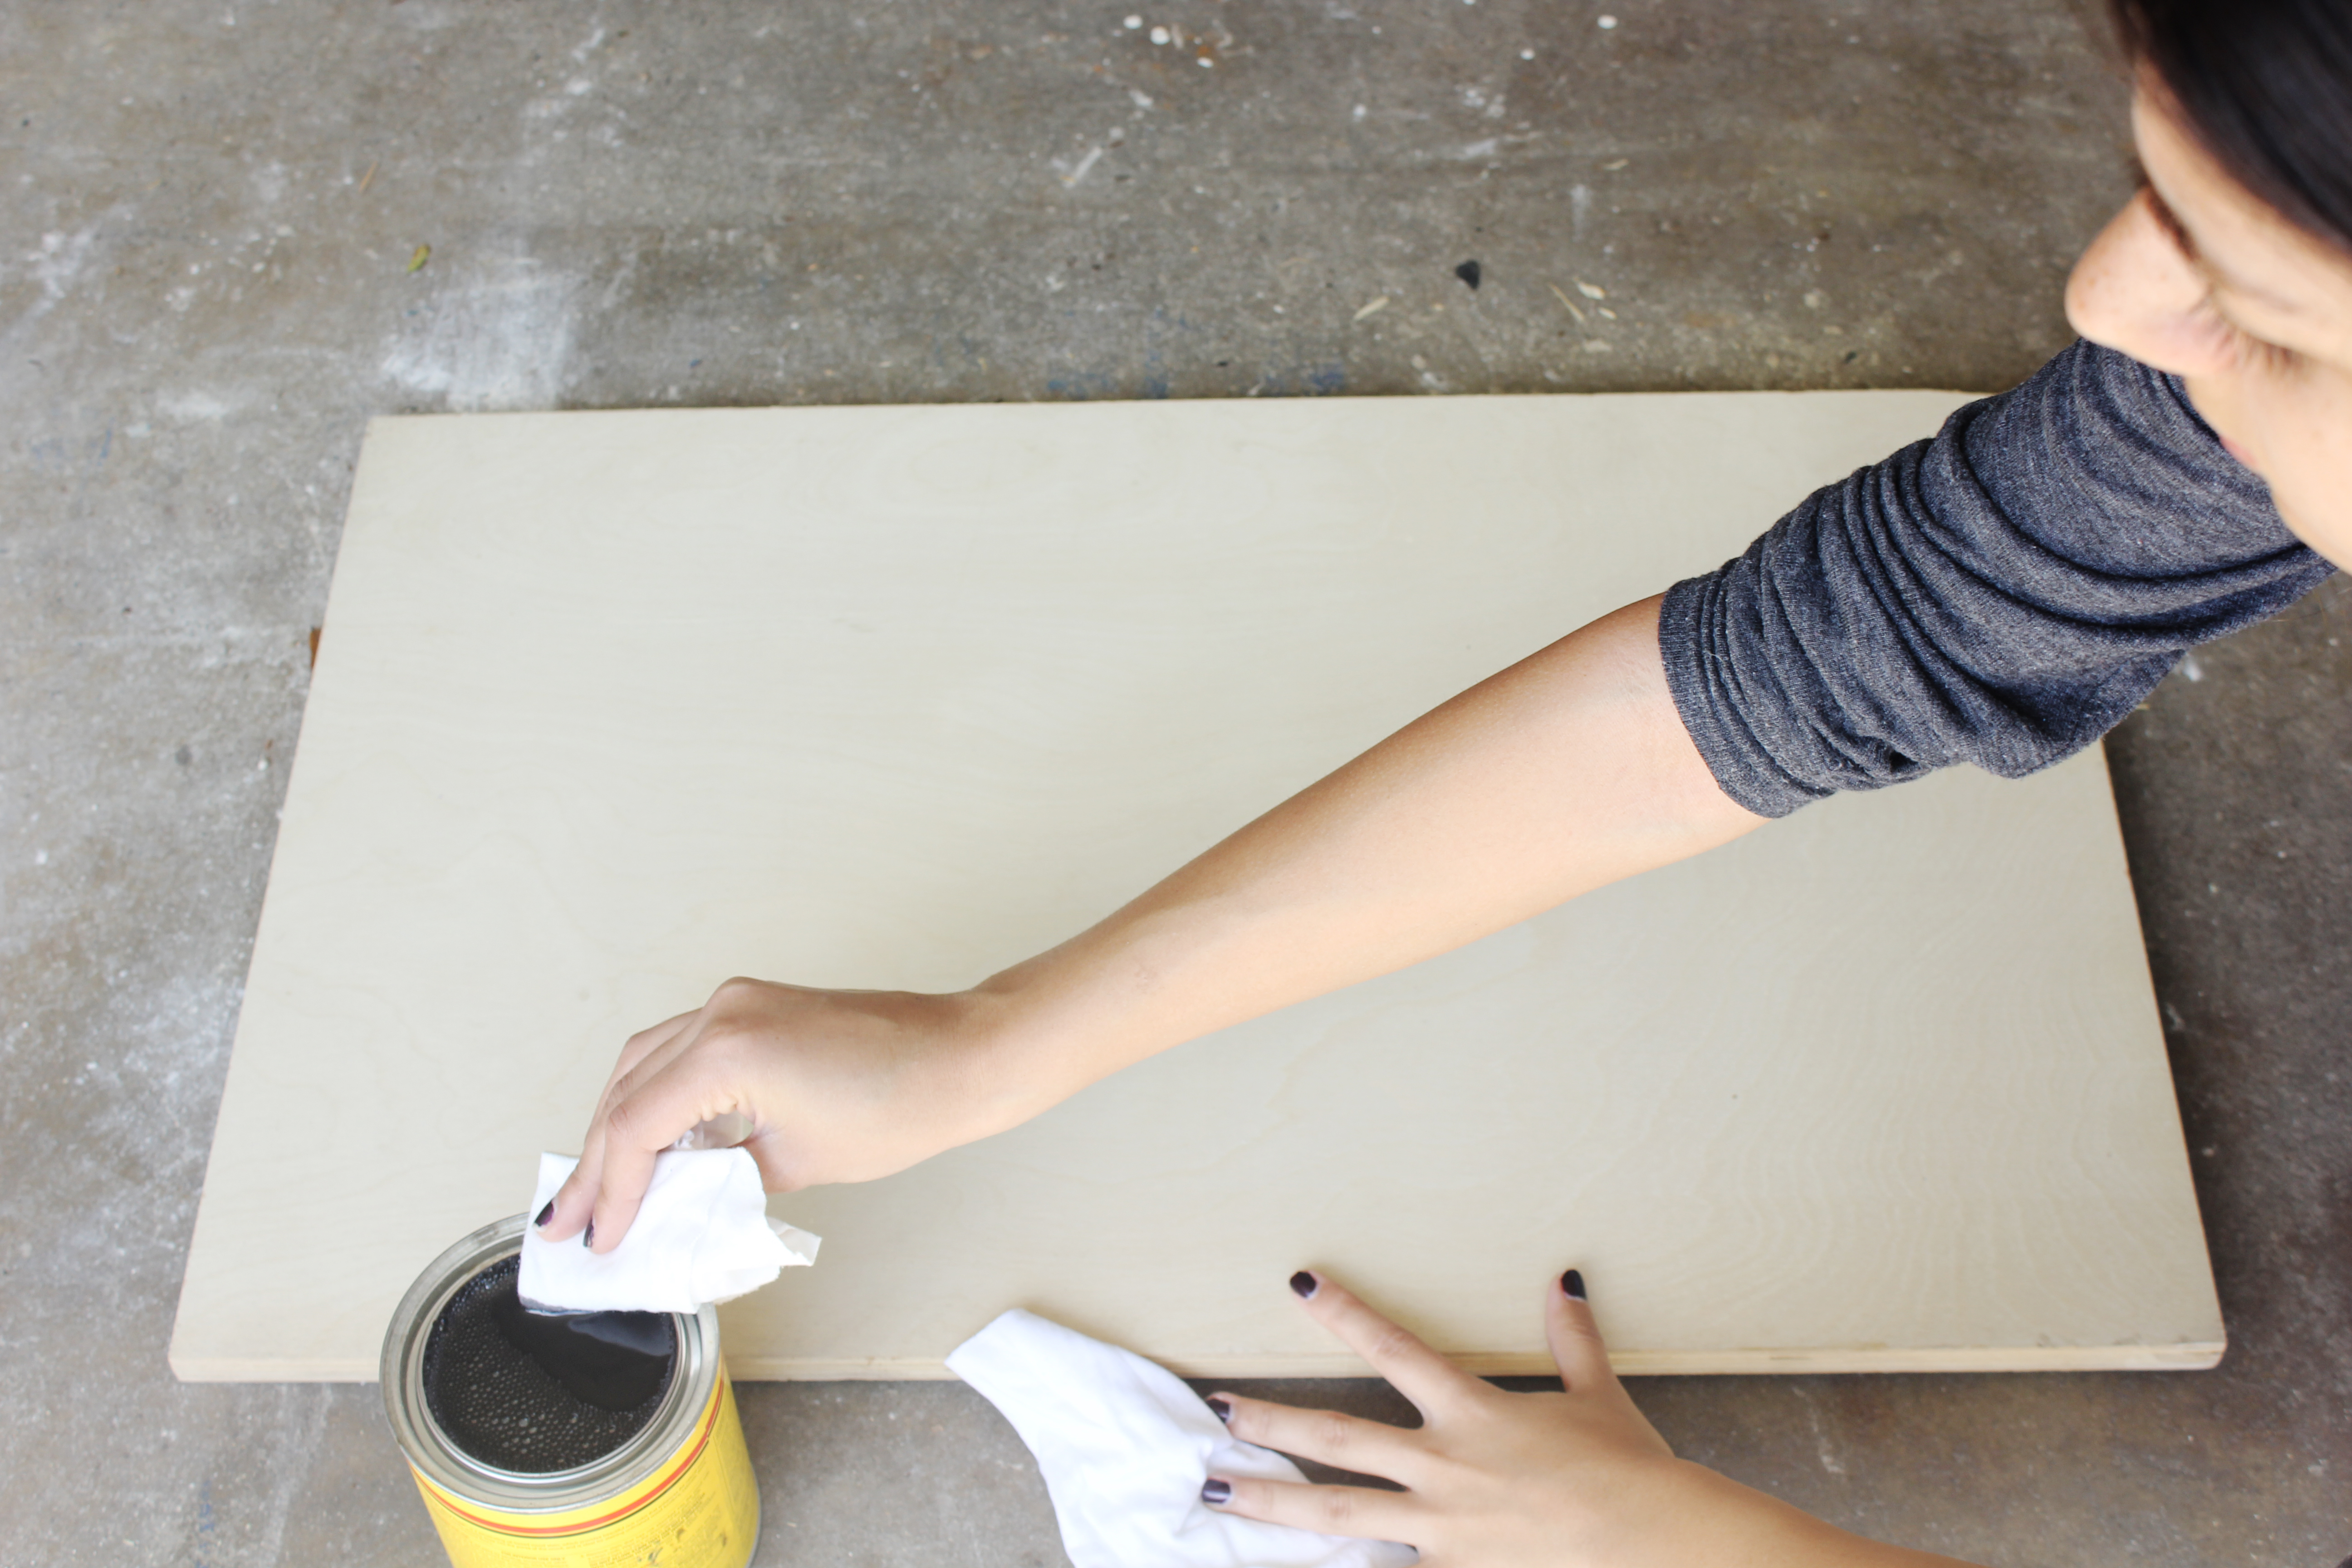
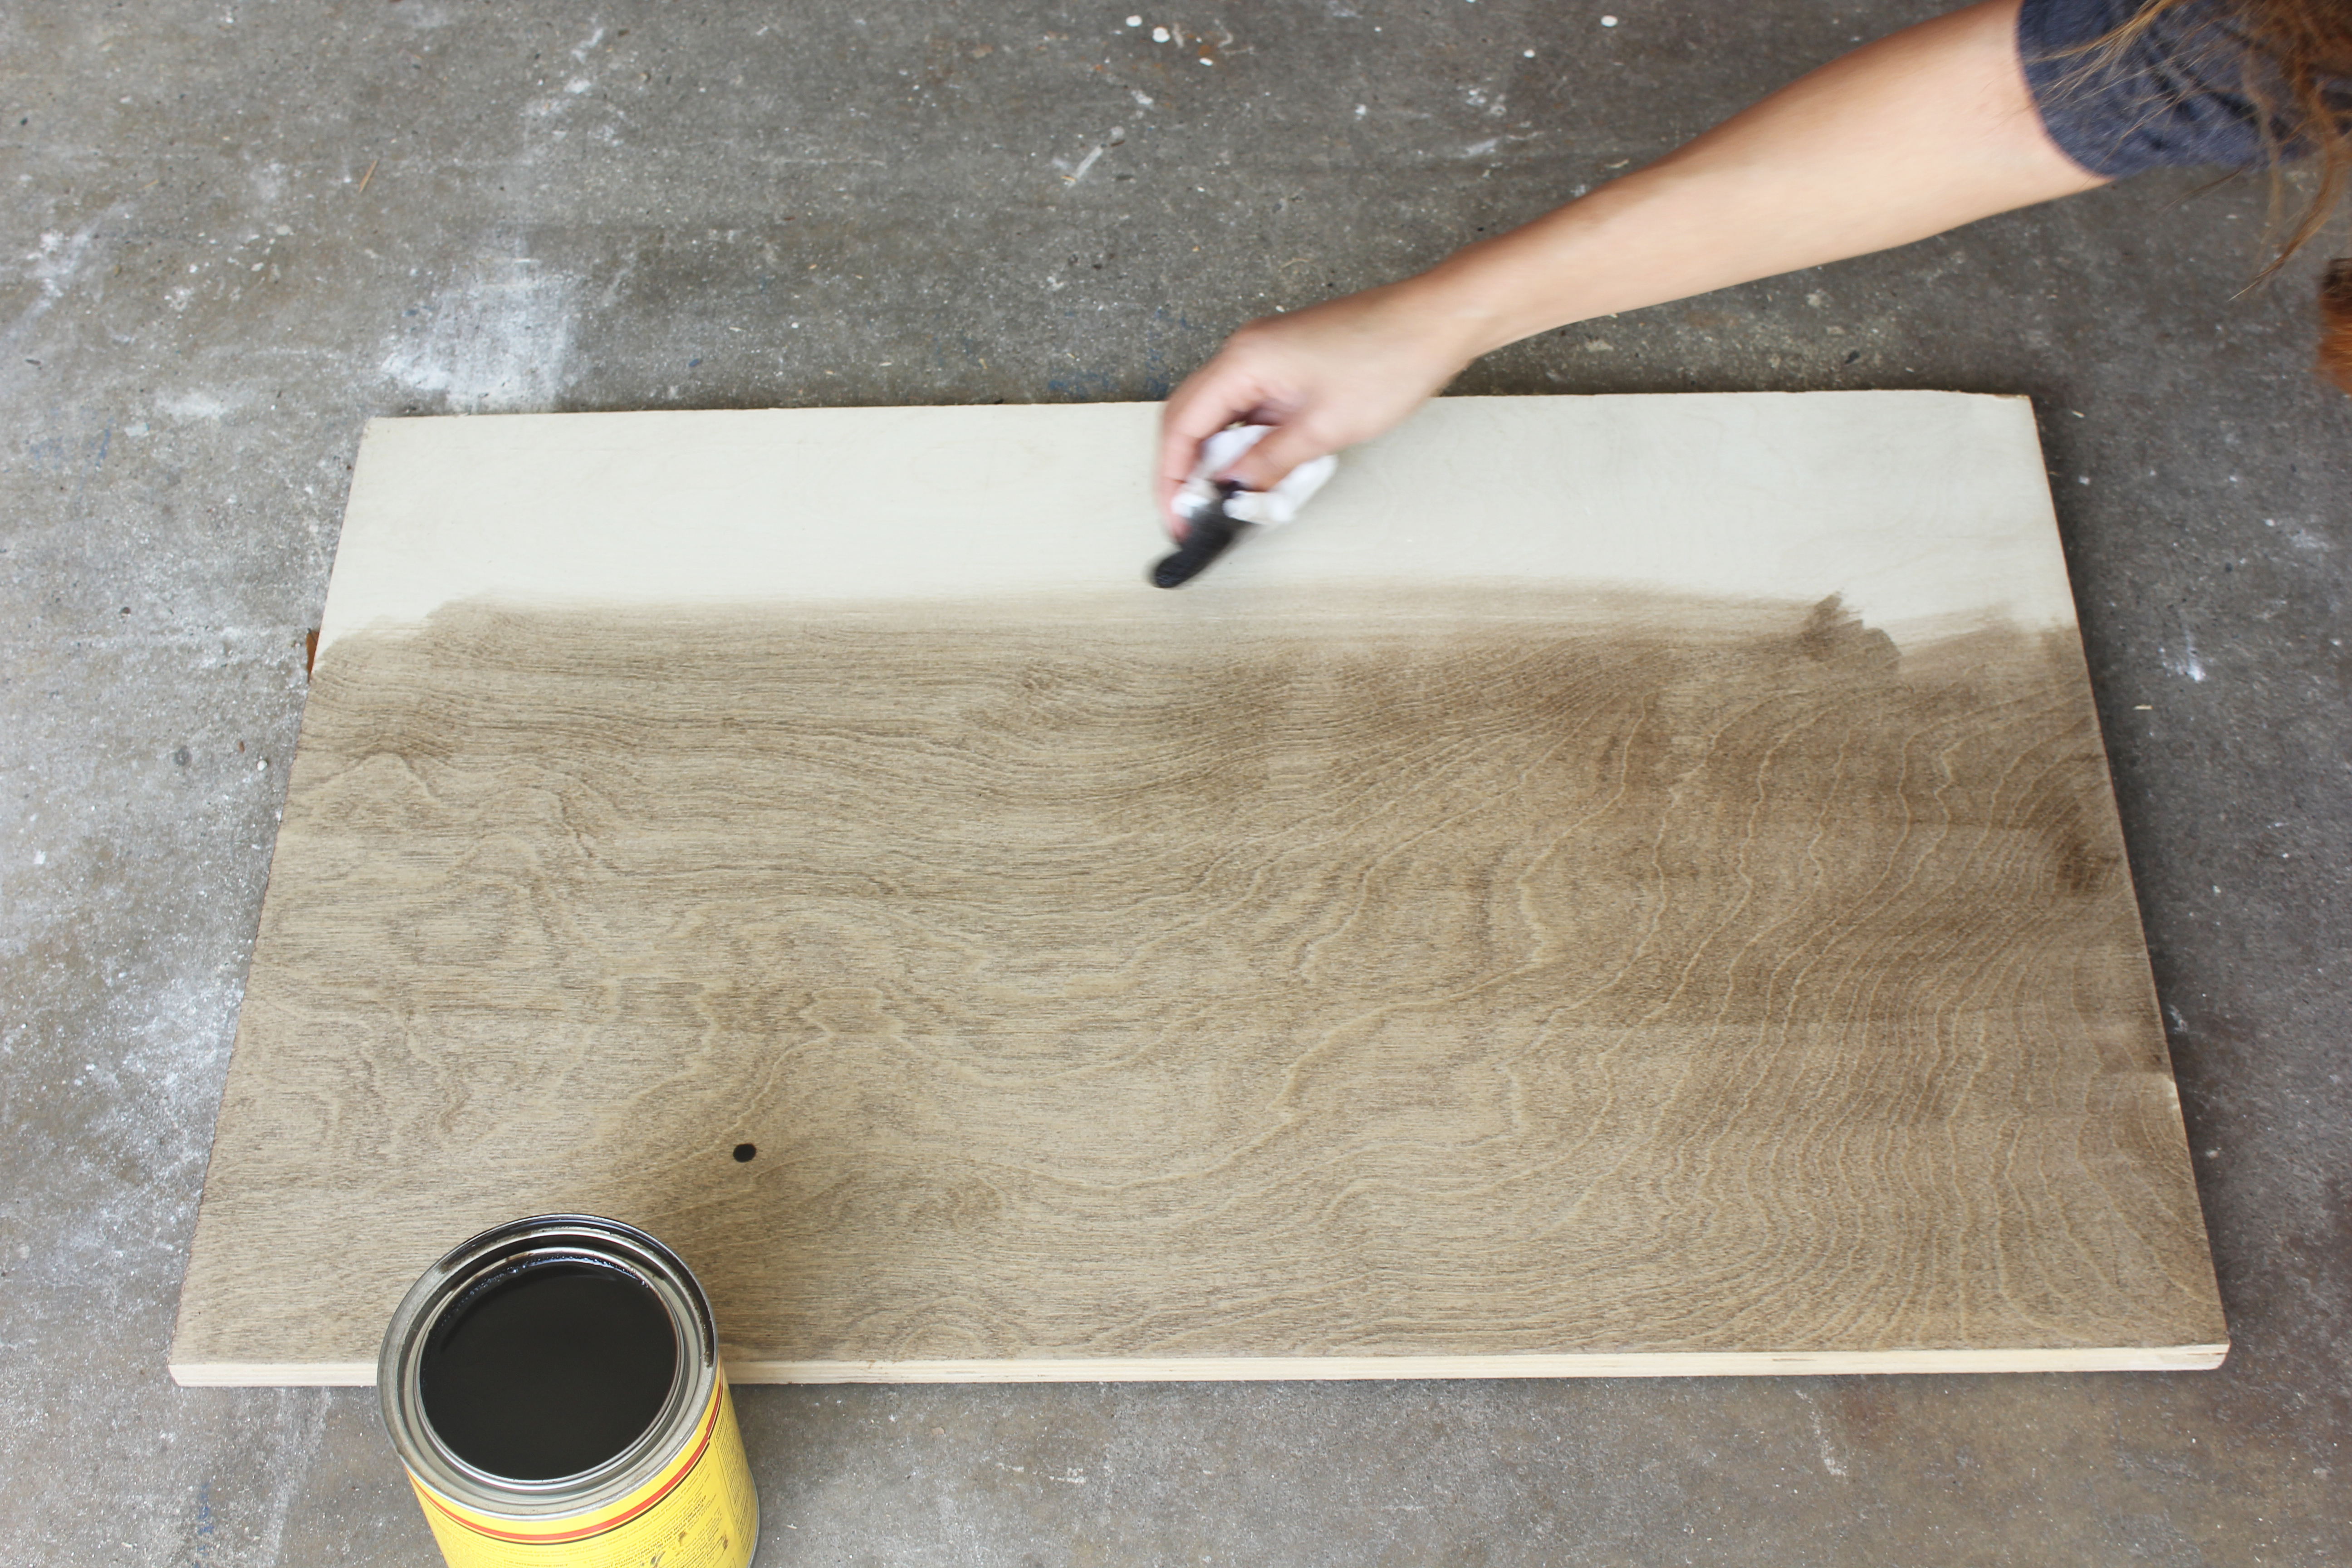
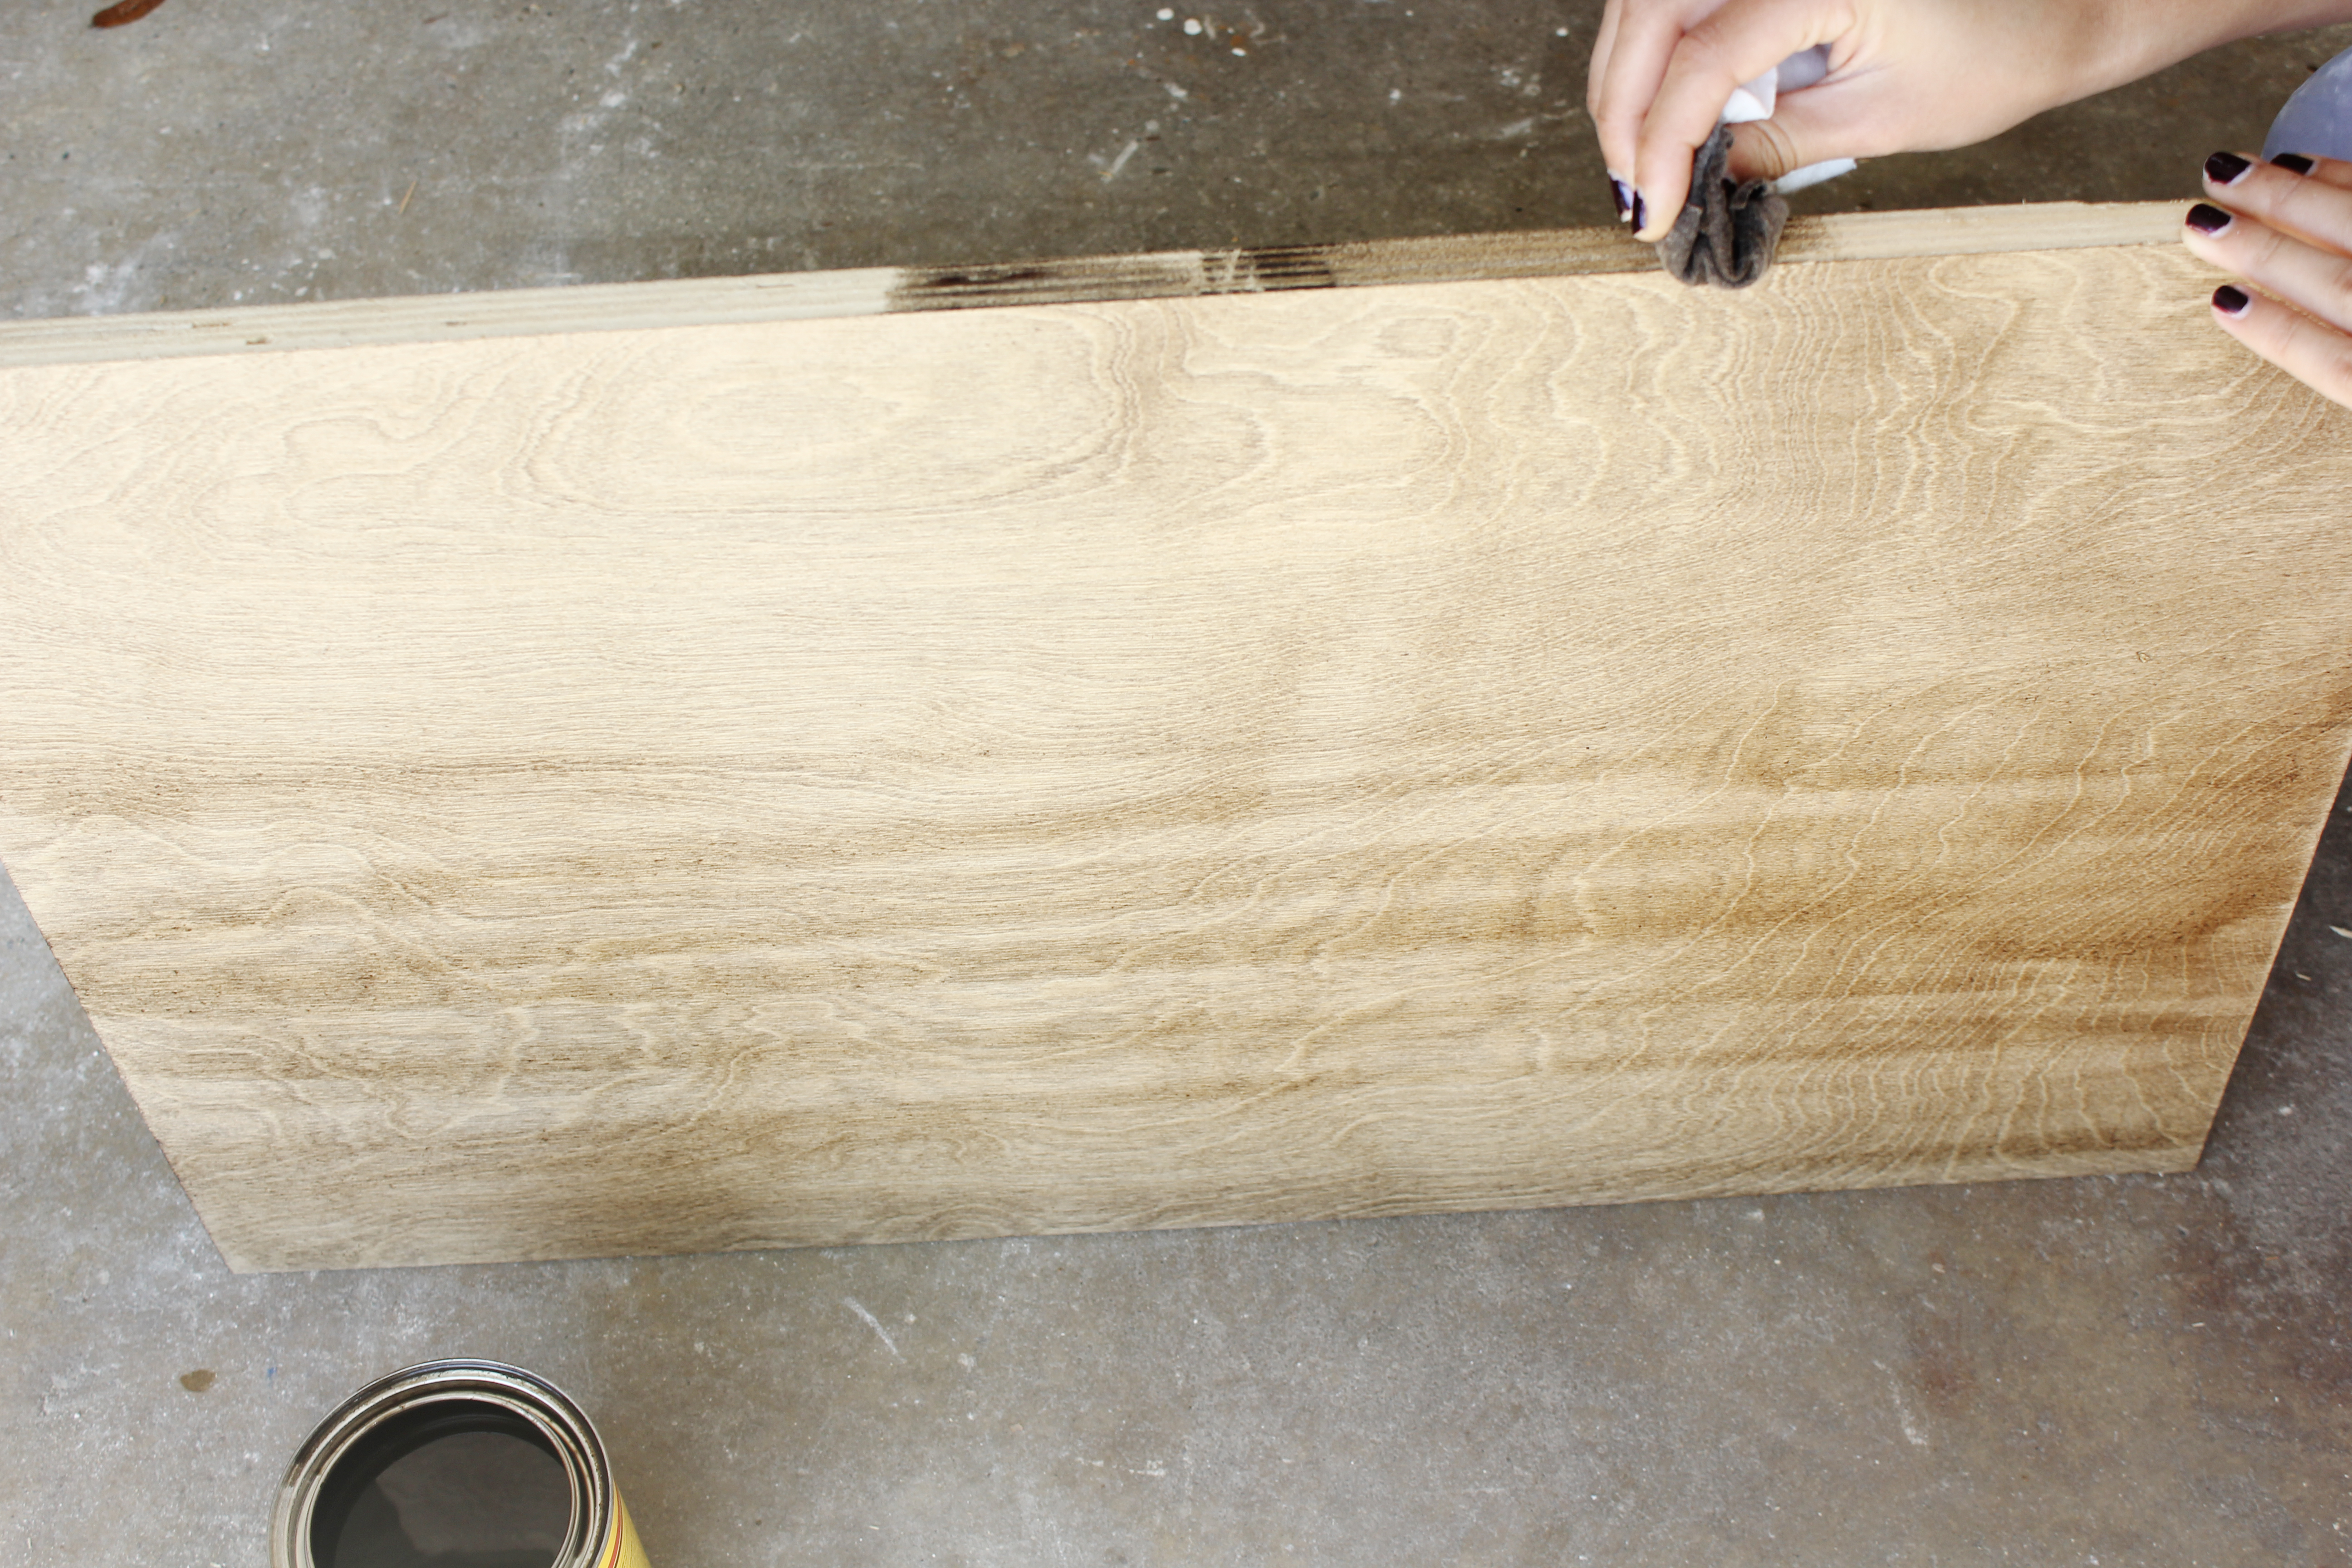
Optional : Second coat of stain

Depending on how dark you want your wood to be, you can add an additional coat of stain. Since I was planning on doing his logo in white, I wanted my wood to be a bit darker. stain wood stain wood staining wood diy


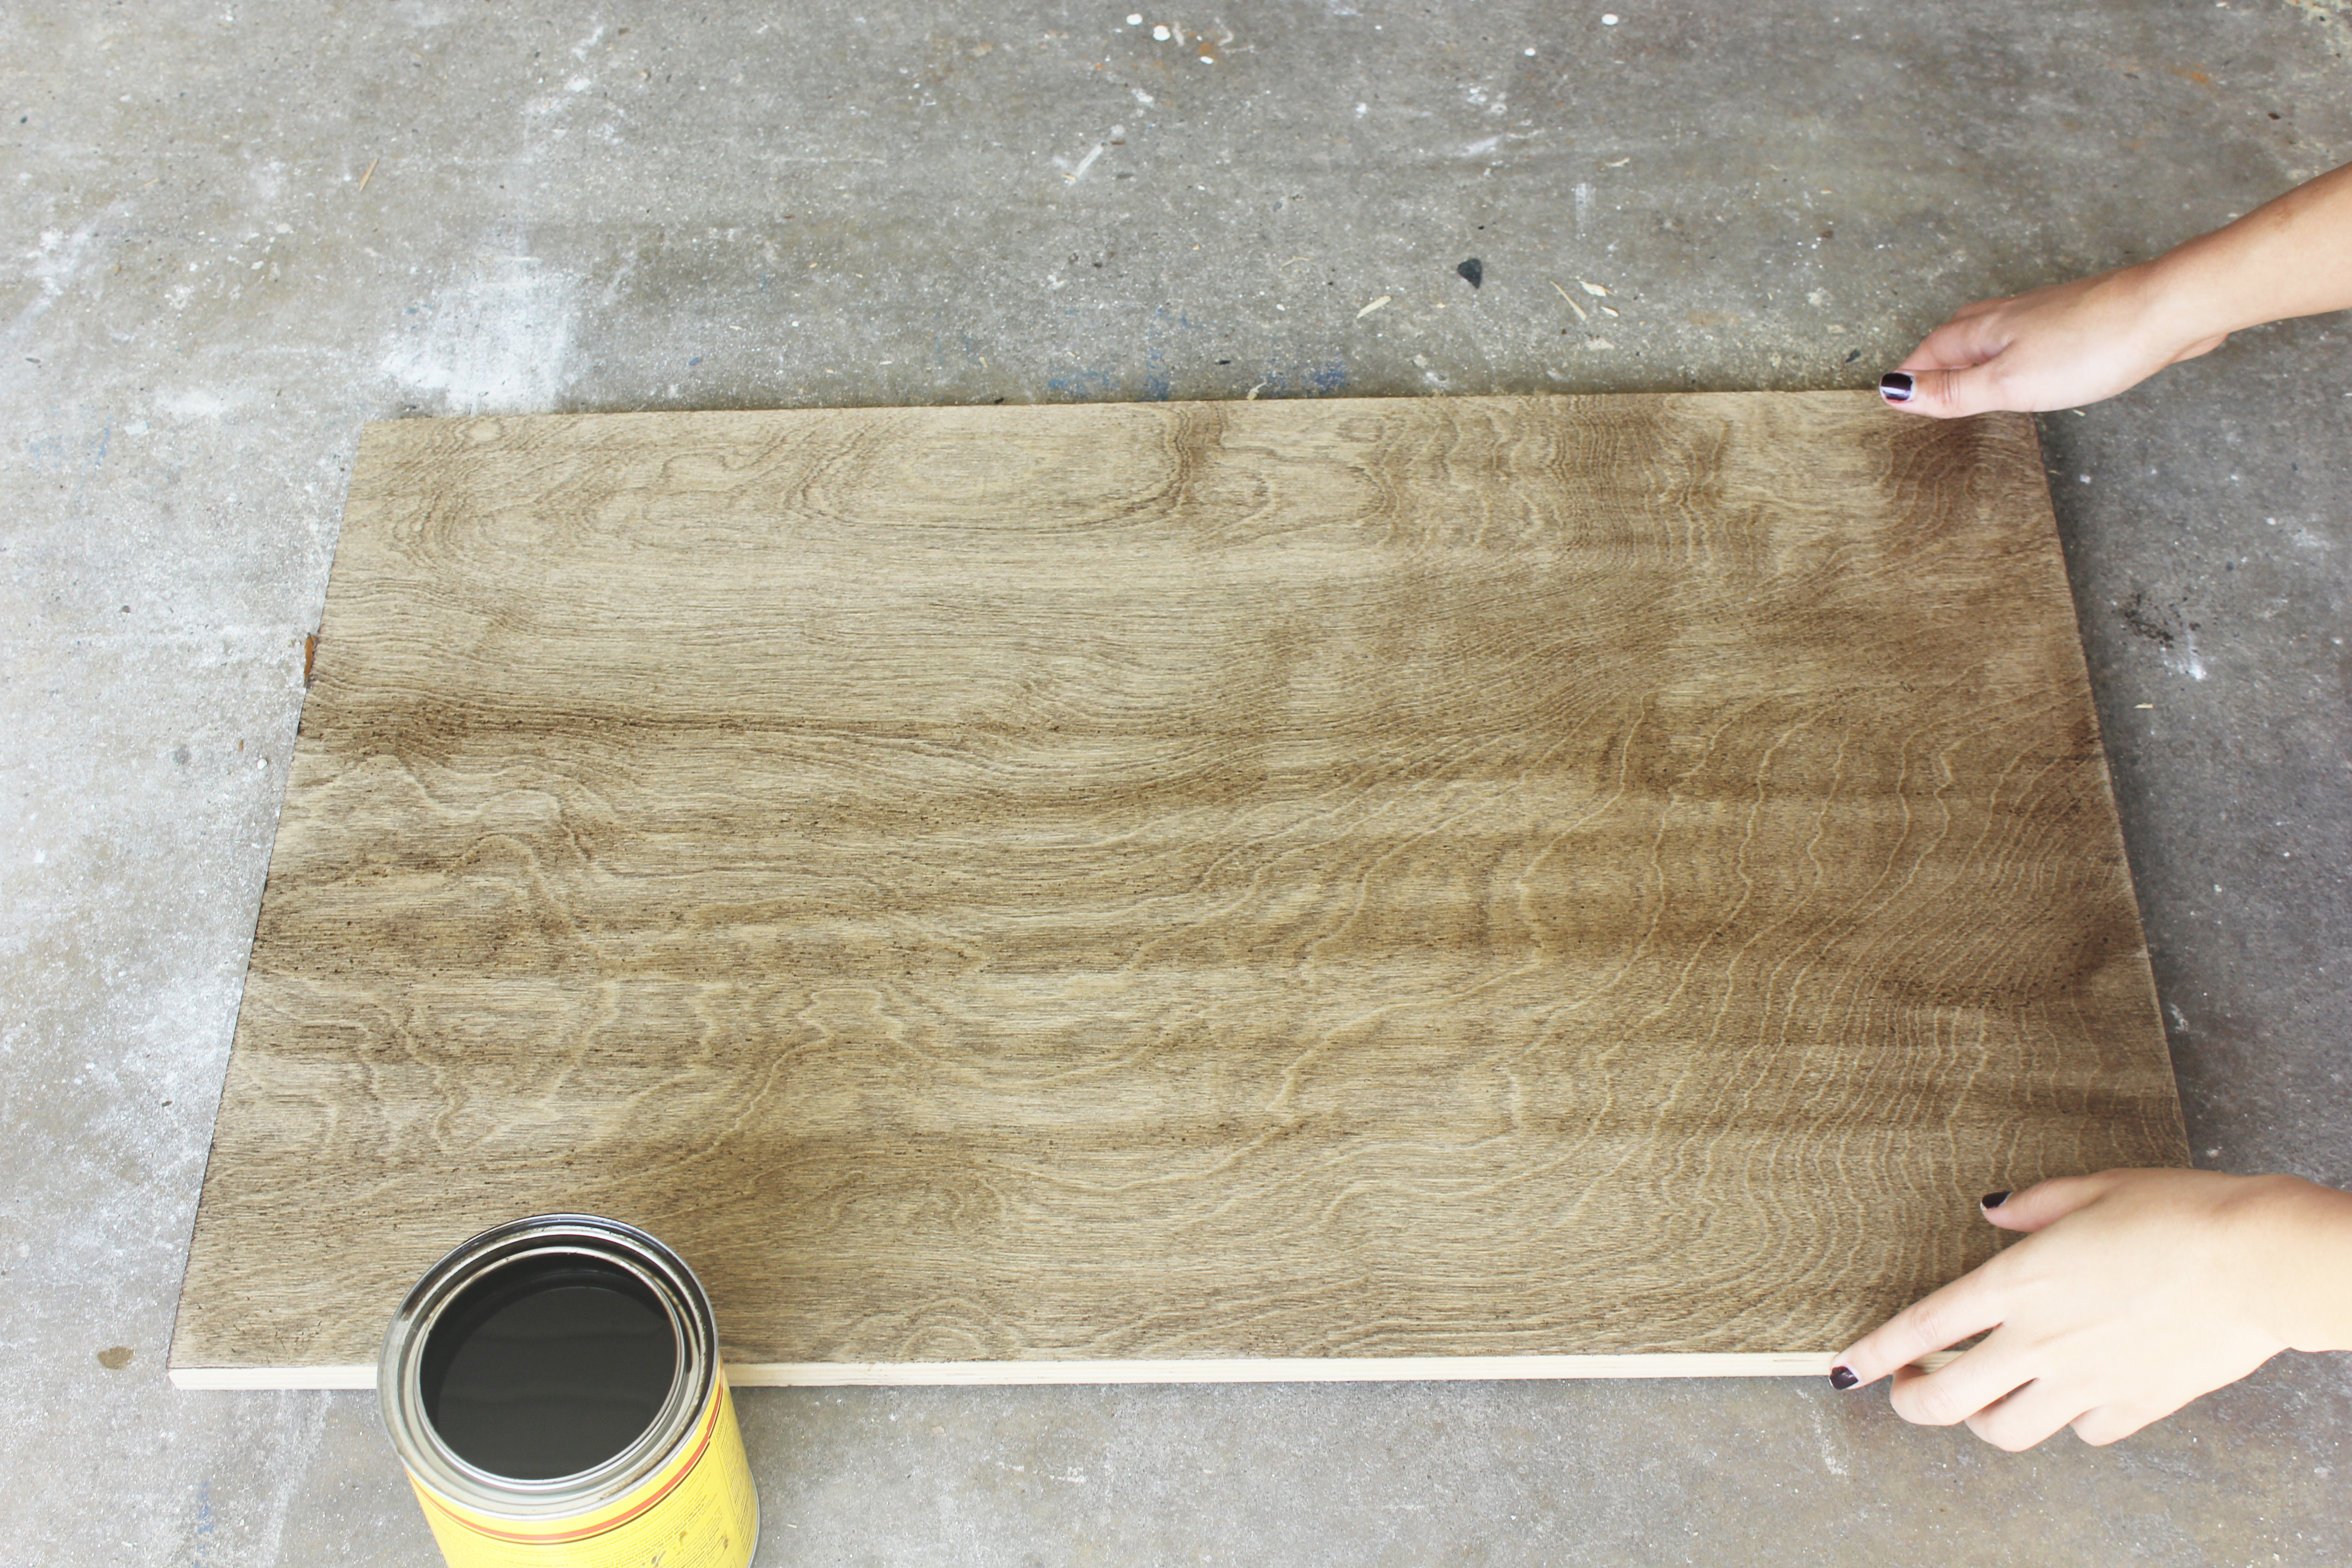
Don’t forget to do the sides!


diy stain


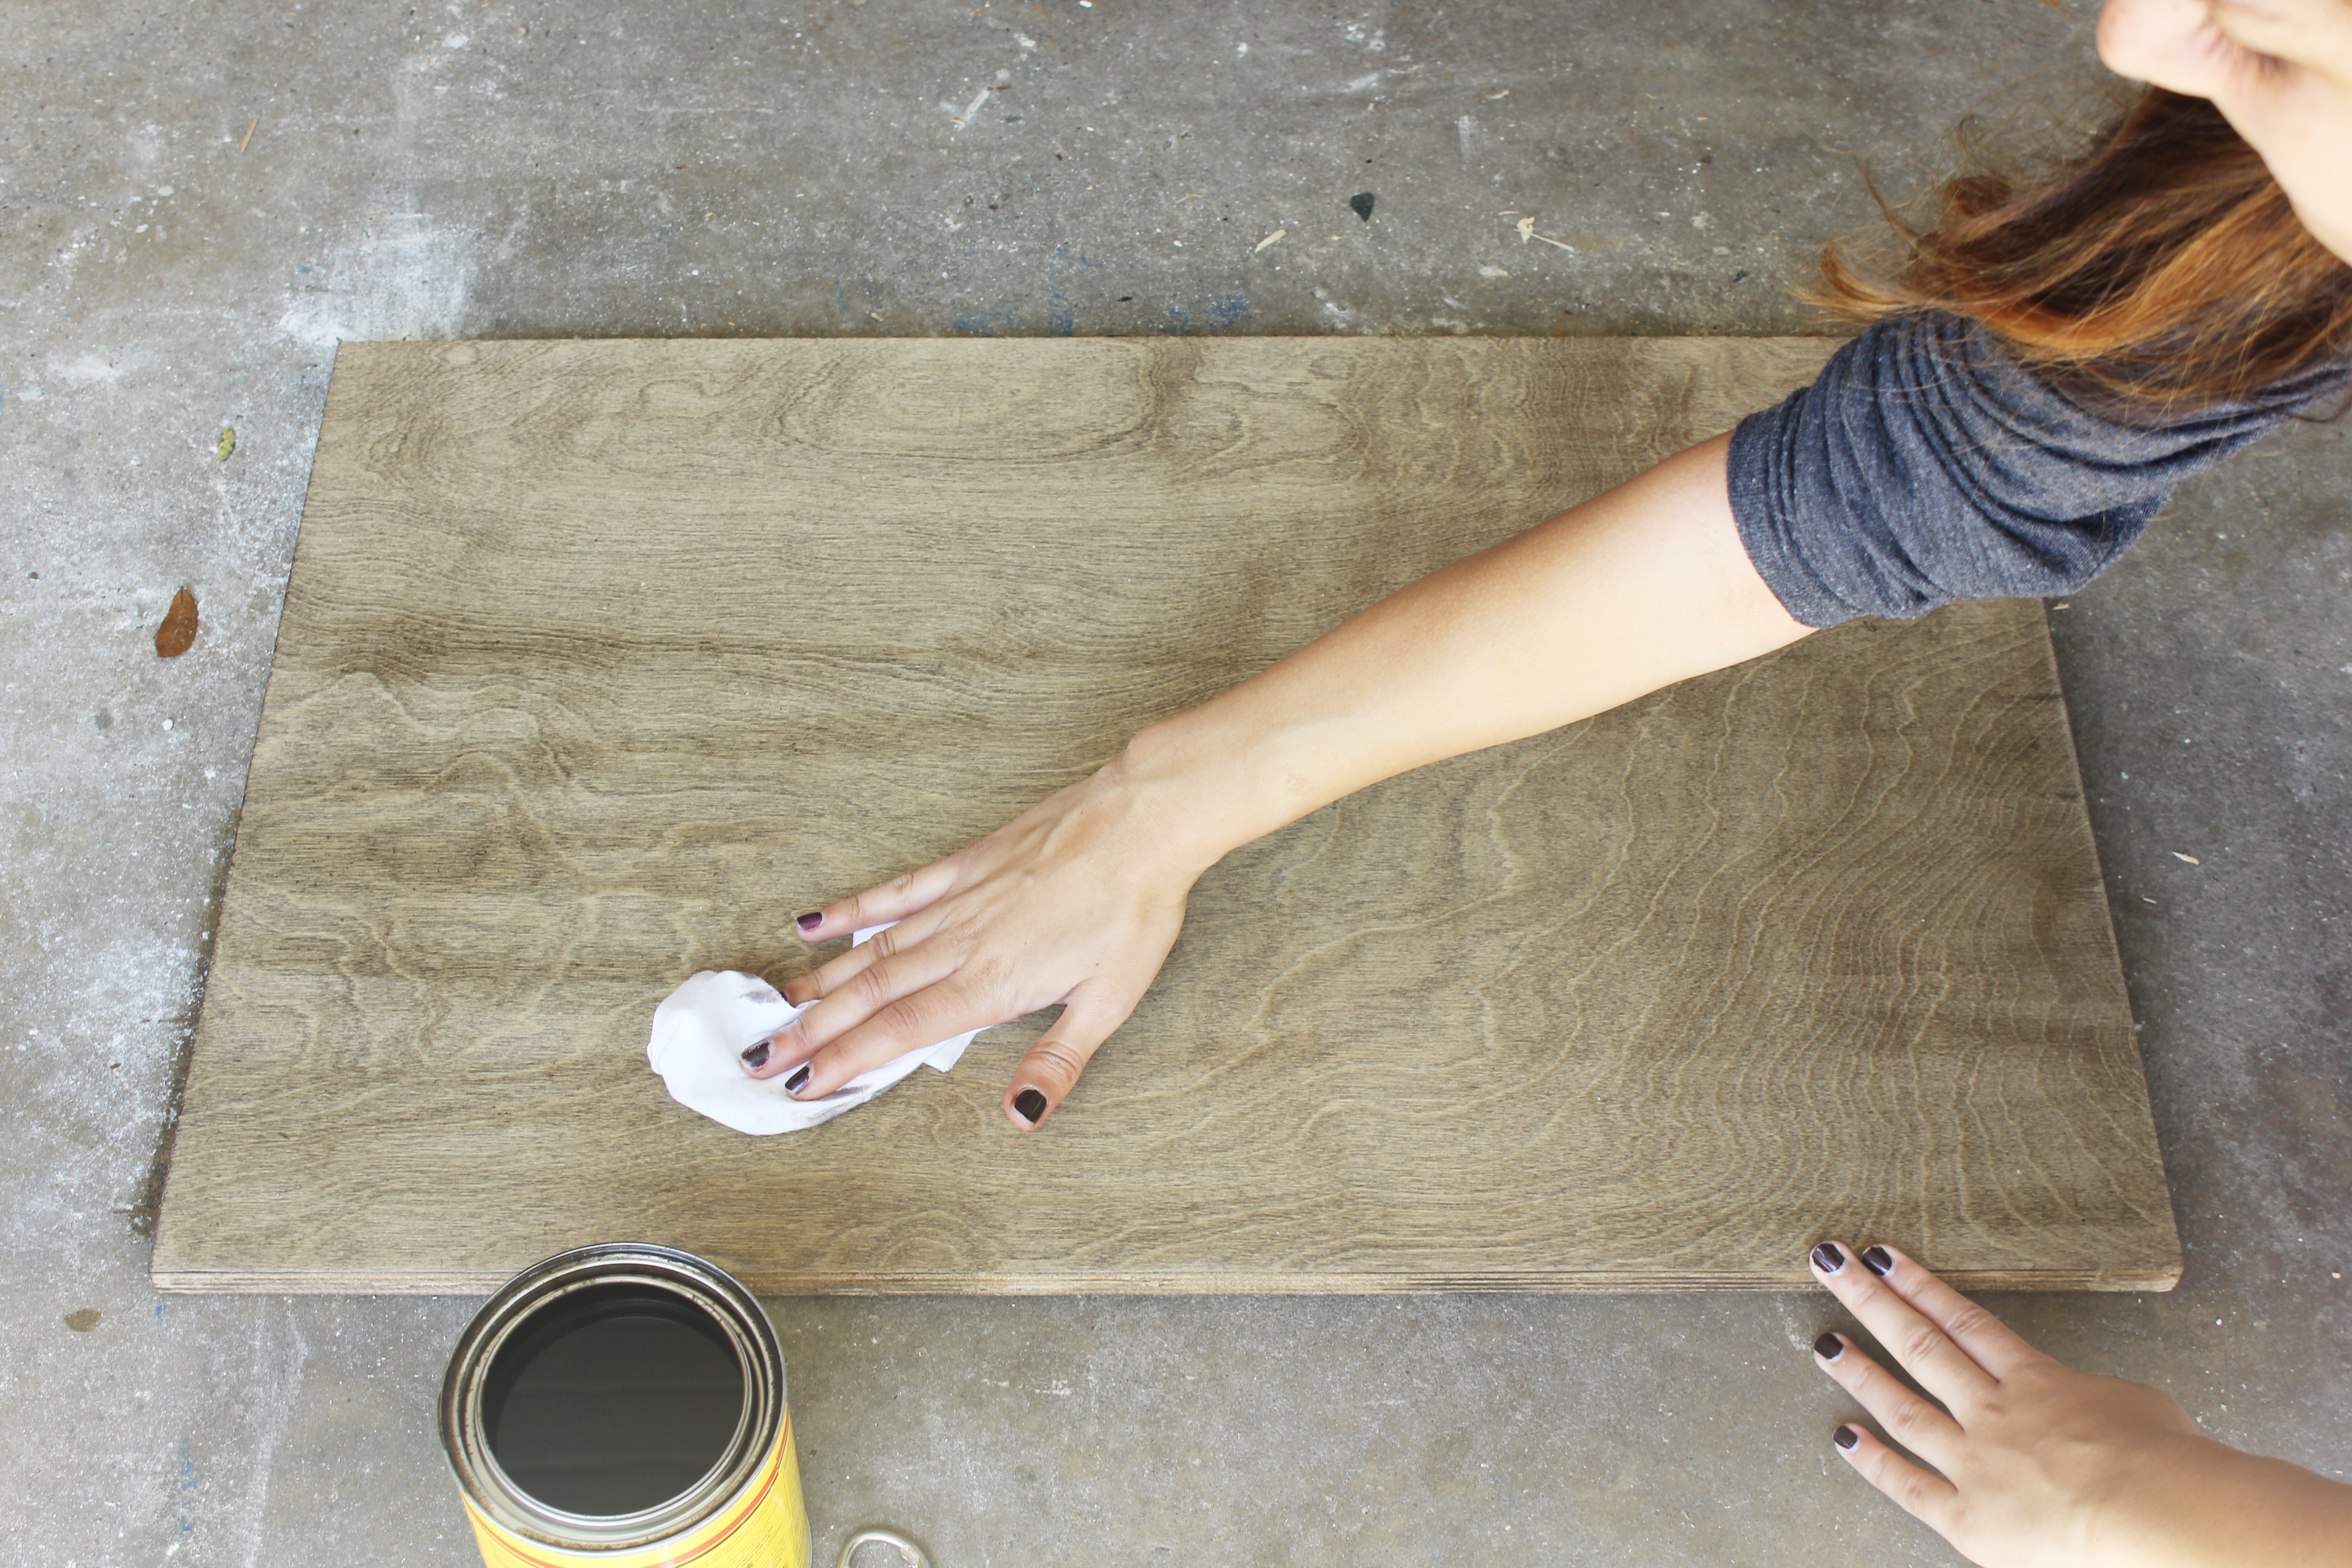
Wipe the remaining stain

After letting your stain soak in for a minute or so, take a dry, clean cloth and wipe the excess stain until it’s dry. If your sign is going to be outdoors, you’ll want to add a thin coat of polyurethane to protect it (which is basically a clear top coat for your wood) – You can get it at any hardware store or Home Depot.

wipe off stain stained wood diy


Sketch and paint your logo

Using acrylic paint, now it’s time to add on your logo or wording! Make sure to measure and sketch out with pencil before putting paint to wood!


The Final Product

And now for the finished sign as it made it’s first Farmer’s Market debut!

 off the bluff farms


If you to learn more about Off The Bluff  – visit their website at Otbfarms.com or follow them on instagram @Offtheblufffarms for your daily dose of veggies!


Save

Save

Save

« Hand Lettered Travel Jewelry Case
Nature Inspired Place Card Ideas »

Leave a Reply Cancel reply

Your email address will not be published. Required fields are marked *

lovelyoliveliving

Lovely Olive Living. Custom commission art and design services for bridal, home decor, gifts, small biz design and events. Dm or email to collab!

Magical day for a magical momma to be @diandra_bla Magical day for a magical momma to be @diandra_blanco  Planning extraordinaire @biancabesocial 🙌😍🥰
Beautiful details for the Alden Wedding 🙌😍 Beautiful details for the Alden Wedding 🙌😍
How I never left a place on my feed for this speci How I never left a place on my feed for this special celebration is beyond me! Austin made his appearance in October and I can’t wait to meet him in person!! All the nature details for this day 🙌🙌🐘🦒🌳👶🏻 love you @kimvbhiebra
Okay last one 🥰🙌 Okay last one 🥰🙌
Custom details are always better ✨🙌 Custom details are always better ✨🙌
When your bride wants delicate florals to say I do When your bride wants delicate florals to say I do and dance the night away, you give it to her 🙌 Captured and brought to life by the always talented @laurenalatriste and @alavisheventdesign and planned and executed by the best @kvbevents
A logo and some goodies for my favorite and only t A logo and some goodies for my favorite and only twin brides I’ll likely ever know lmao @olivia_e_sanch @vicsecreto so fun celebrating you two!! And to answer everyone’s questions, no they were not getting married on the same day, or to the same guy or to each other lmao 🤣🤣😂
Celebrated my oldest friend this week in one of th Celebrated my oldest friend this week in one of the most picturesque places @madisenmohun @philipamorymohun The wedding was beautiful and I’m so happy for you both on the next chapter. Maddibabyyyy I am not not still crying thinking about how gorgeous of a bride you were and how the day we’ve talked about for almost 20 years finally came. Wild!! 🤪😅 From dorky kids to whole ass wives!! Love you!!! Also, so happy to have helped you with a little bit of signage love! 😜🥰🇮🇹🍝🍕🍷
Loved working with the sunshine bride that is @bec Loved working with the sunshine bride that is @beccarr418 - and loved celebrating your love! ✨✨
Heart eyes for this baby sprinkle for @beecampp - Heart eyes for this baby sprinkle for @beecampp - baby no. 2 is so much loved already! Items designed ~ Welcome sign, menus, invitation and favor labels 🦢✨

Copyright © 2023 Lovely Olive Living

- THEME BY ECLAIR DESIGNS -

Cleantalk Pixel