Hi friends! Now, I can officially say that I’m ashamed of how long it’s taken me to decorate the house for Halloween. I usually get pretty into it, but for some reason I’ve been a little slow this year. That being said, if you’re like me and want to add something easy for Halloween decorations – check out this last minute Halloween decor DIY, involving some fun and spooky bat cutouts!
To start off, you’ll need a few simple supplies…
Black cardstock
Bat printouts – Google
Scissors
Clear Packing Tape
Bright Colored Fabric Paint

Step 1 – Create your bat cutouts
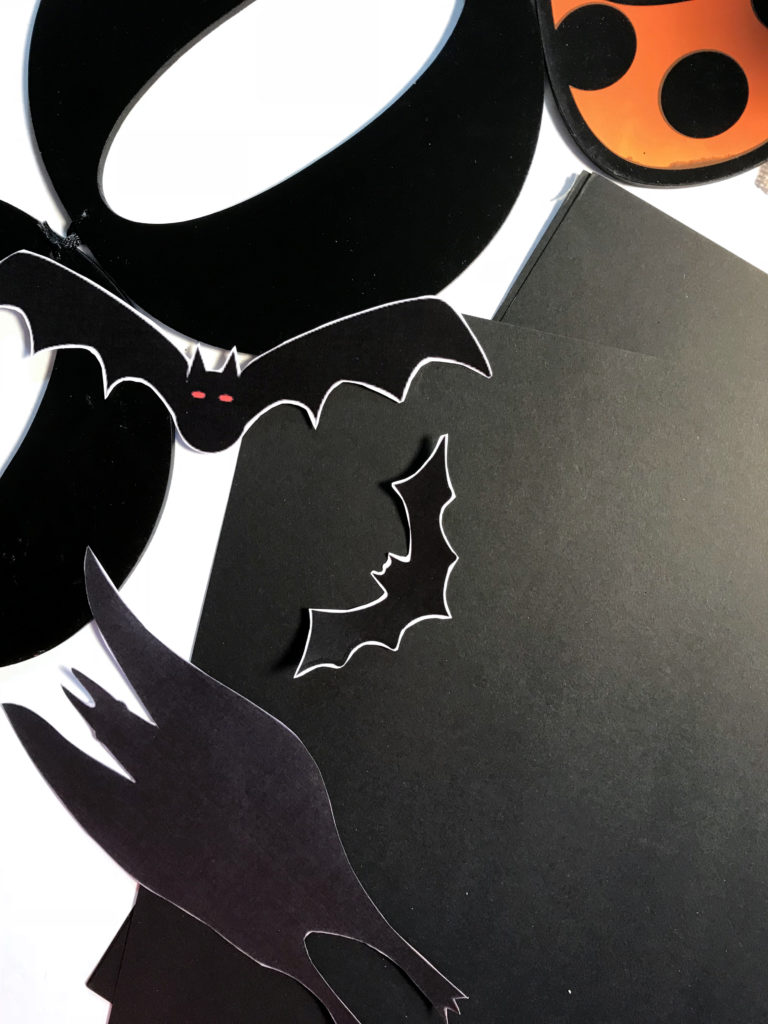
First, you’ll need to go online and print out some bats. I found these multiple sized bats and then ones that looked like they were hanging upside down. I put them together in a word doc for you guys to use! Click HERE to download them.
Once you’ve printed these puppies out, it’s time to cut out the original and trace a bunch of copies for your decor.
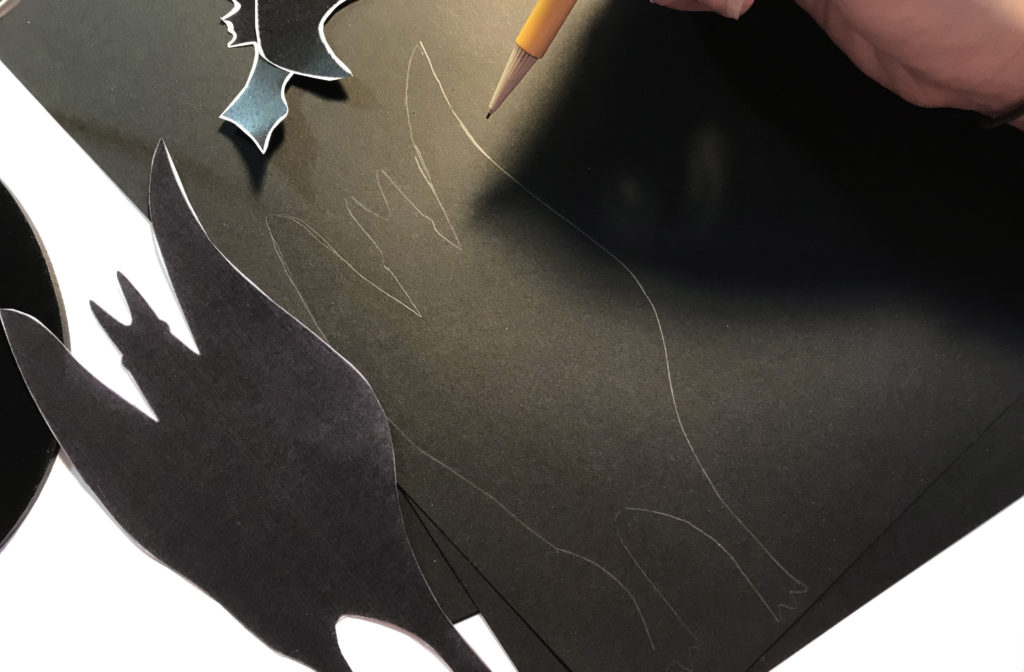
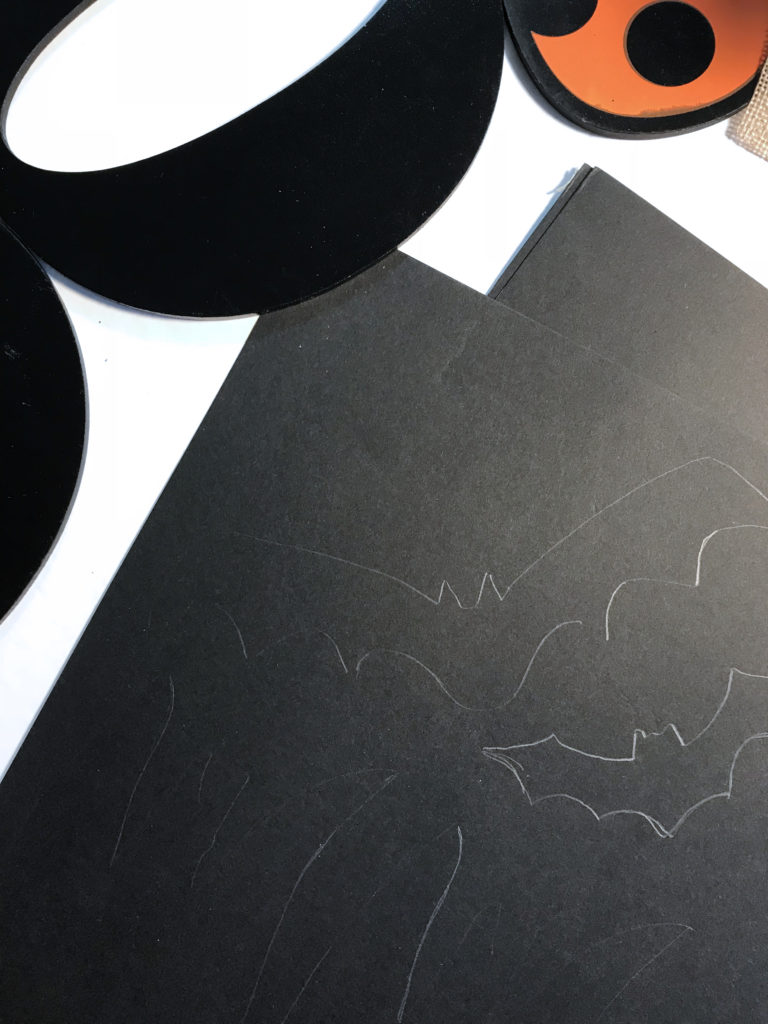
Step 2 – Add bright glowing eyes
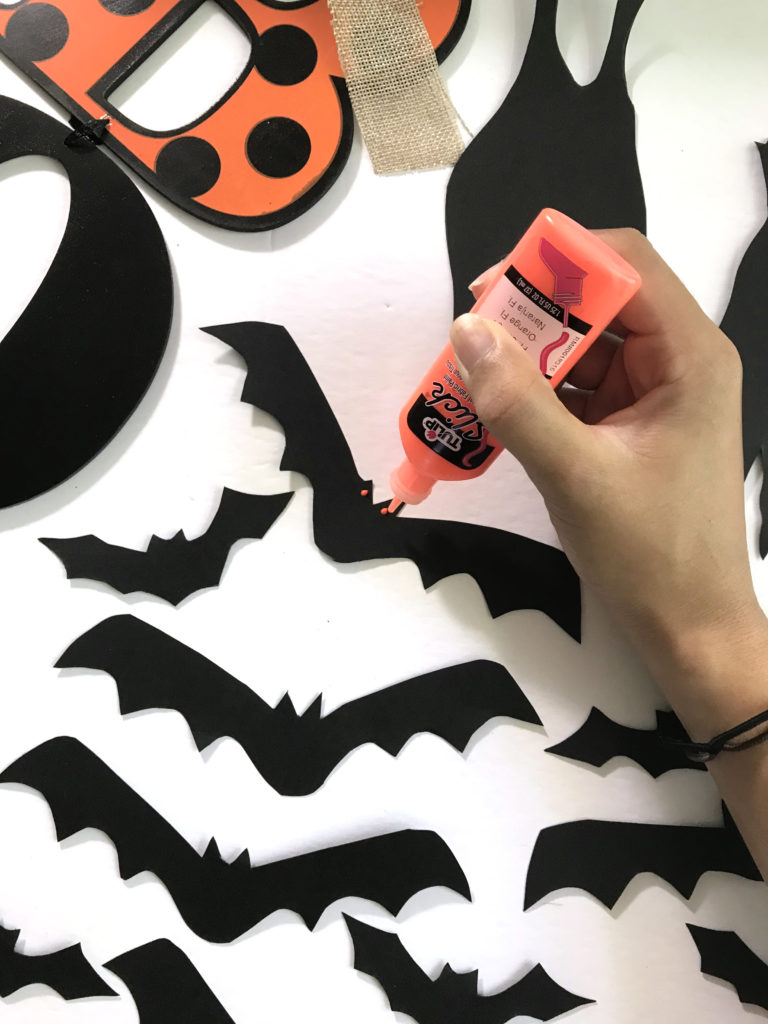
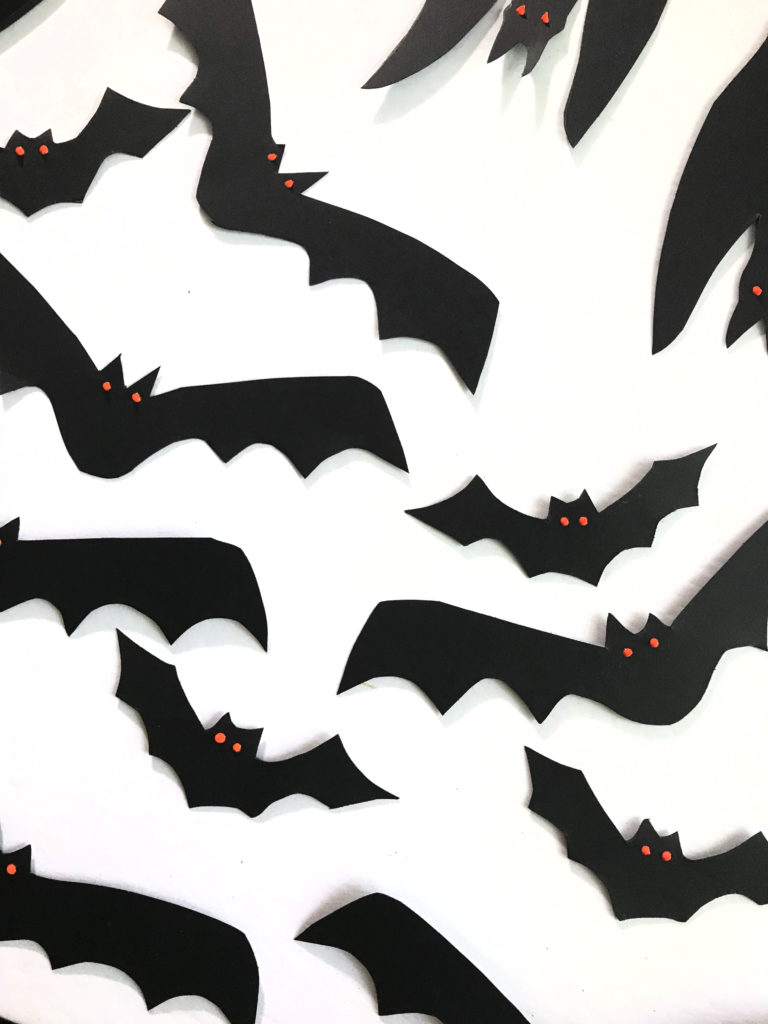
Once you’ve cut out enough bats – I did about 10 big bats, 10 small ones and then 2 hanging bats. After you finish all of your cutouts, it’s time to pop in some spooky eyes.
Use a small dab (and i mean SMALL) of your orange fabric paint to create eyes!
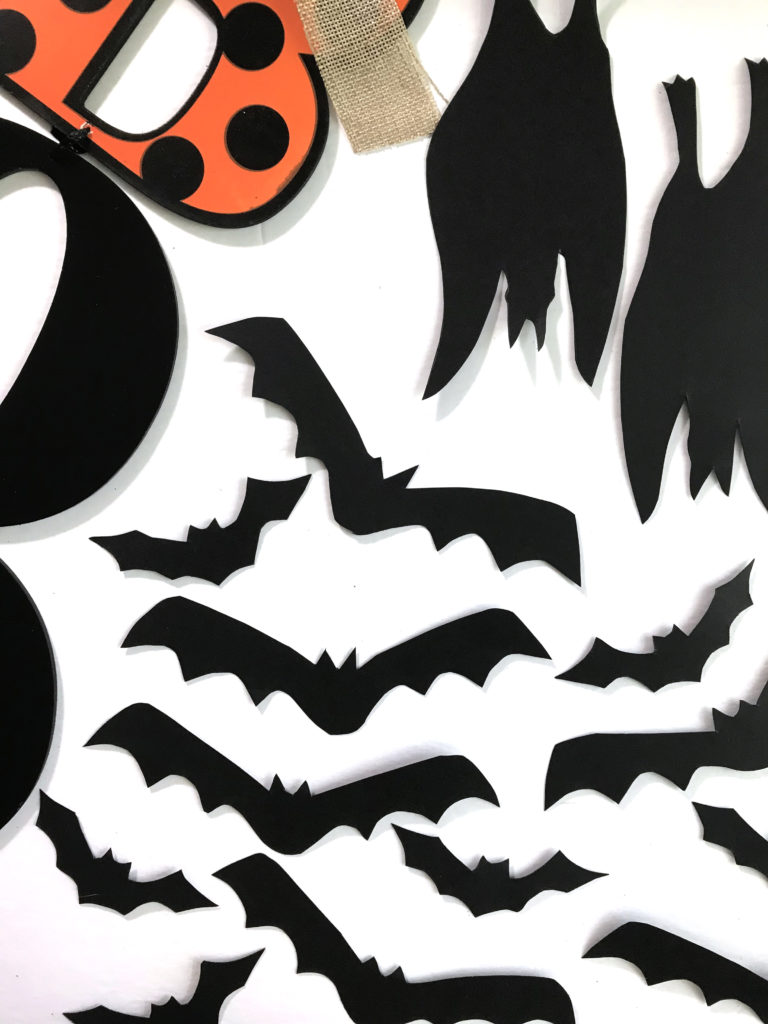
Step 3 – Hang your bats!
Once your eyes dry – should take only a few minutes – it’s time to hang your creepy swooping friends. I wanted to utilize mine on the outside, right by my front door.
Since the outside of my house is cement, clear packing tape was perfect for this as it’s strong and sturdy. If you’re planning on hanging these in your house, I wouldn’t use anything stronger than the sticky tack stuff, or some simple scotch tape to avoid peeling your interior paint.
Add a little folded over piece onto the back of each bat and then attach in a swooping motion – this will give the effect that the bats are swarming!
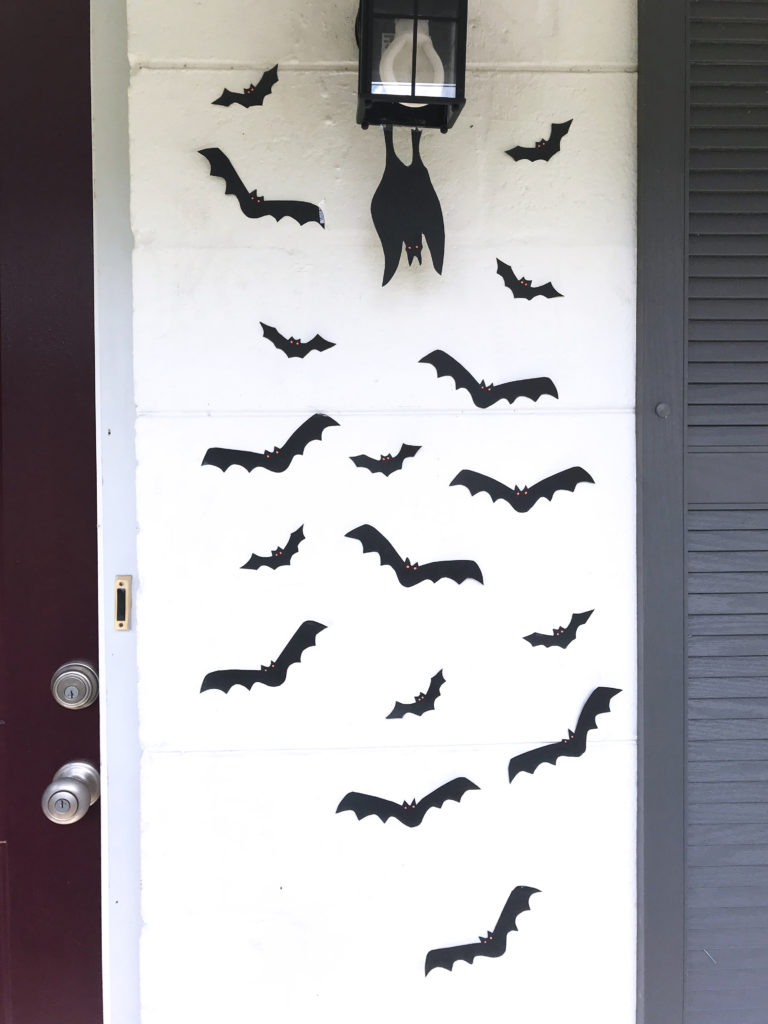
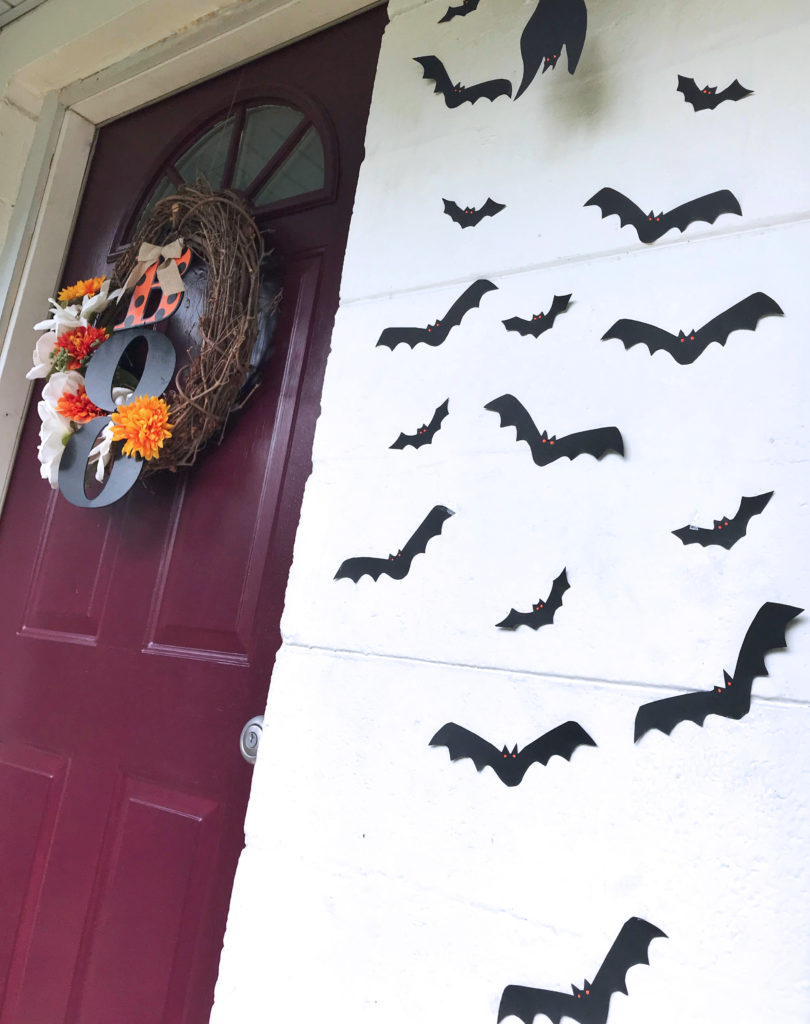
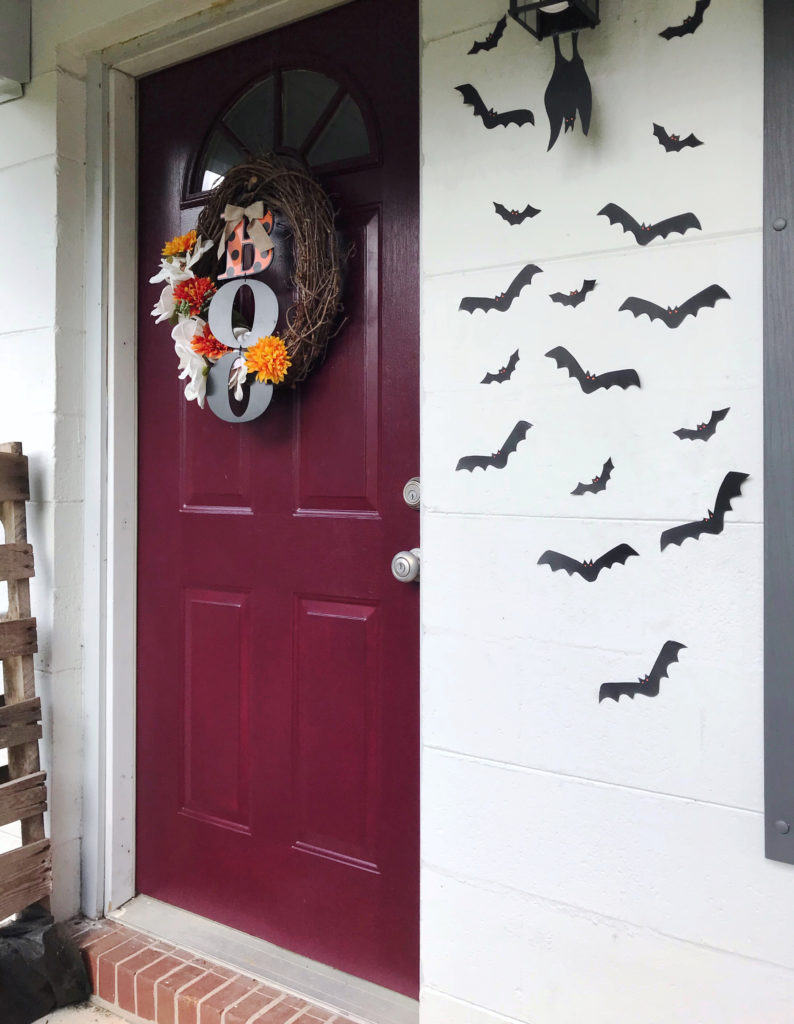
Voila! Let the ghouls and spooky spirits join you this Halloween!!


Love them!