This DIY was for my mom’s birthday! This month, her and my dad are going on vacation and I thought this would be the perfect little addition to her packing list! Check it, a hand lettered travel jewelry case made from a tin pill box. 🙂
Supplies
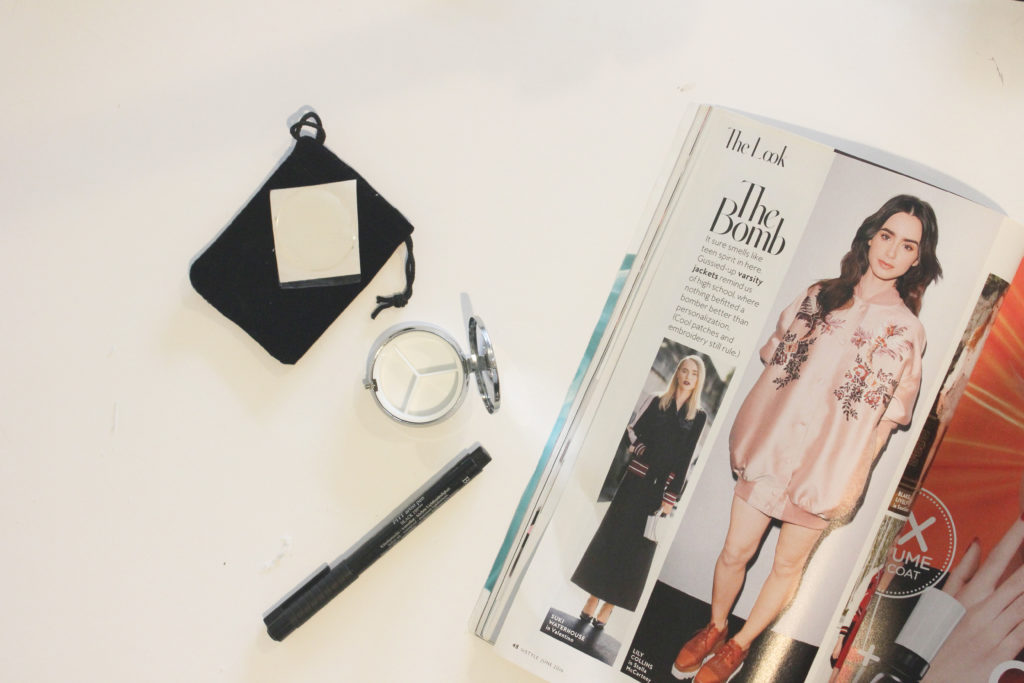
Magazine
Tacky glue – $2.00 Michael’s
Black marker – I used a Fabercastel ~$3.00, but you can use a sharpie if you don’t have!
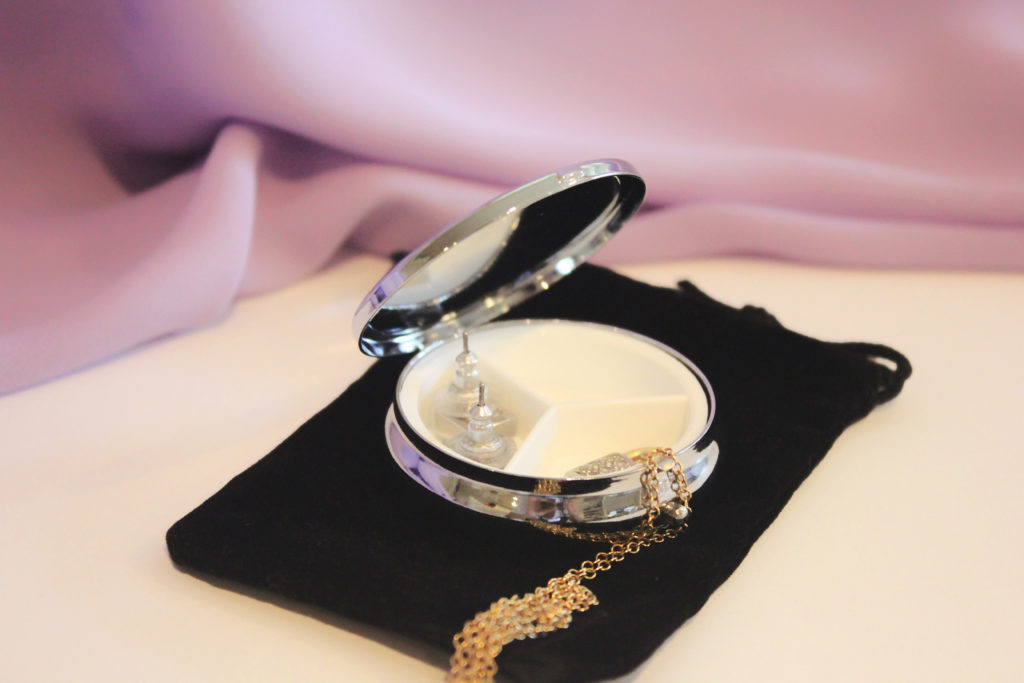
Tin Pill Box with resin sticker – $4.25 Etsy (the three compartments ensure your jewelry won’t tangle)
Step 1: Choose your background
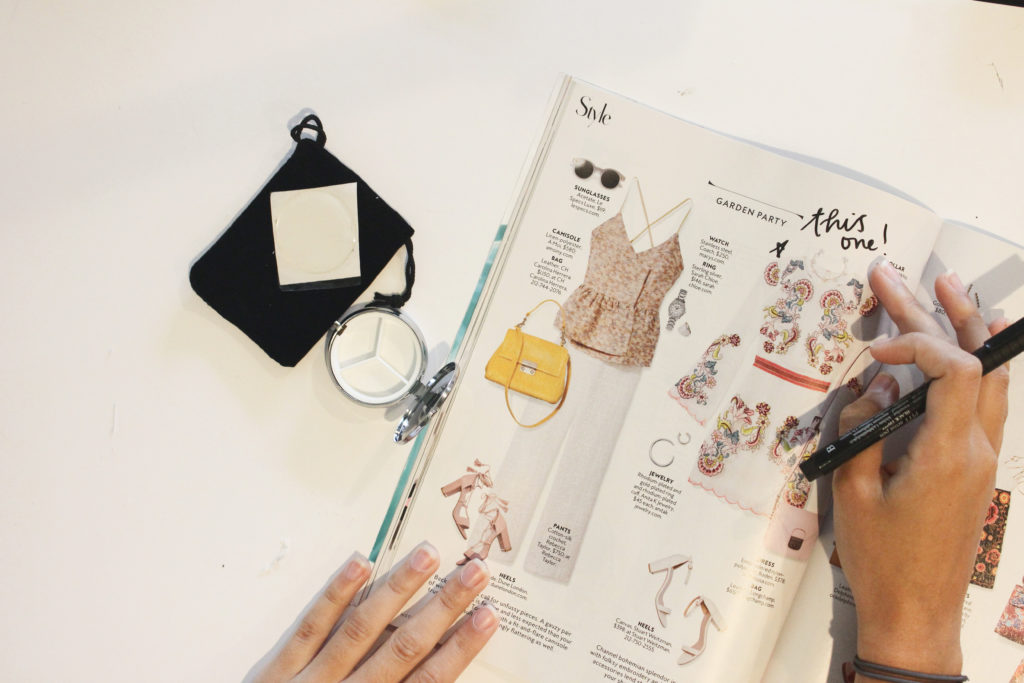
Choose a pattern from the magazine that you like for the top of your jewelry case. I chose this embroidered dress because I loved the bright colors. 🙂
Step 2: Cut out your background
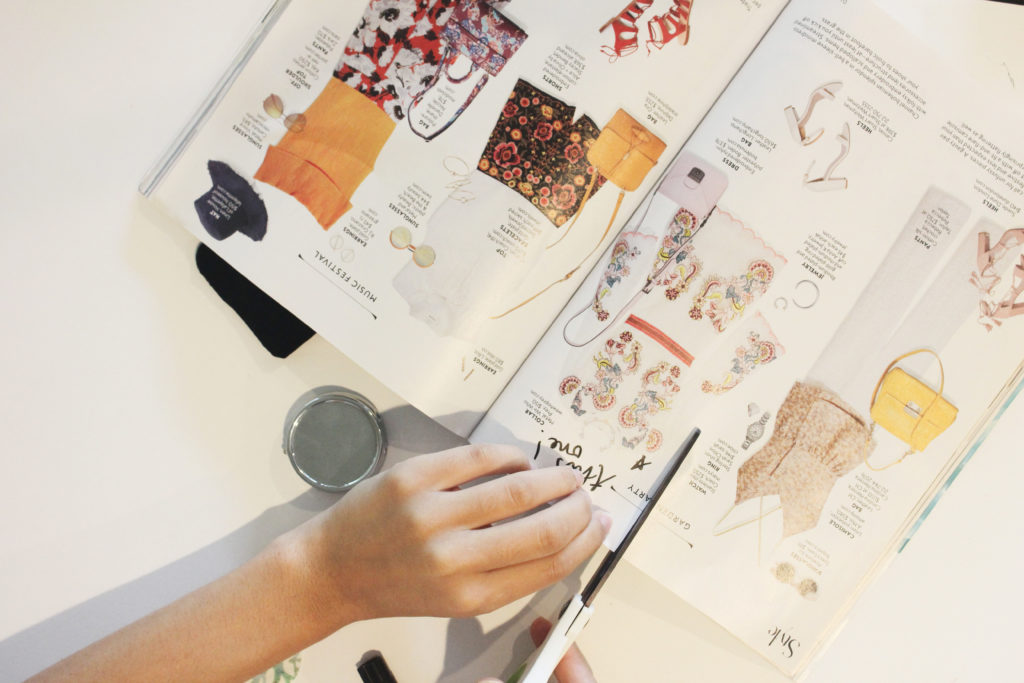
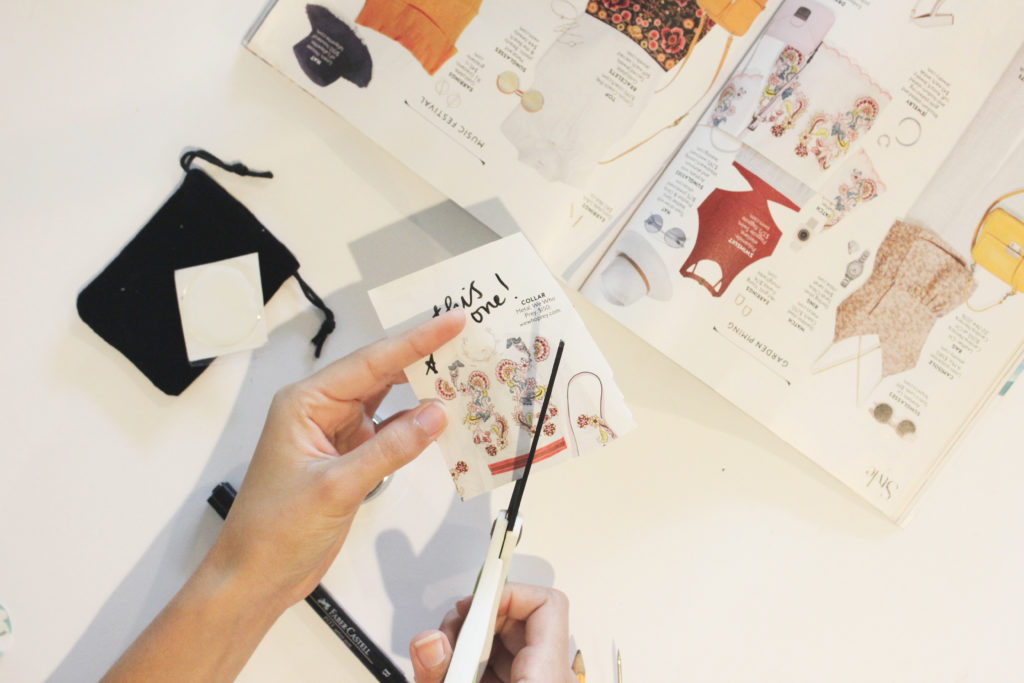
Once you’ve figured out which pattern you like, measure out a circle about the same size of the top of your tin jewelry box and then cut. I used a compass, but you can estimate.
Step 3: Make sure the background fits!
Put your cut circle on top of your tin box just to double check that it’s the perfect size.
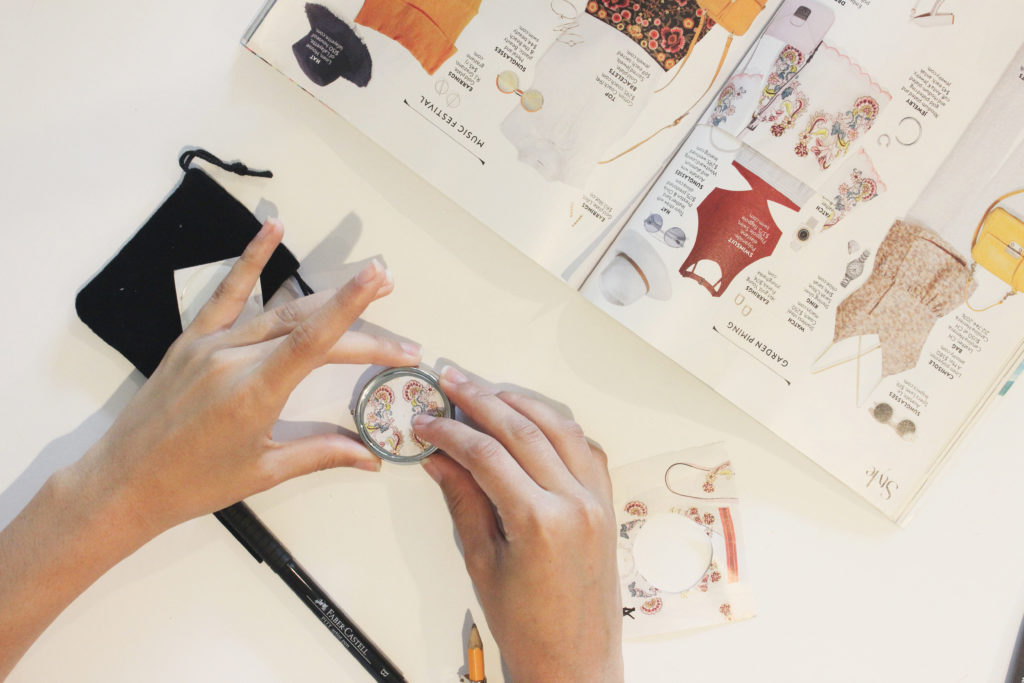
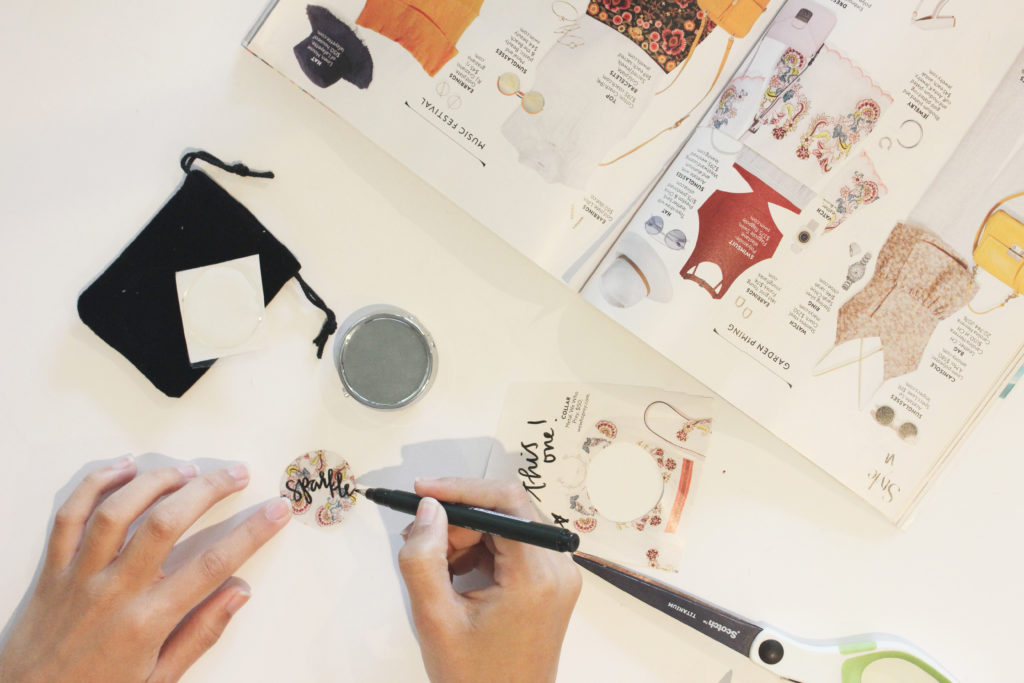
Step 4: Write your quote/word
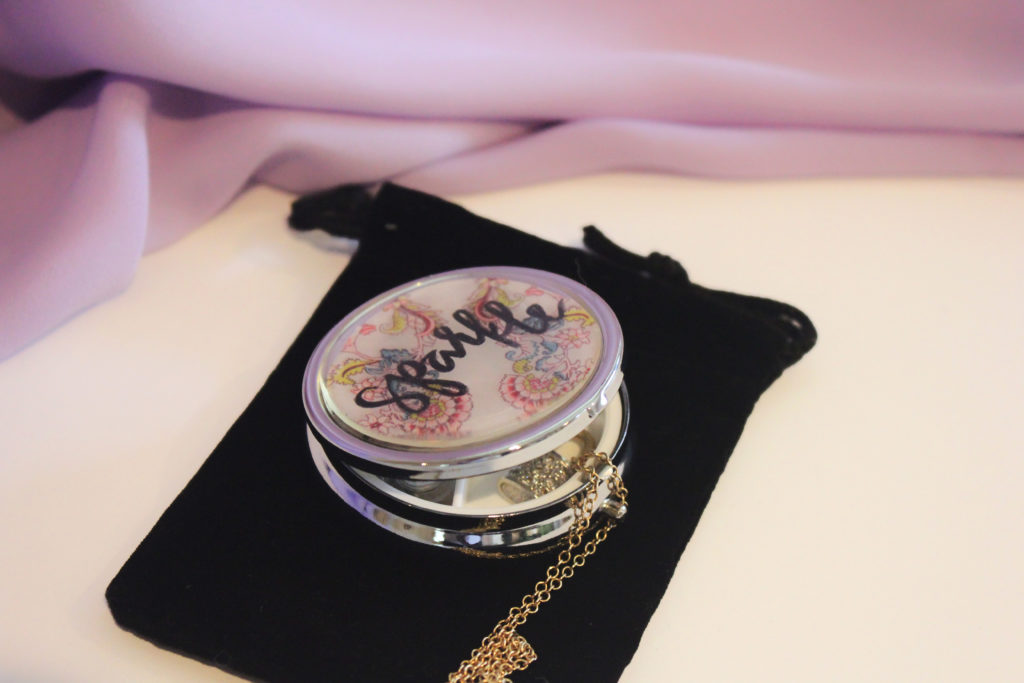
You can always add your name to make it customized, but I added “Sparkle” because I planned on giving this as a jewelry case.
Step 5: Glue down your background
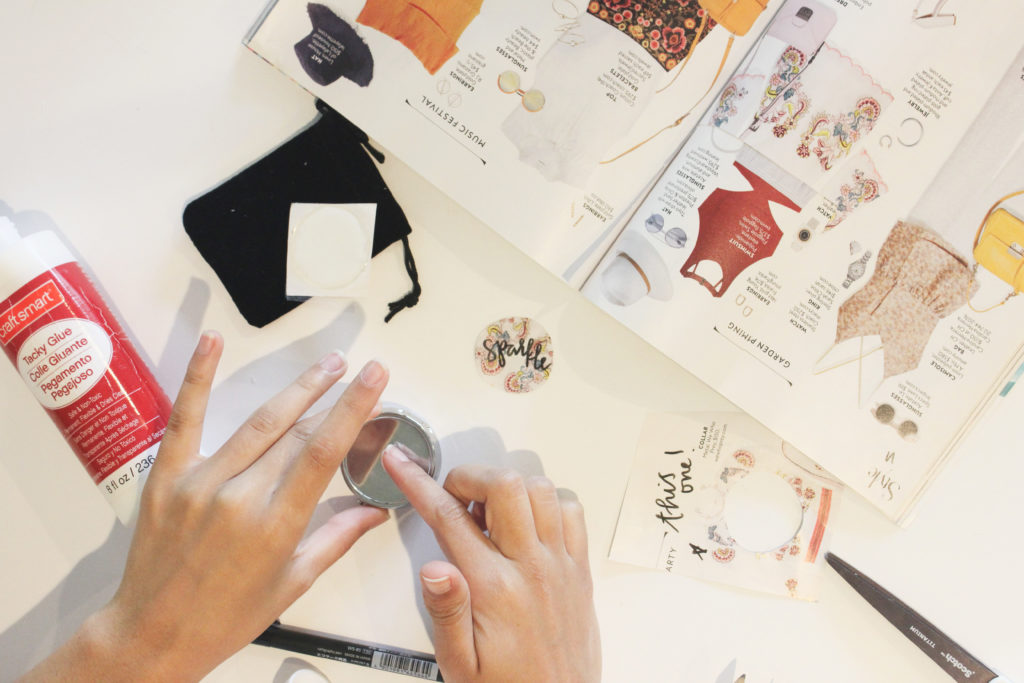
Once you’ve written your word, use a small dab of tacky glue and spread around the top of your tin box. Then gently attach your patterned circle.
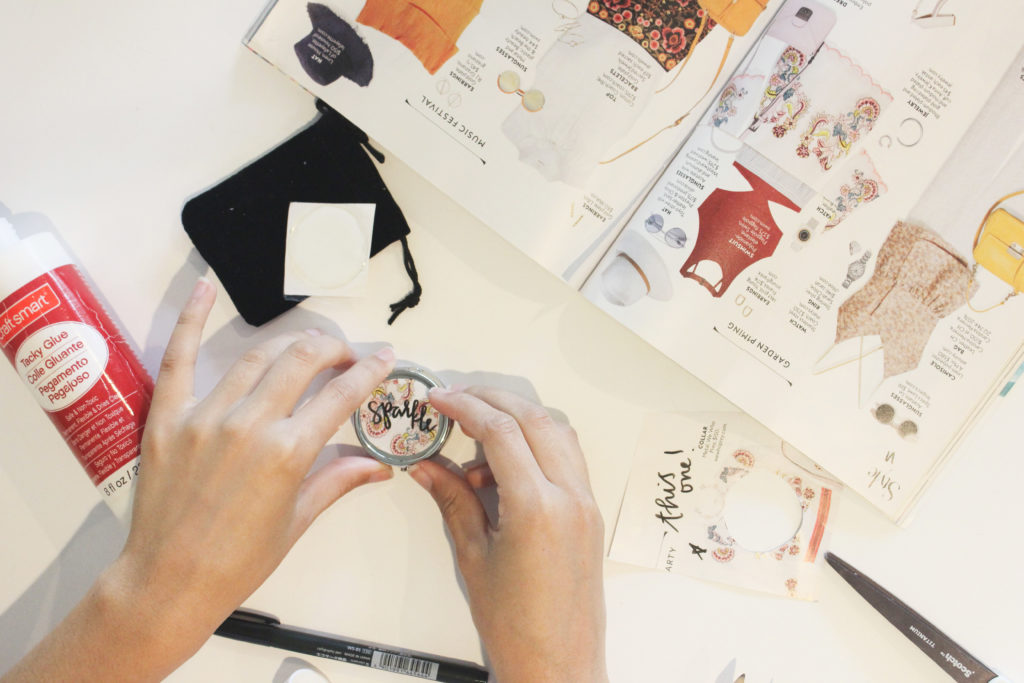
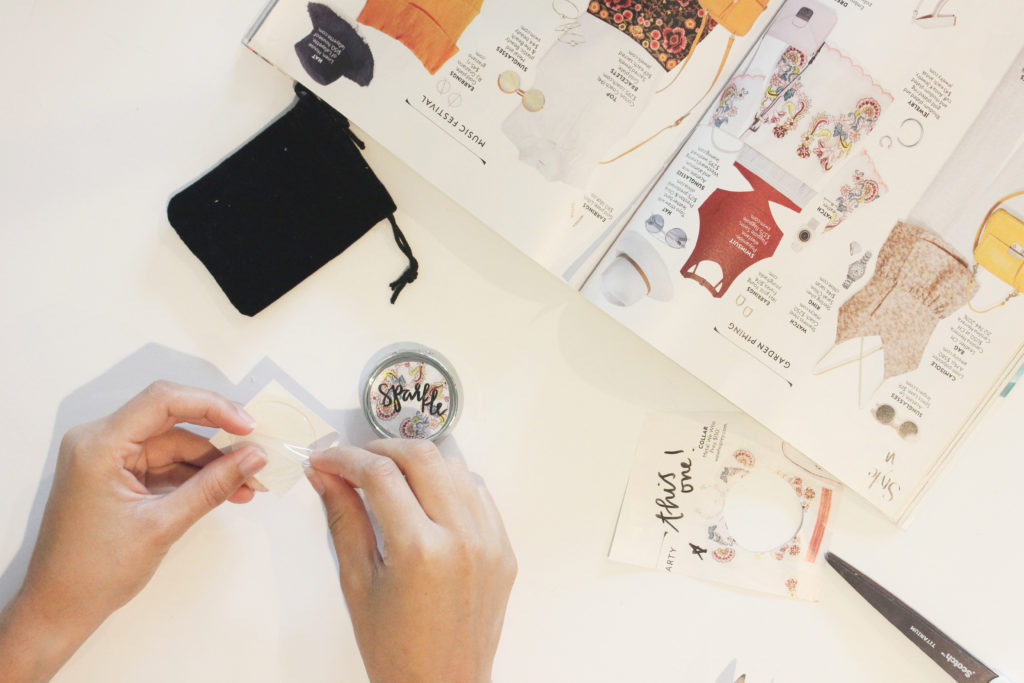
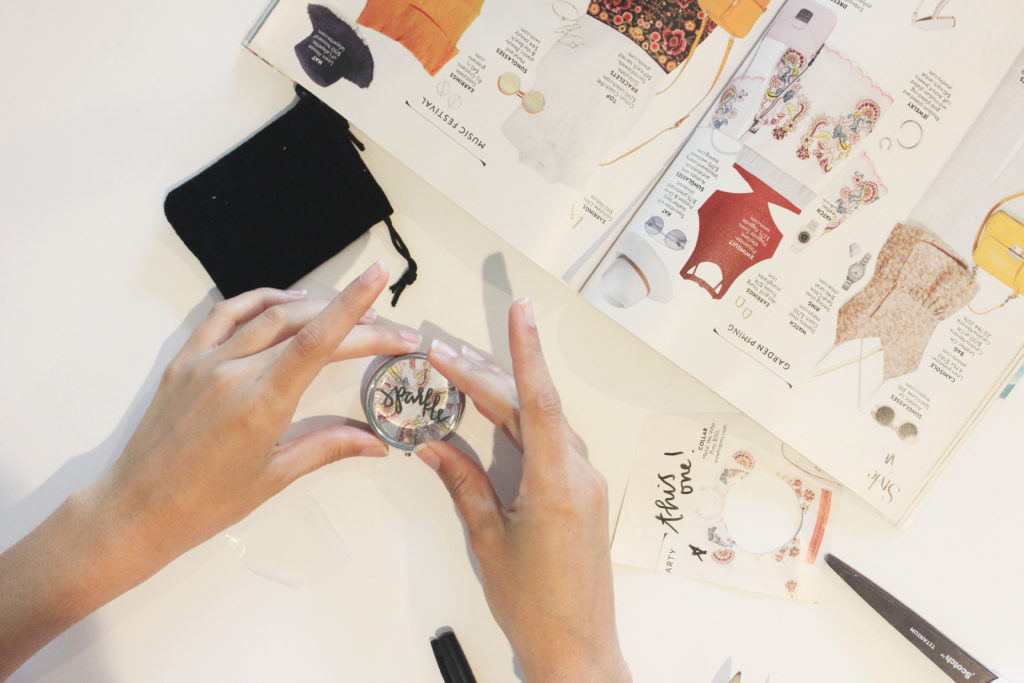
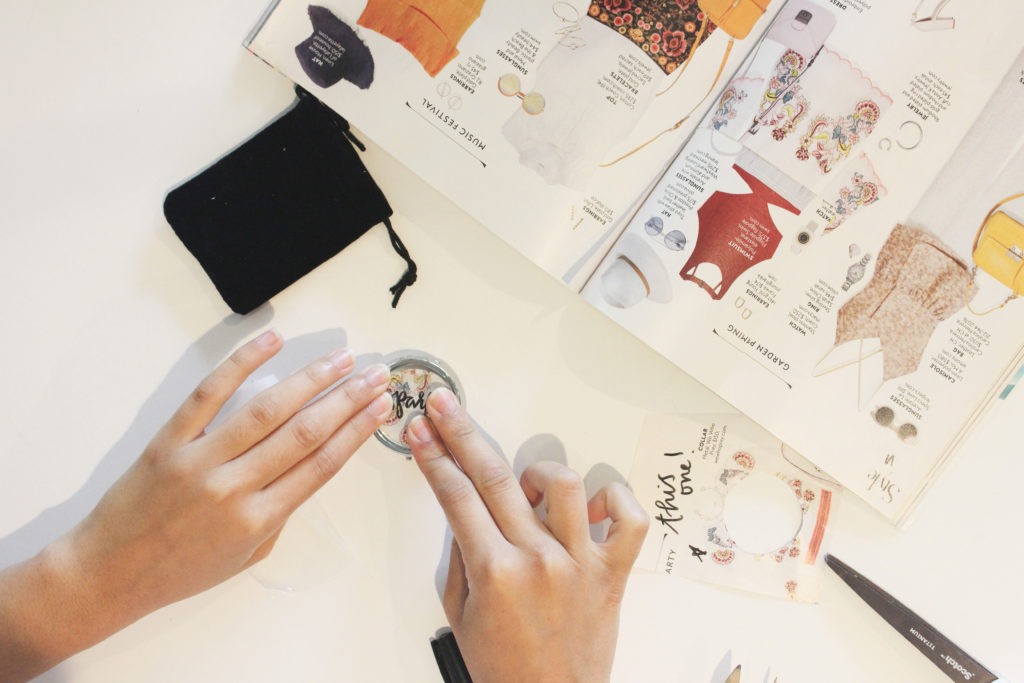
Step 6: Attach your resin sticker
After your patterned circle is glued down, it’s time to add your resin sticker. Make sure it’s centered directly over the pattern circle and be careful not to touch the sticky side with your fingers.
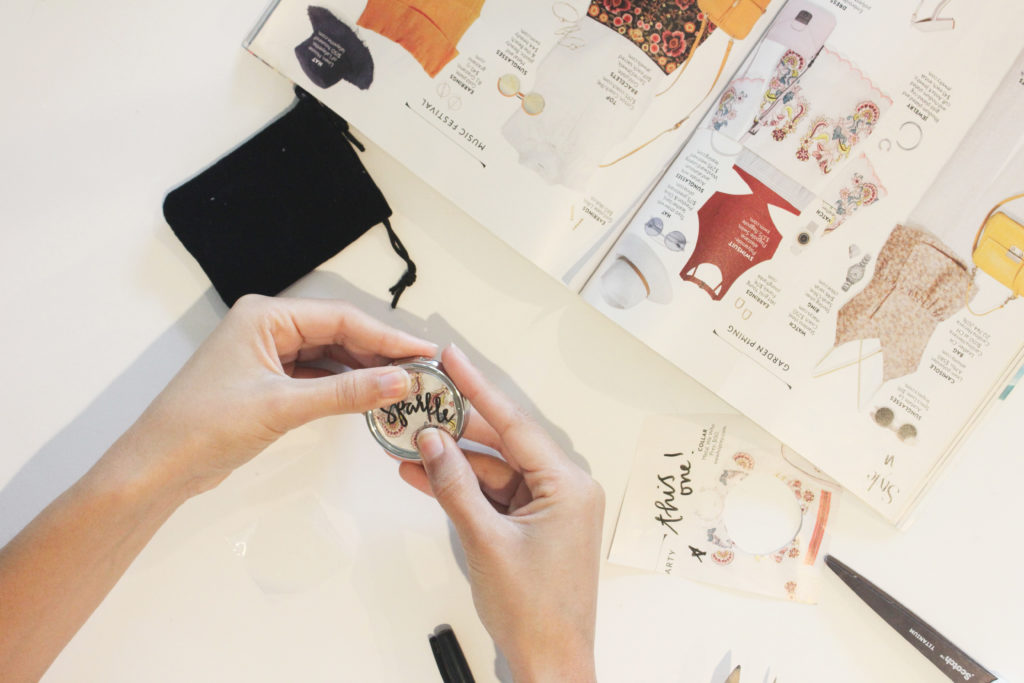
And it’s finished!
The fun sized travel jewelry case for small earrings and a necklace – fits perfectly in the zip pocket of your purse.


Leave a Reply