Soooo I have been slacking – traveling for work this last week set me back a week and I wasn’t able to get a post out last week. SORRY FRIENDS! I will say though, that sometimes it’s nice to just catch up on things after you’ve been out and running around like a chicken with your head cut off. This past weekend, I finally got caught up on some of the projects on my list, and I have to say that I have had this one on it for quite a while!
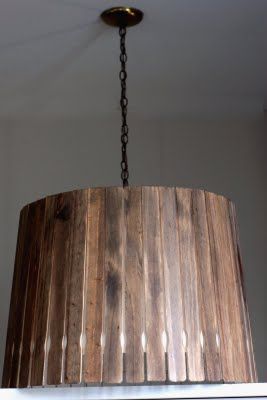
Ever since March – National Craft Month I’ve been wanting to do this one, but the kitchen wasn’t quite there yet, and I didn’t want to scare you guys into thinking that we are chaotic people. LOL So excited to share my latest DIY – A wooden paint stick pendant light!
The Inspiration
When we first looked into pendant lights, I wasn’t too thrilled with anything I found (that wasn’t more than like $30) and since this isn’t a forever home, I didn’t want to spend more than that. I thought it would be a perfect DIY. I went back and forth trying to decide if I wanted to do one of those wire caging lights, or the old mid-century modern farmhouse lamps. Finally, I came across this light on pinterest and thought it would be perfect – with my own personal touch of course!
I headed to the Home Depot, my favorite store (lol) and went looking for supplies!
On my list
Paint Sticks – Fo FREE or 99cents per package of 24 if you feel guilty
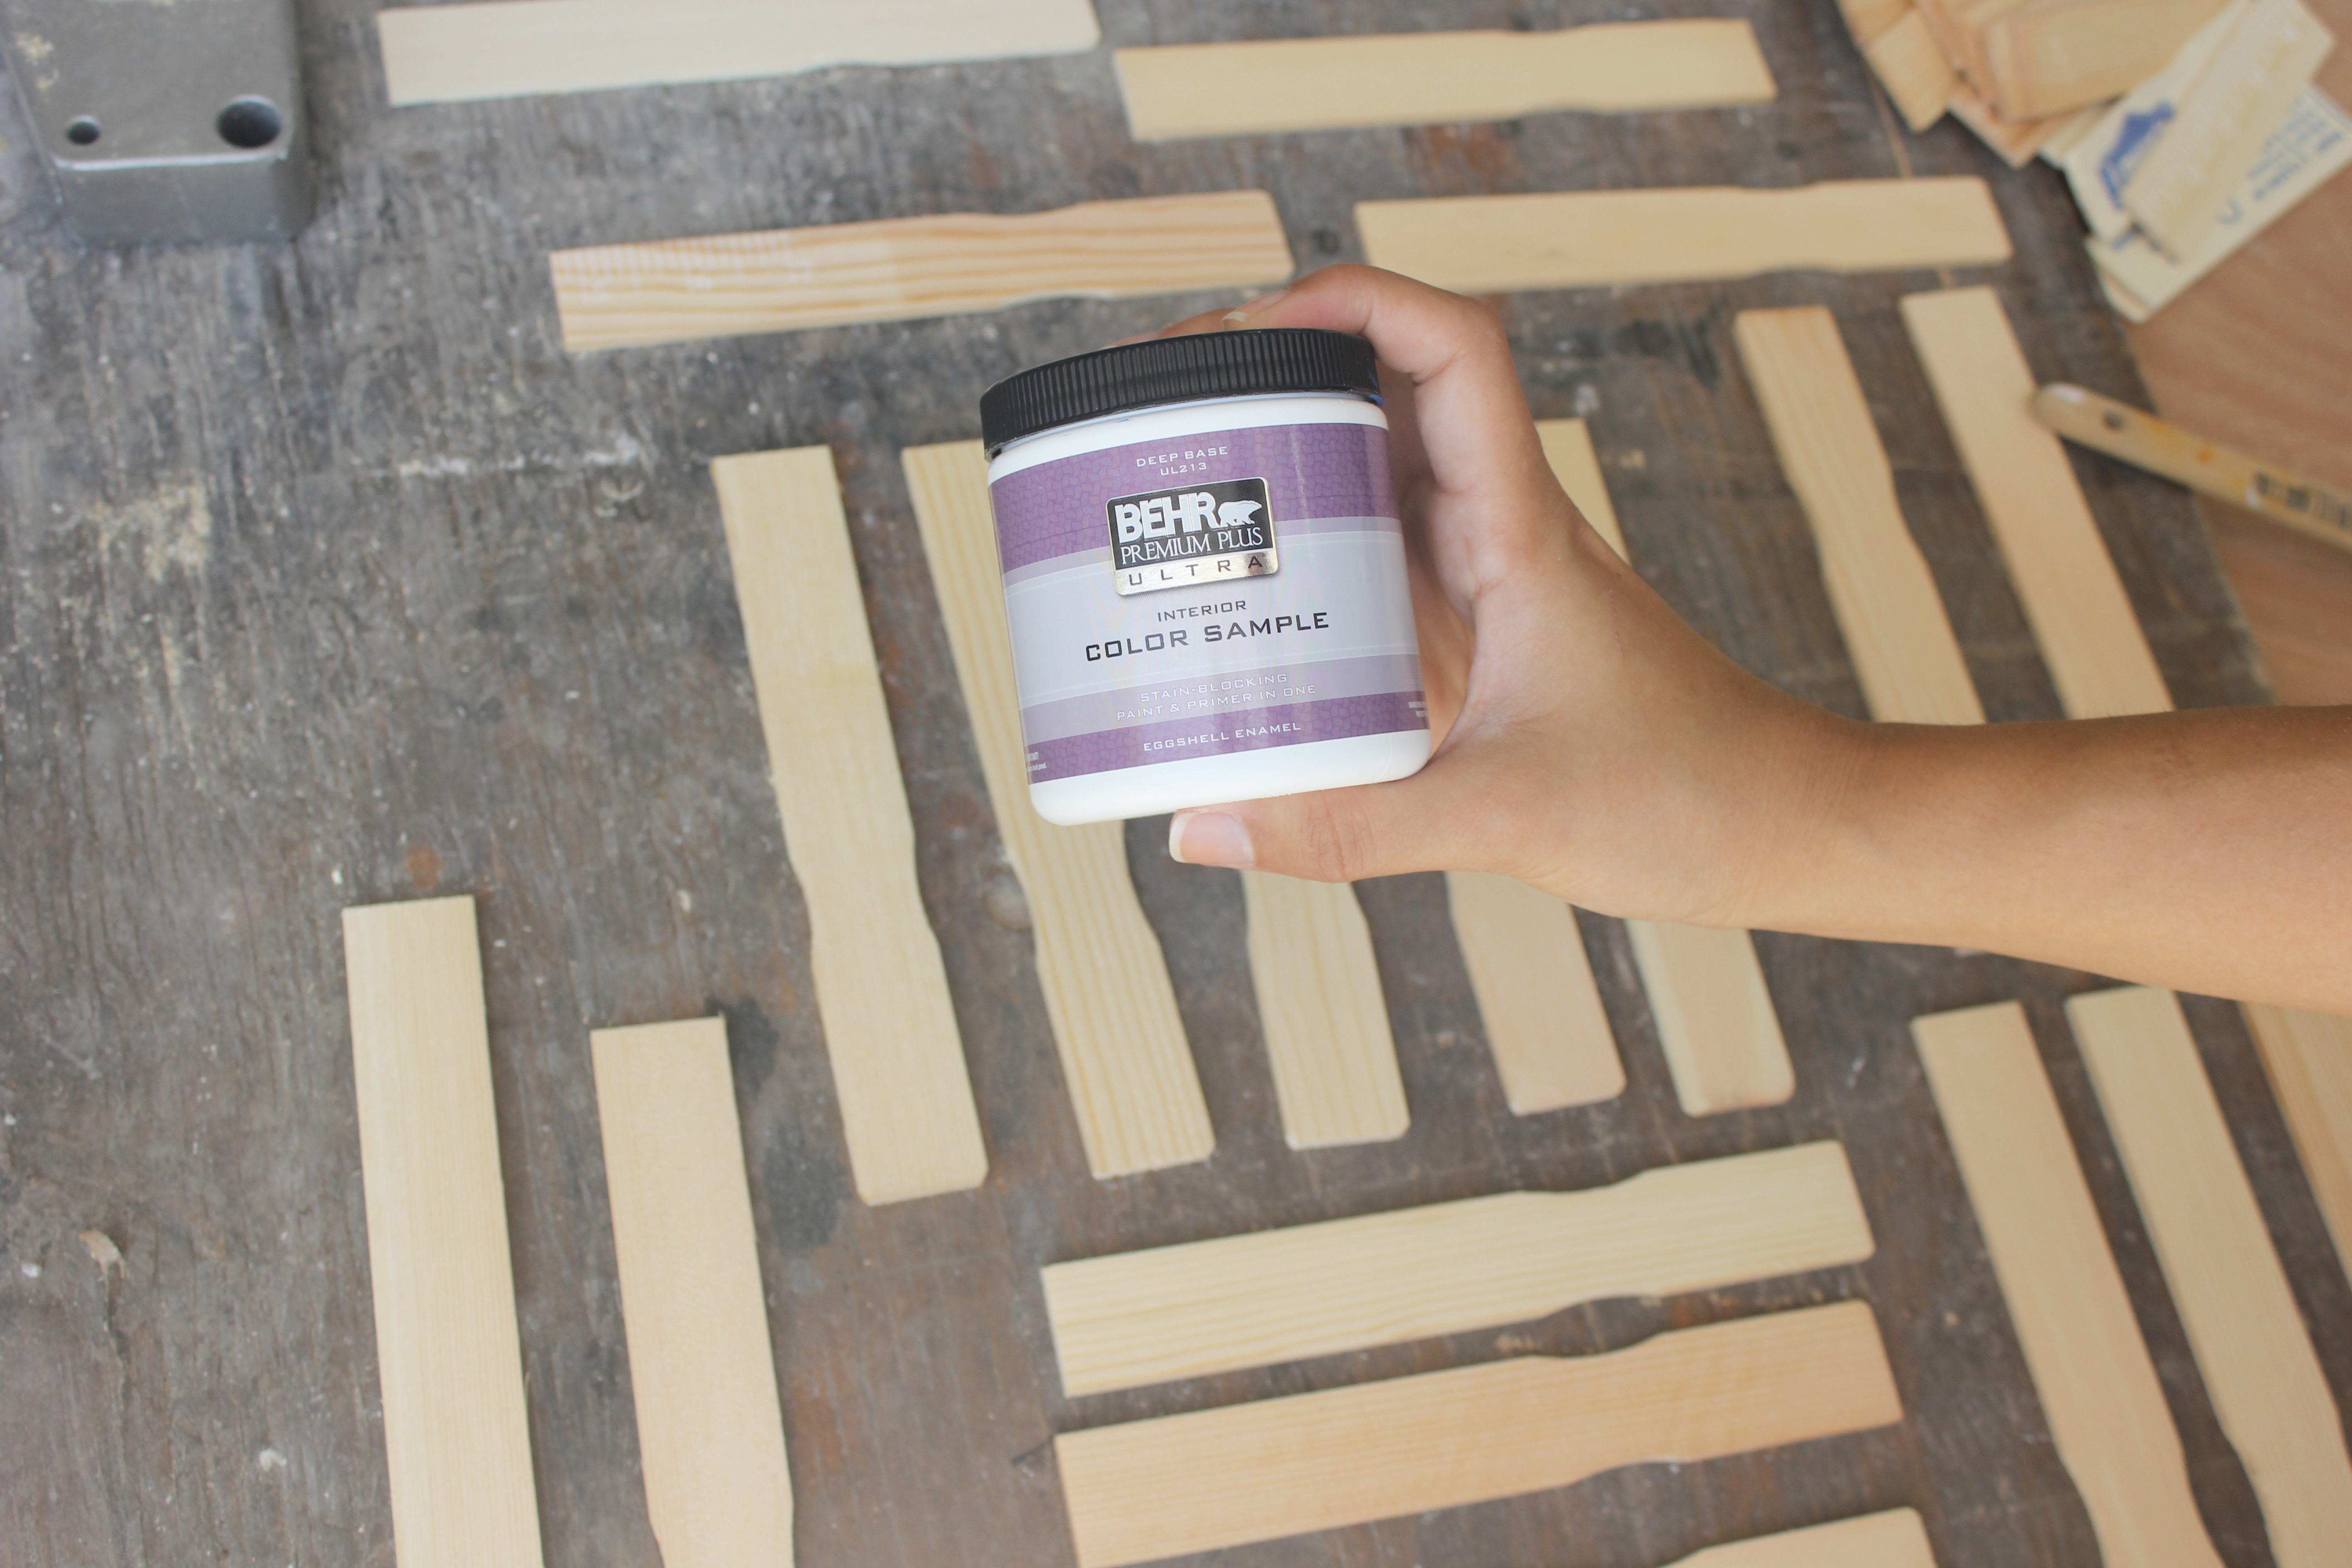
Paint sample – Approx $3 ea
Paint Brush – Had already but they’re about $3-5
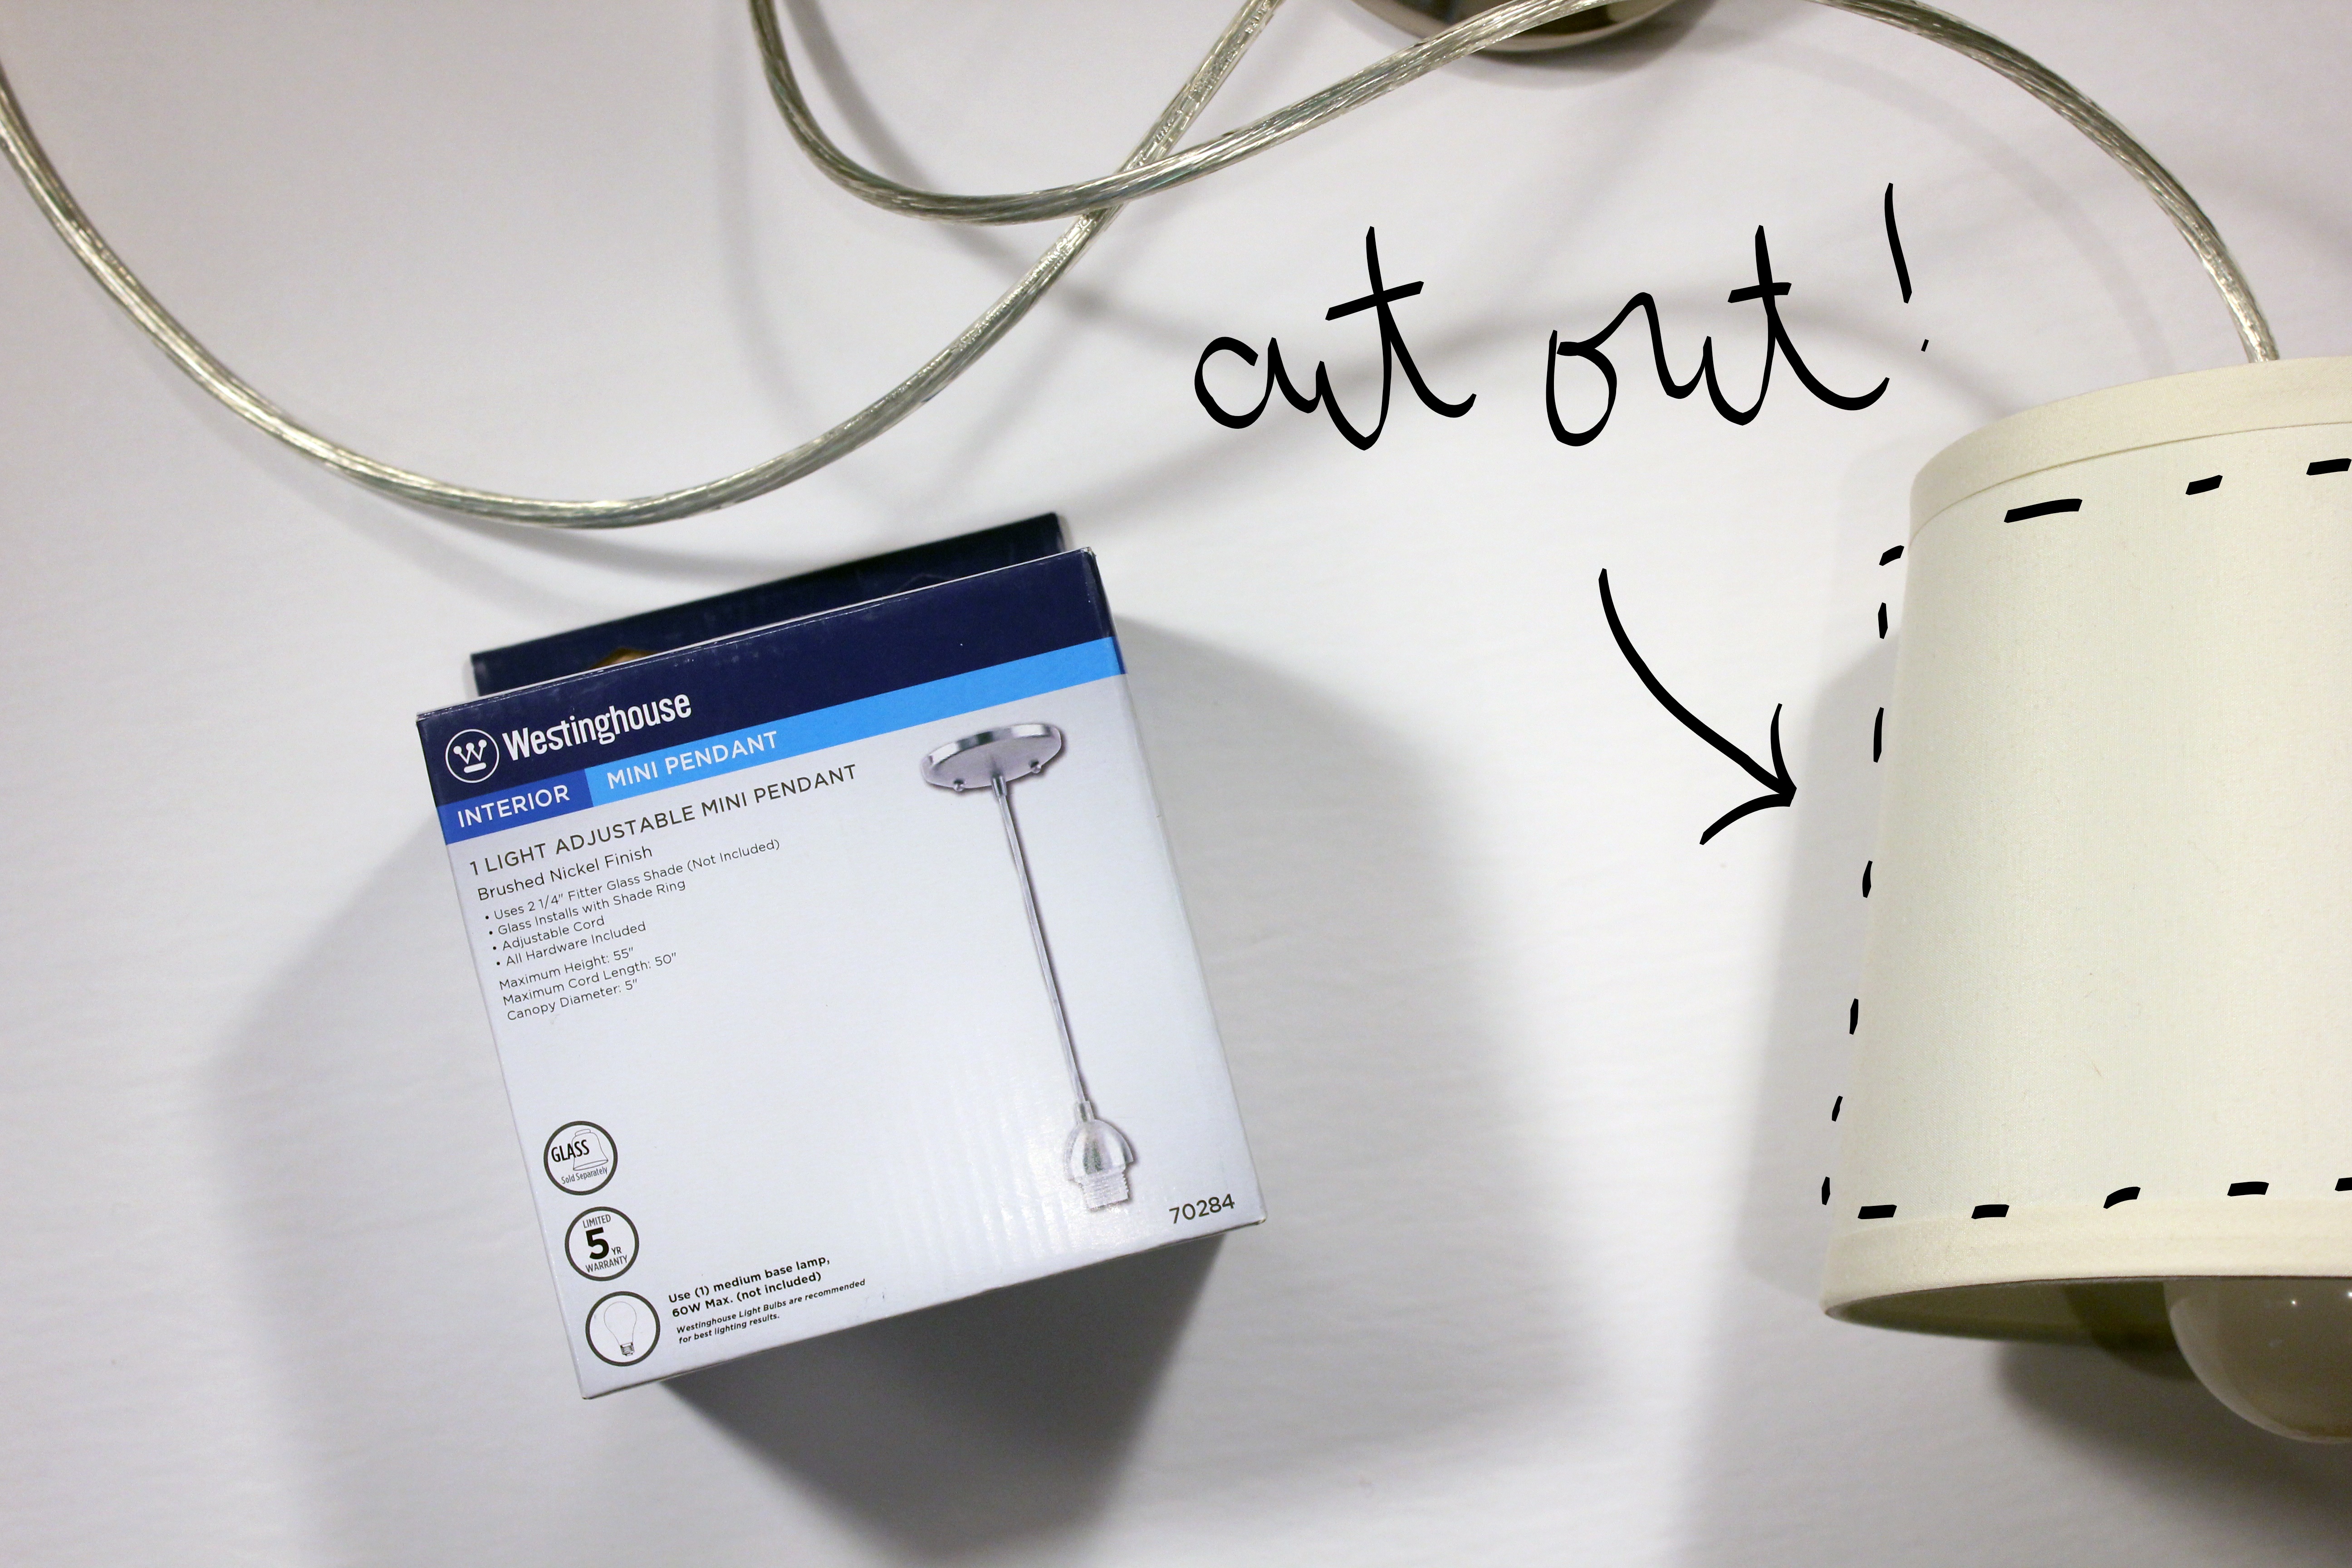
Pendant Light Kit in Brushed Nickel – $16.47
Small Lampshade (Size varies on what you’re looking for, but we used one with a diameter of 6″)
The Color
We decided that it would be interesting to do this in a fun color. Since our house is pretty much neutral and everything in our kitchen is neutral as well, we had a good amount of wiggle room on a color. The only thing in our entire kitchen that is in a bright color, happens to be Jonathan’s Kitchen Aid Mixer – in French Blue. No, we did not choose this color to betray our Garnet & Gold roots (those run deep) we just both loved that it was nice and bright! (Sorry Lisa)
Now, usually you can get the experts at Home Depot to match pretty much any color you want just as long as you bring in a small sample, but I was not about to carry a 40 lb kitchen mixer in to Home Depot. That being said, I think I did pretty well from memory, but I definitely think Kitchen Aid needs to include small paint chips in the box with their mixers so that Type A people like me can match the color to other things in their kitchen. Cough Cough, where is the suggestion box?!
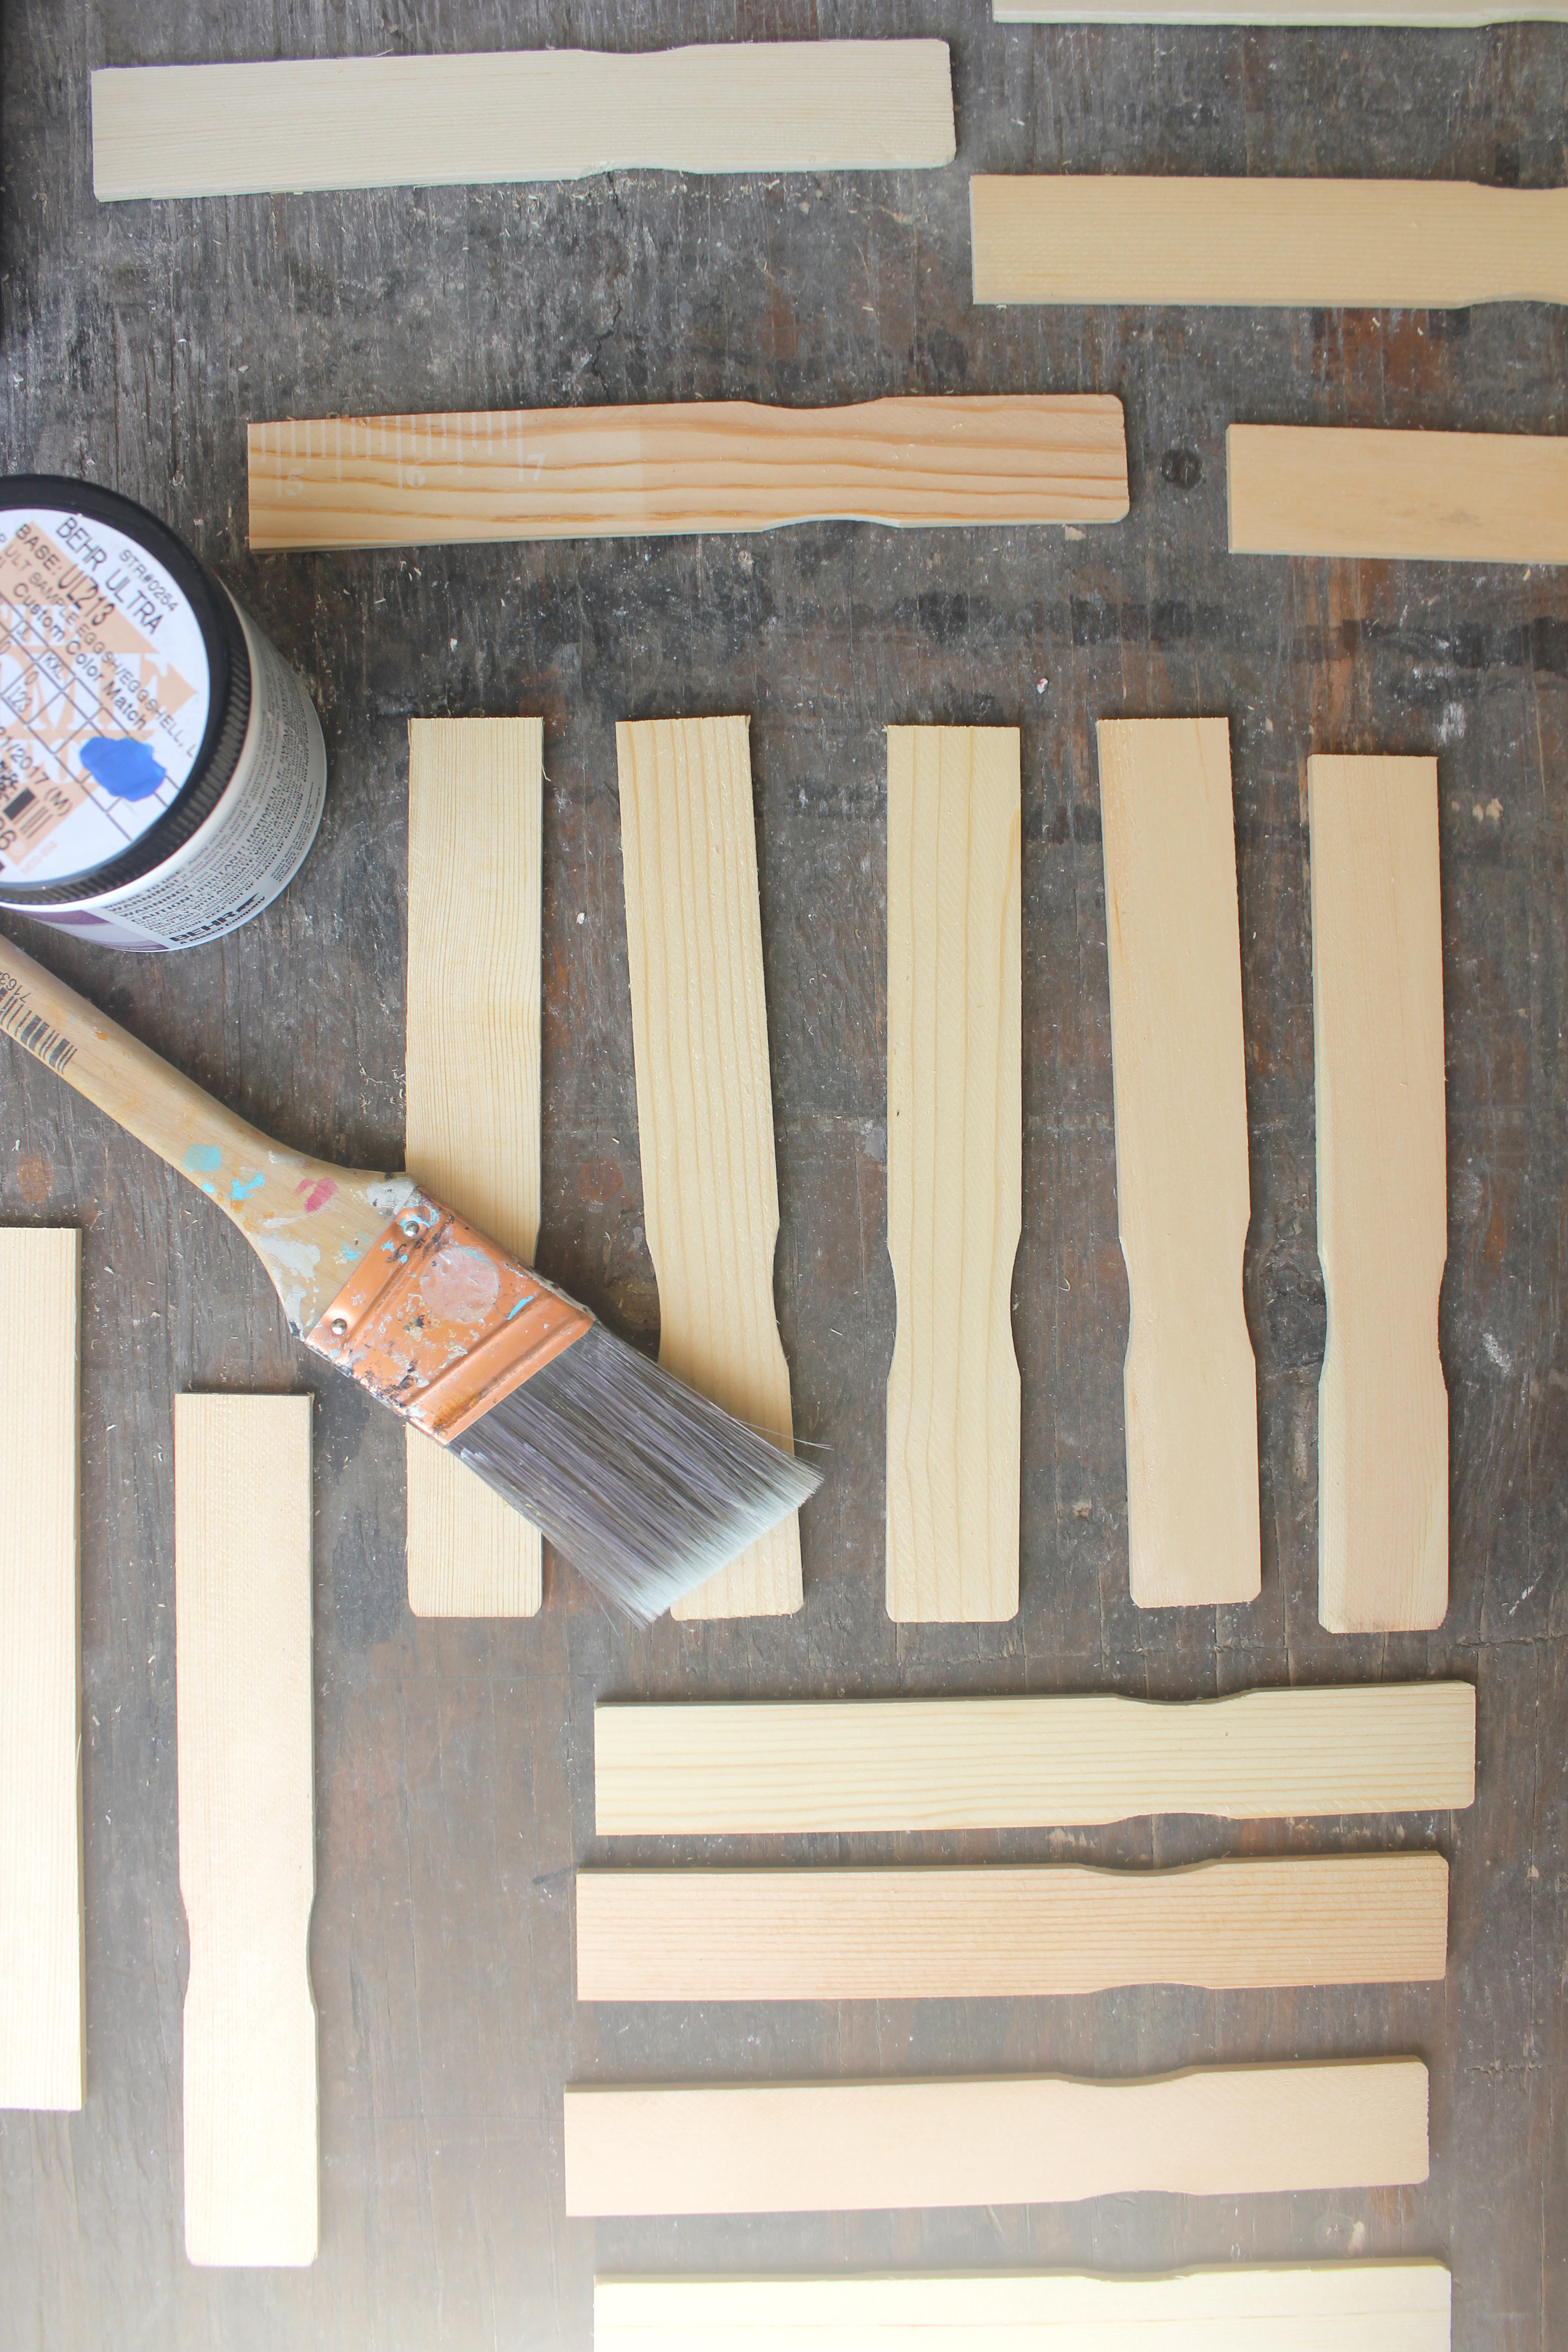
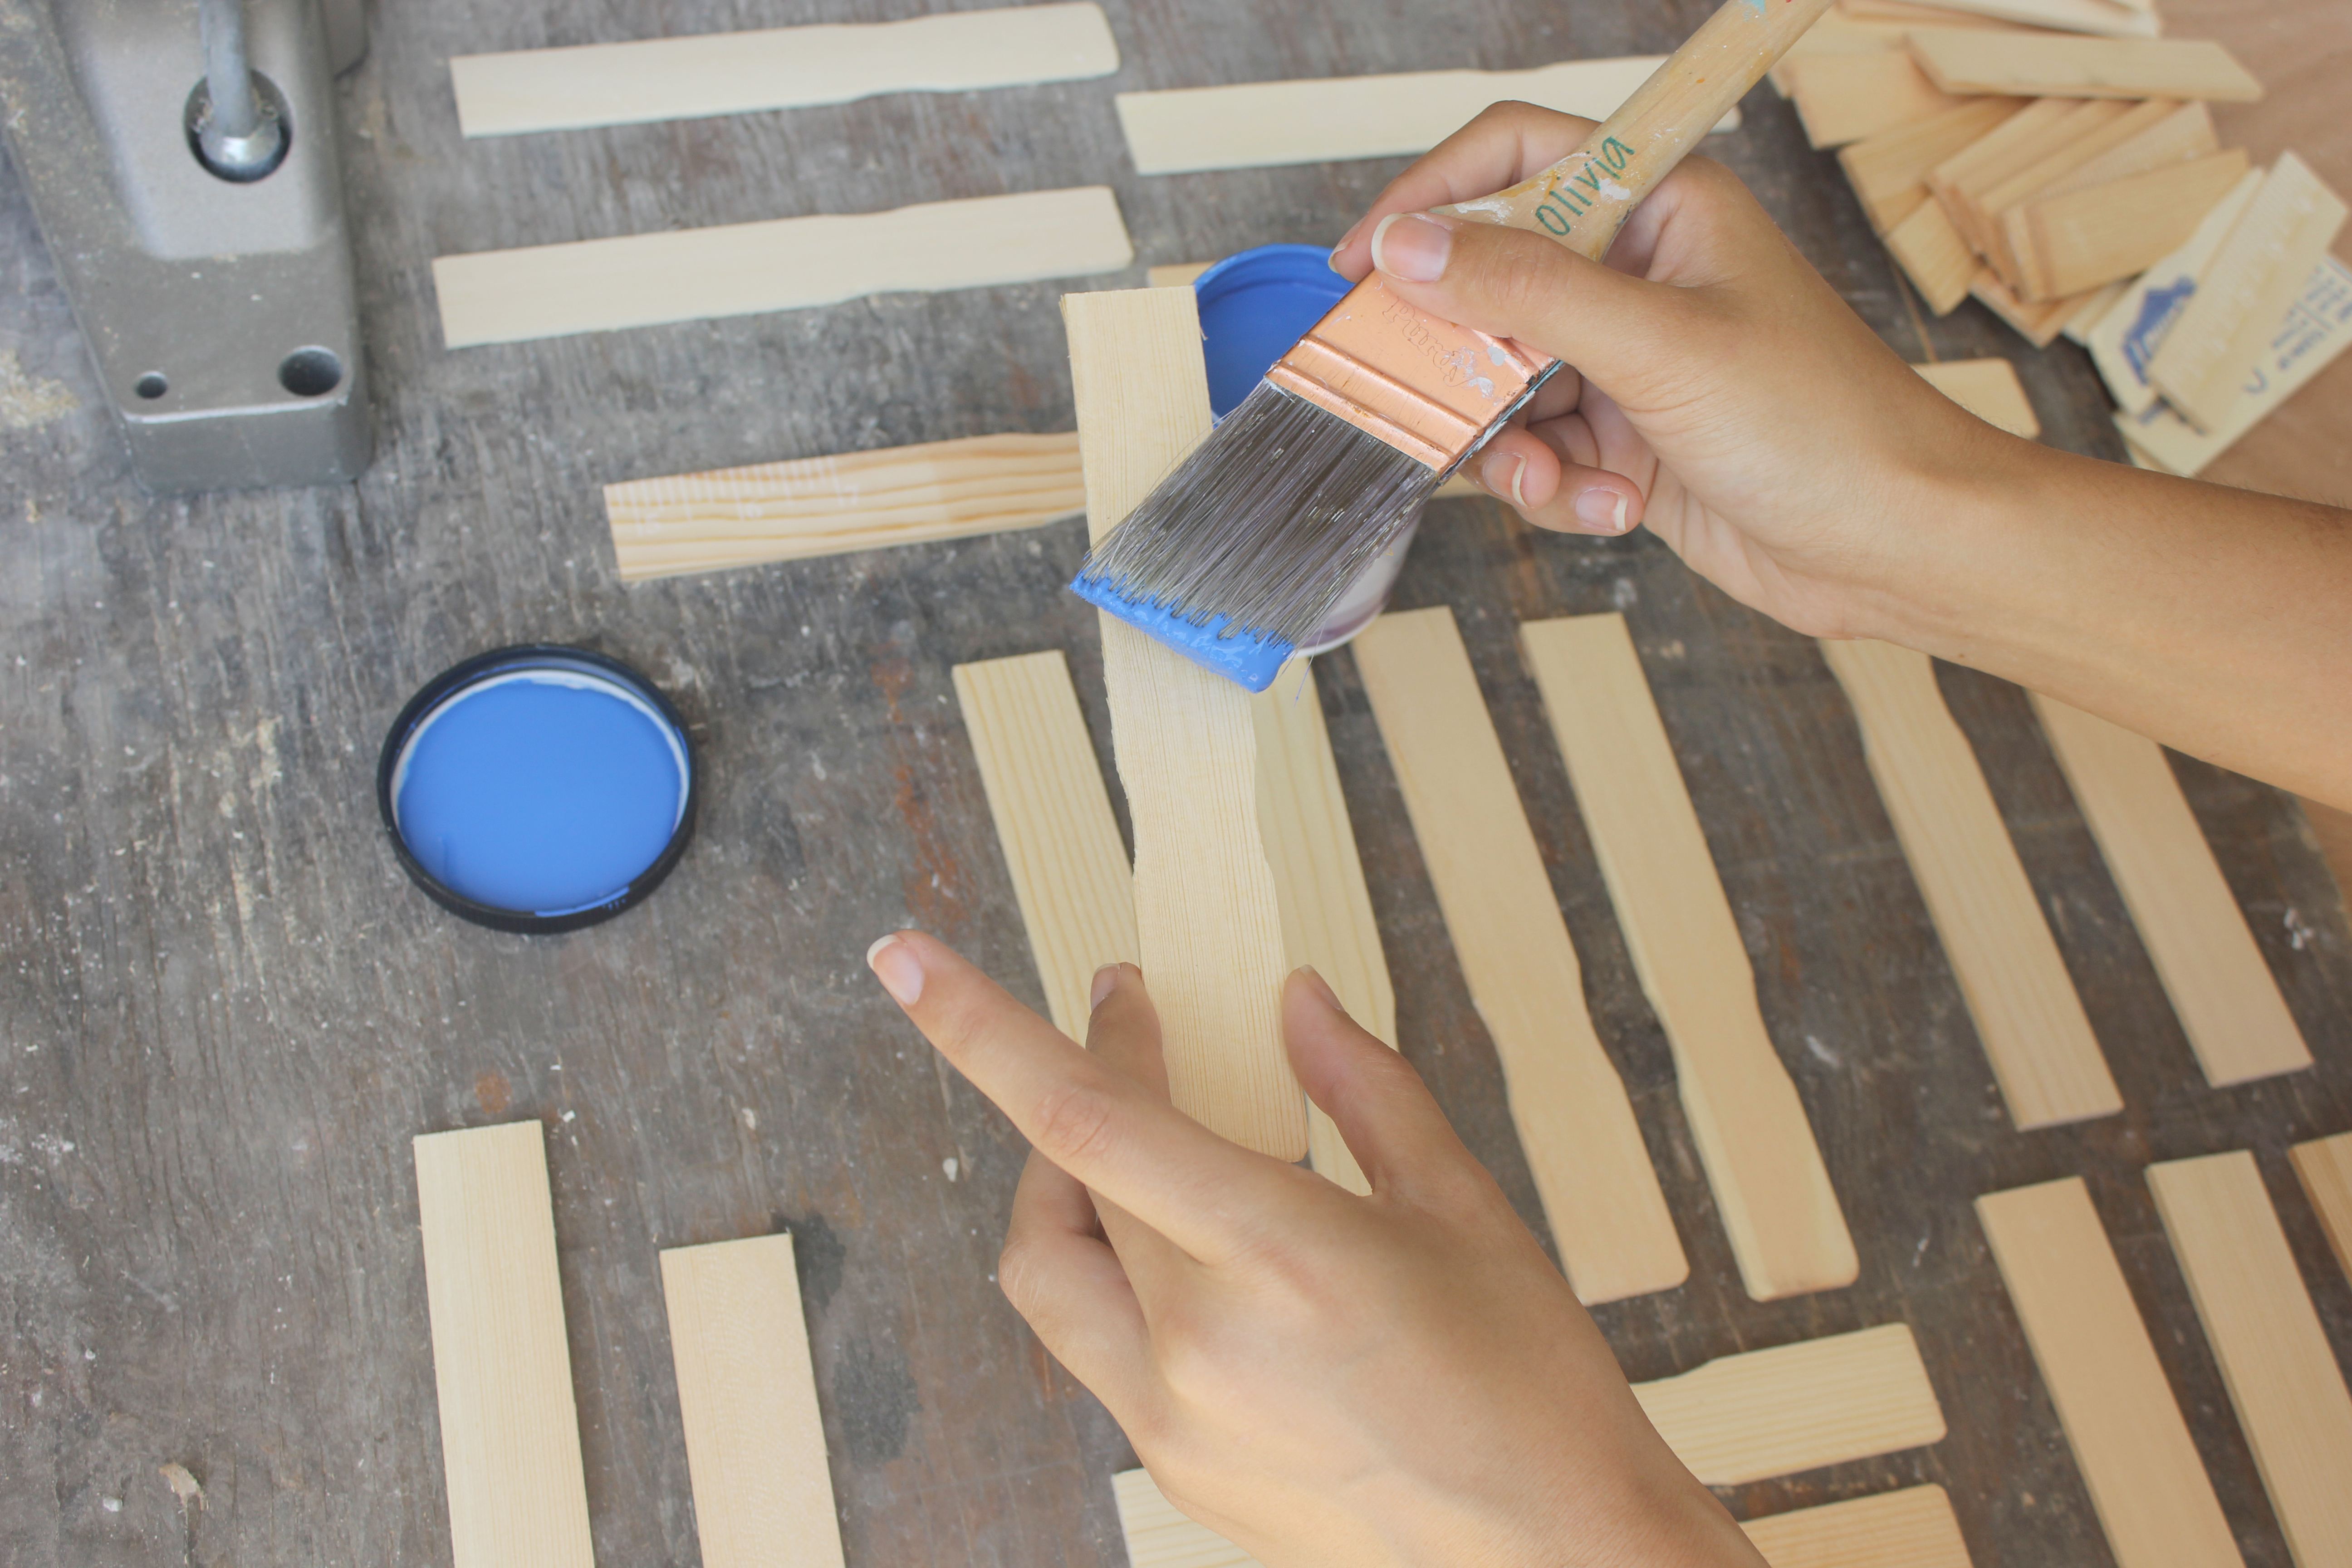
Step 1 – Prep your paint sticks
I had to cut my paint sticks since my pendant light was kind of small – but that will all depend on the size of your shade. To cut, you can simply use a hand saw or a table saw. The wood is thin so it’s pretty easy to cut.
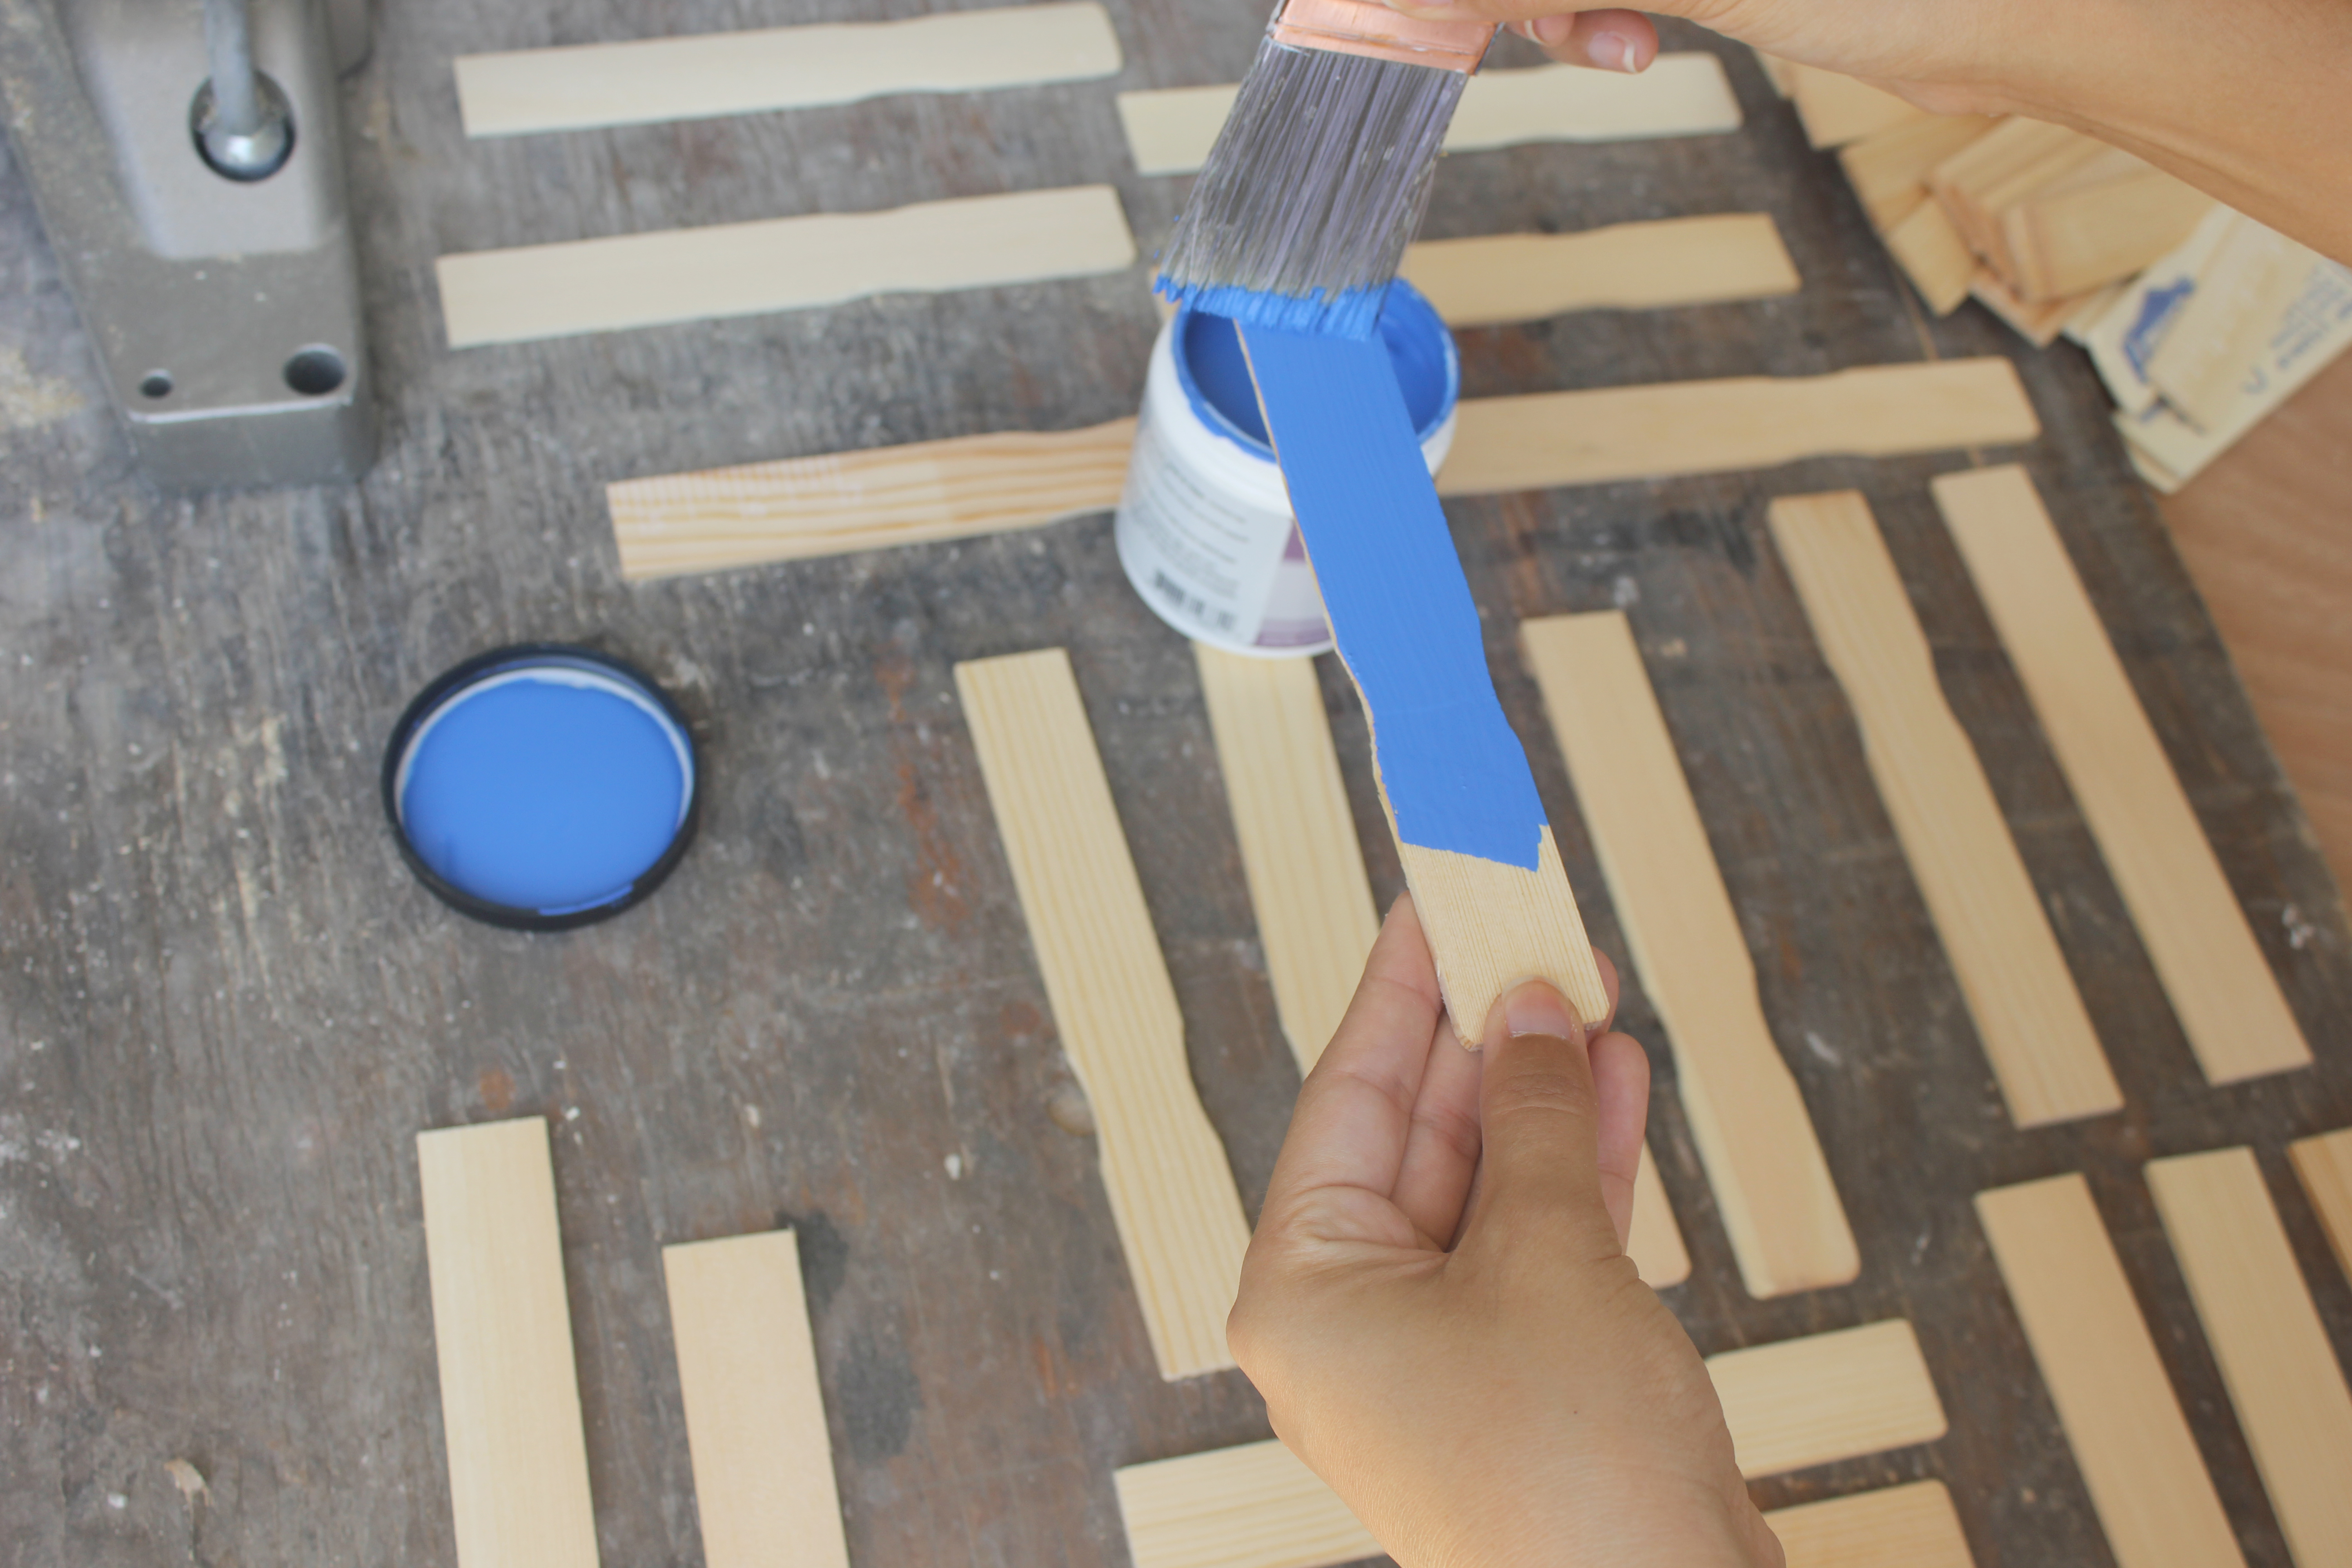
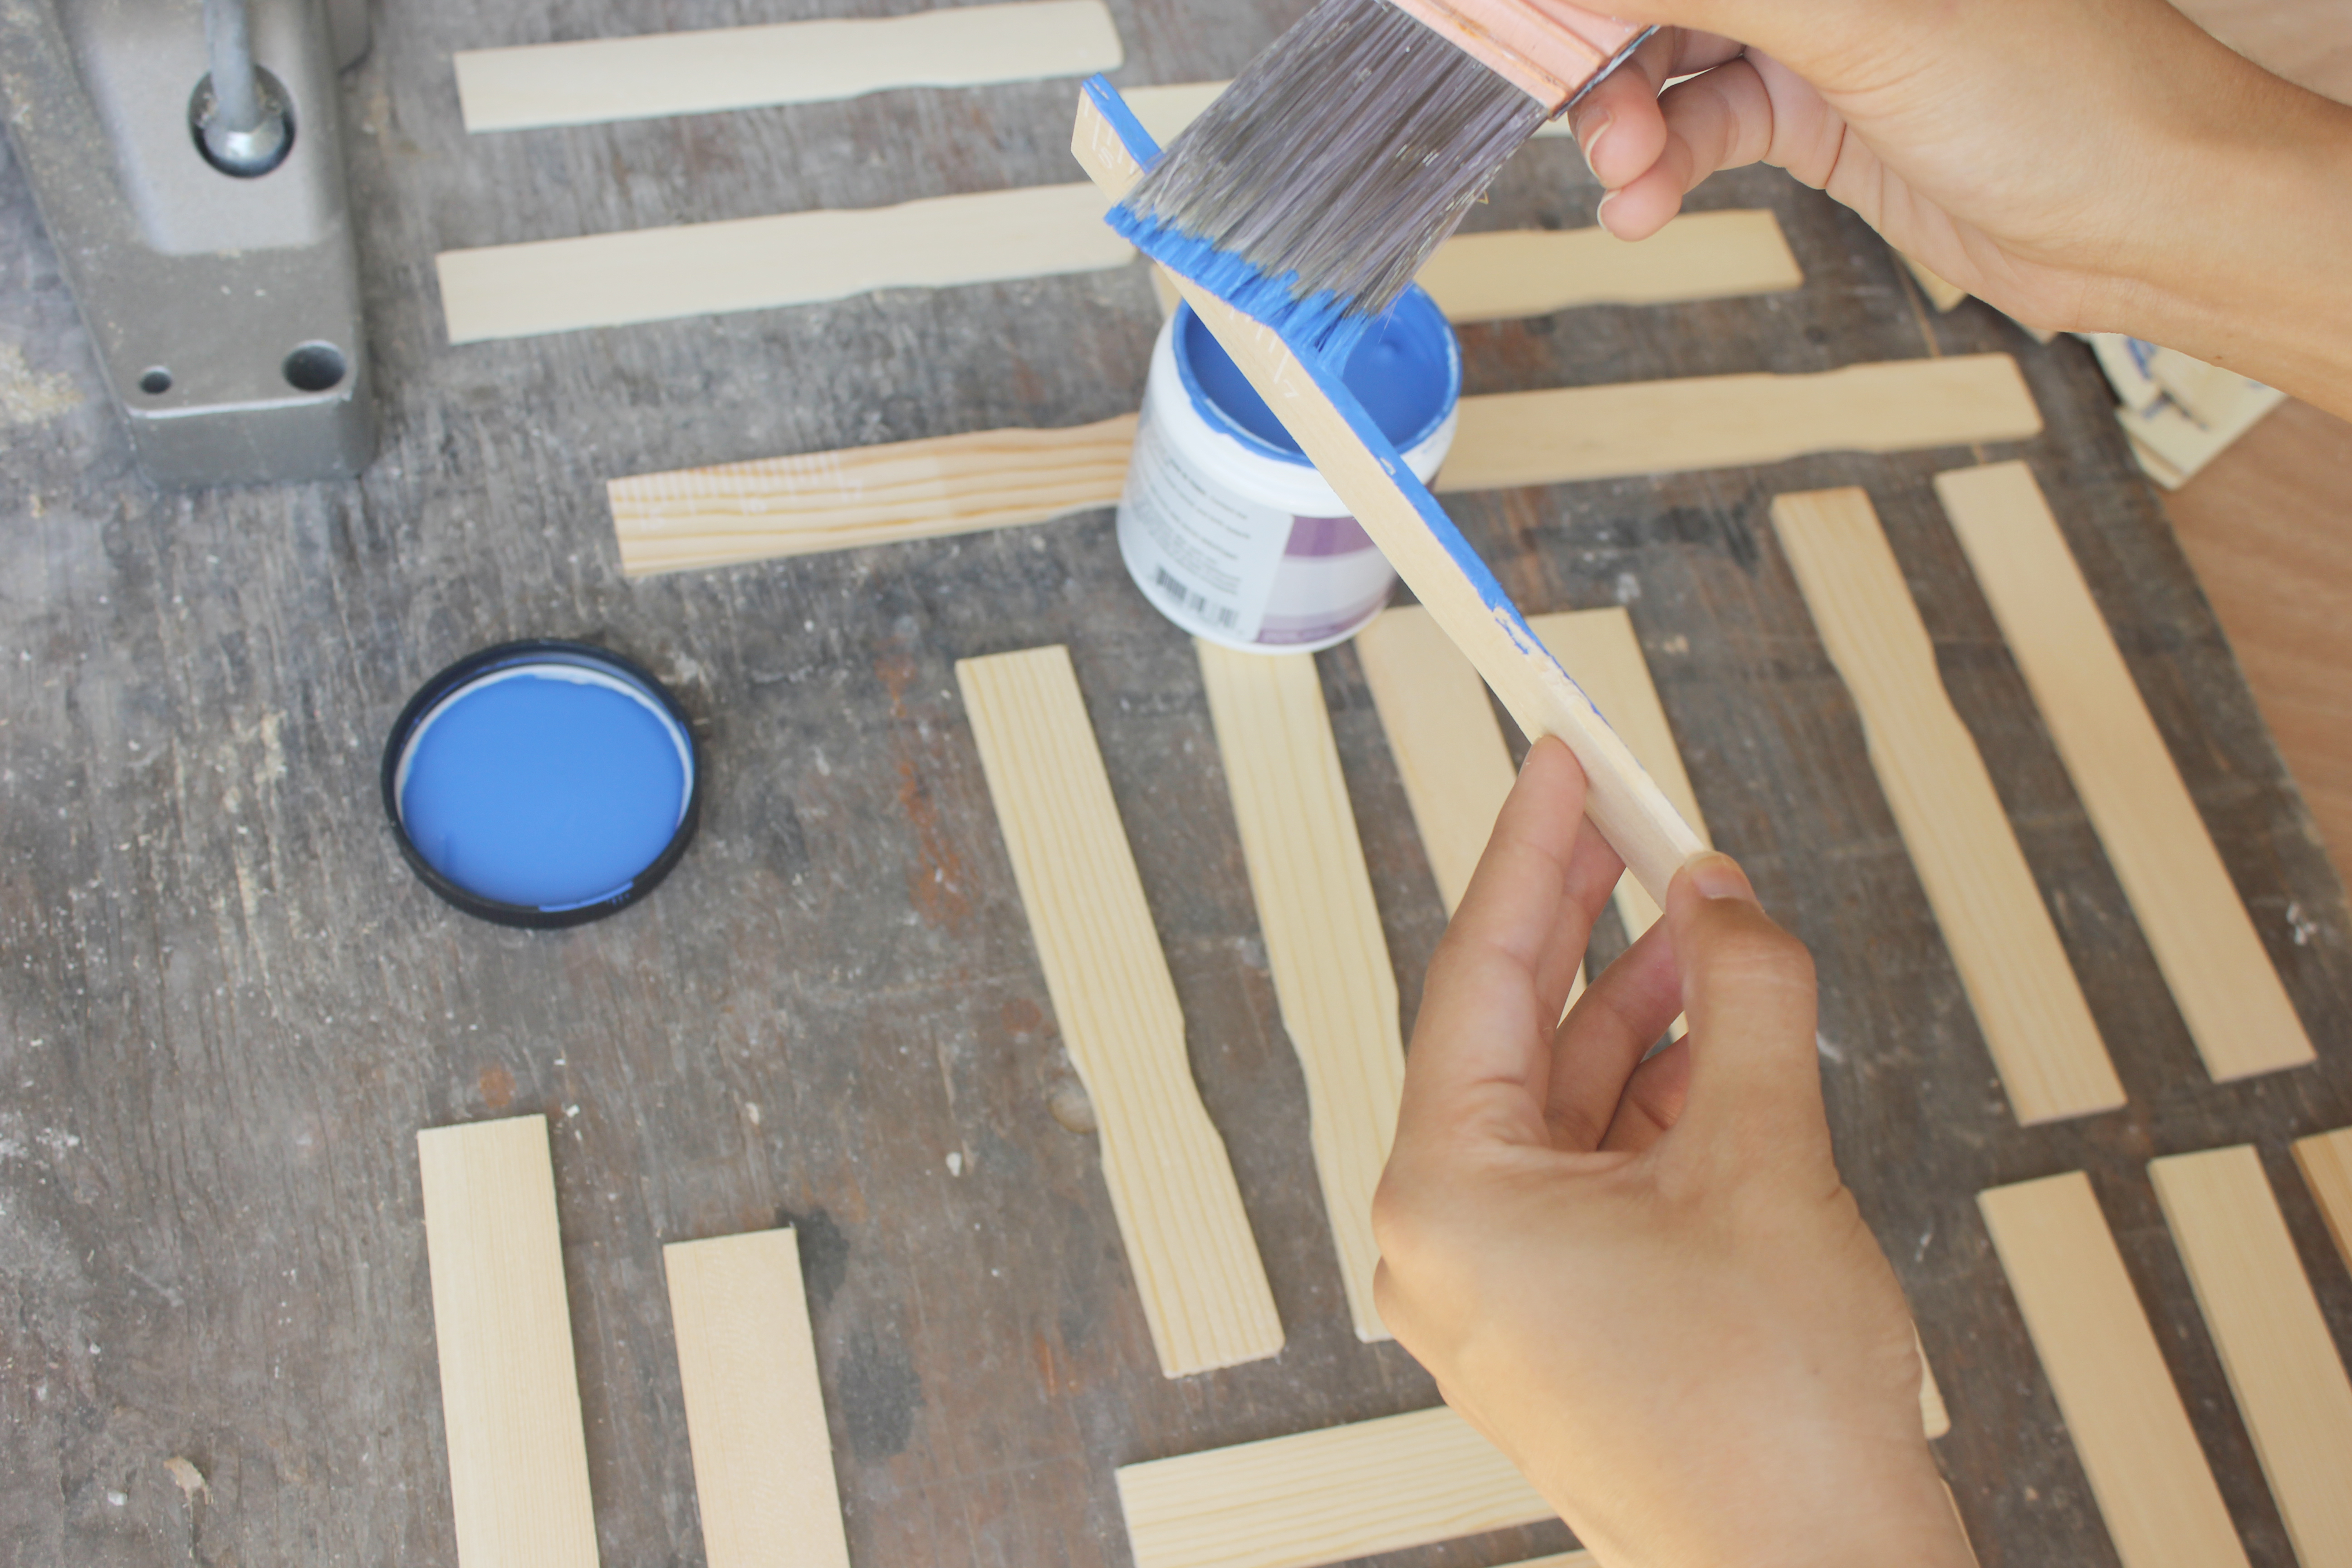
Go ahead and paint your sticks! Using simple strokes and one coat of paint – I was able to cover the front of my sticks and the sides.
In hindsight (and when I did these pics) I should’ve painted the inside of the sticks in white – so go ahead and do that so you’re not like me and have to do it after the whole thing is put together. 😛
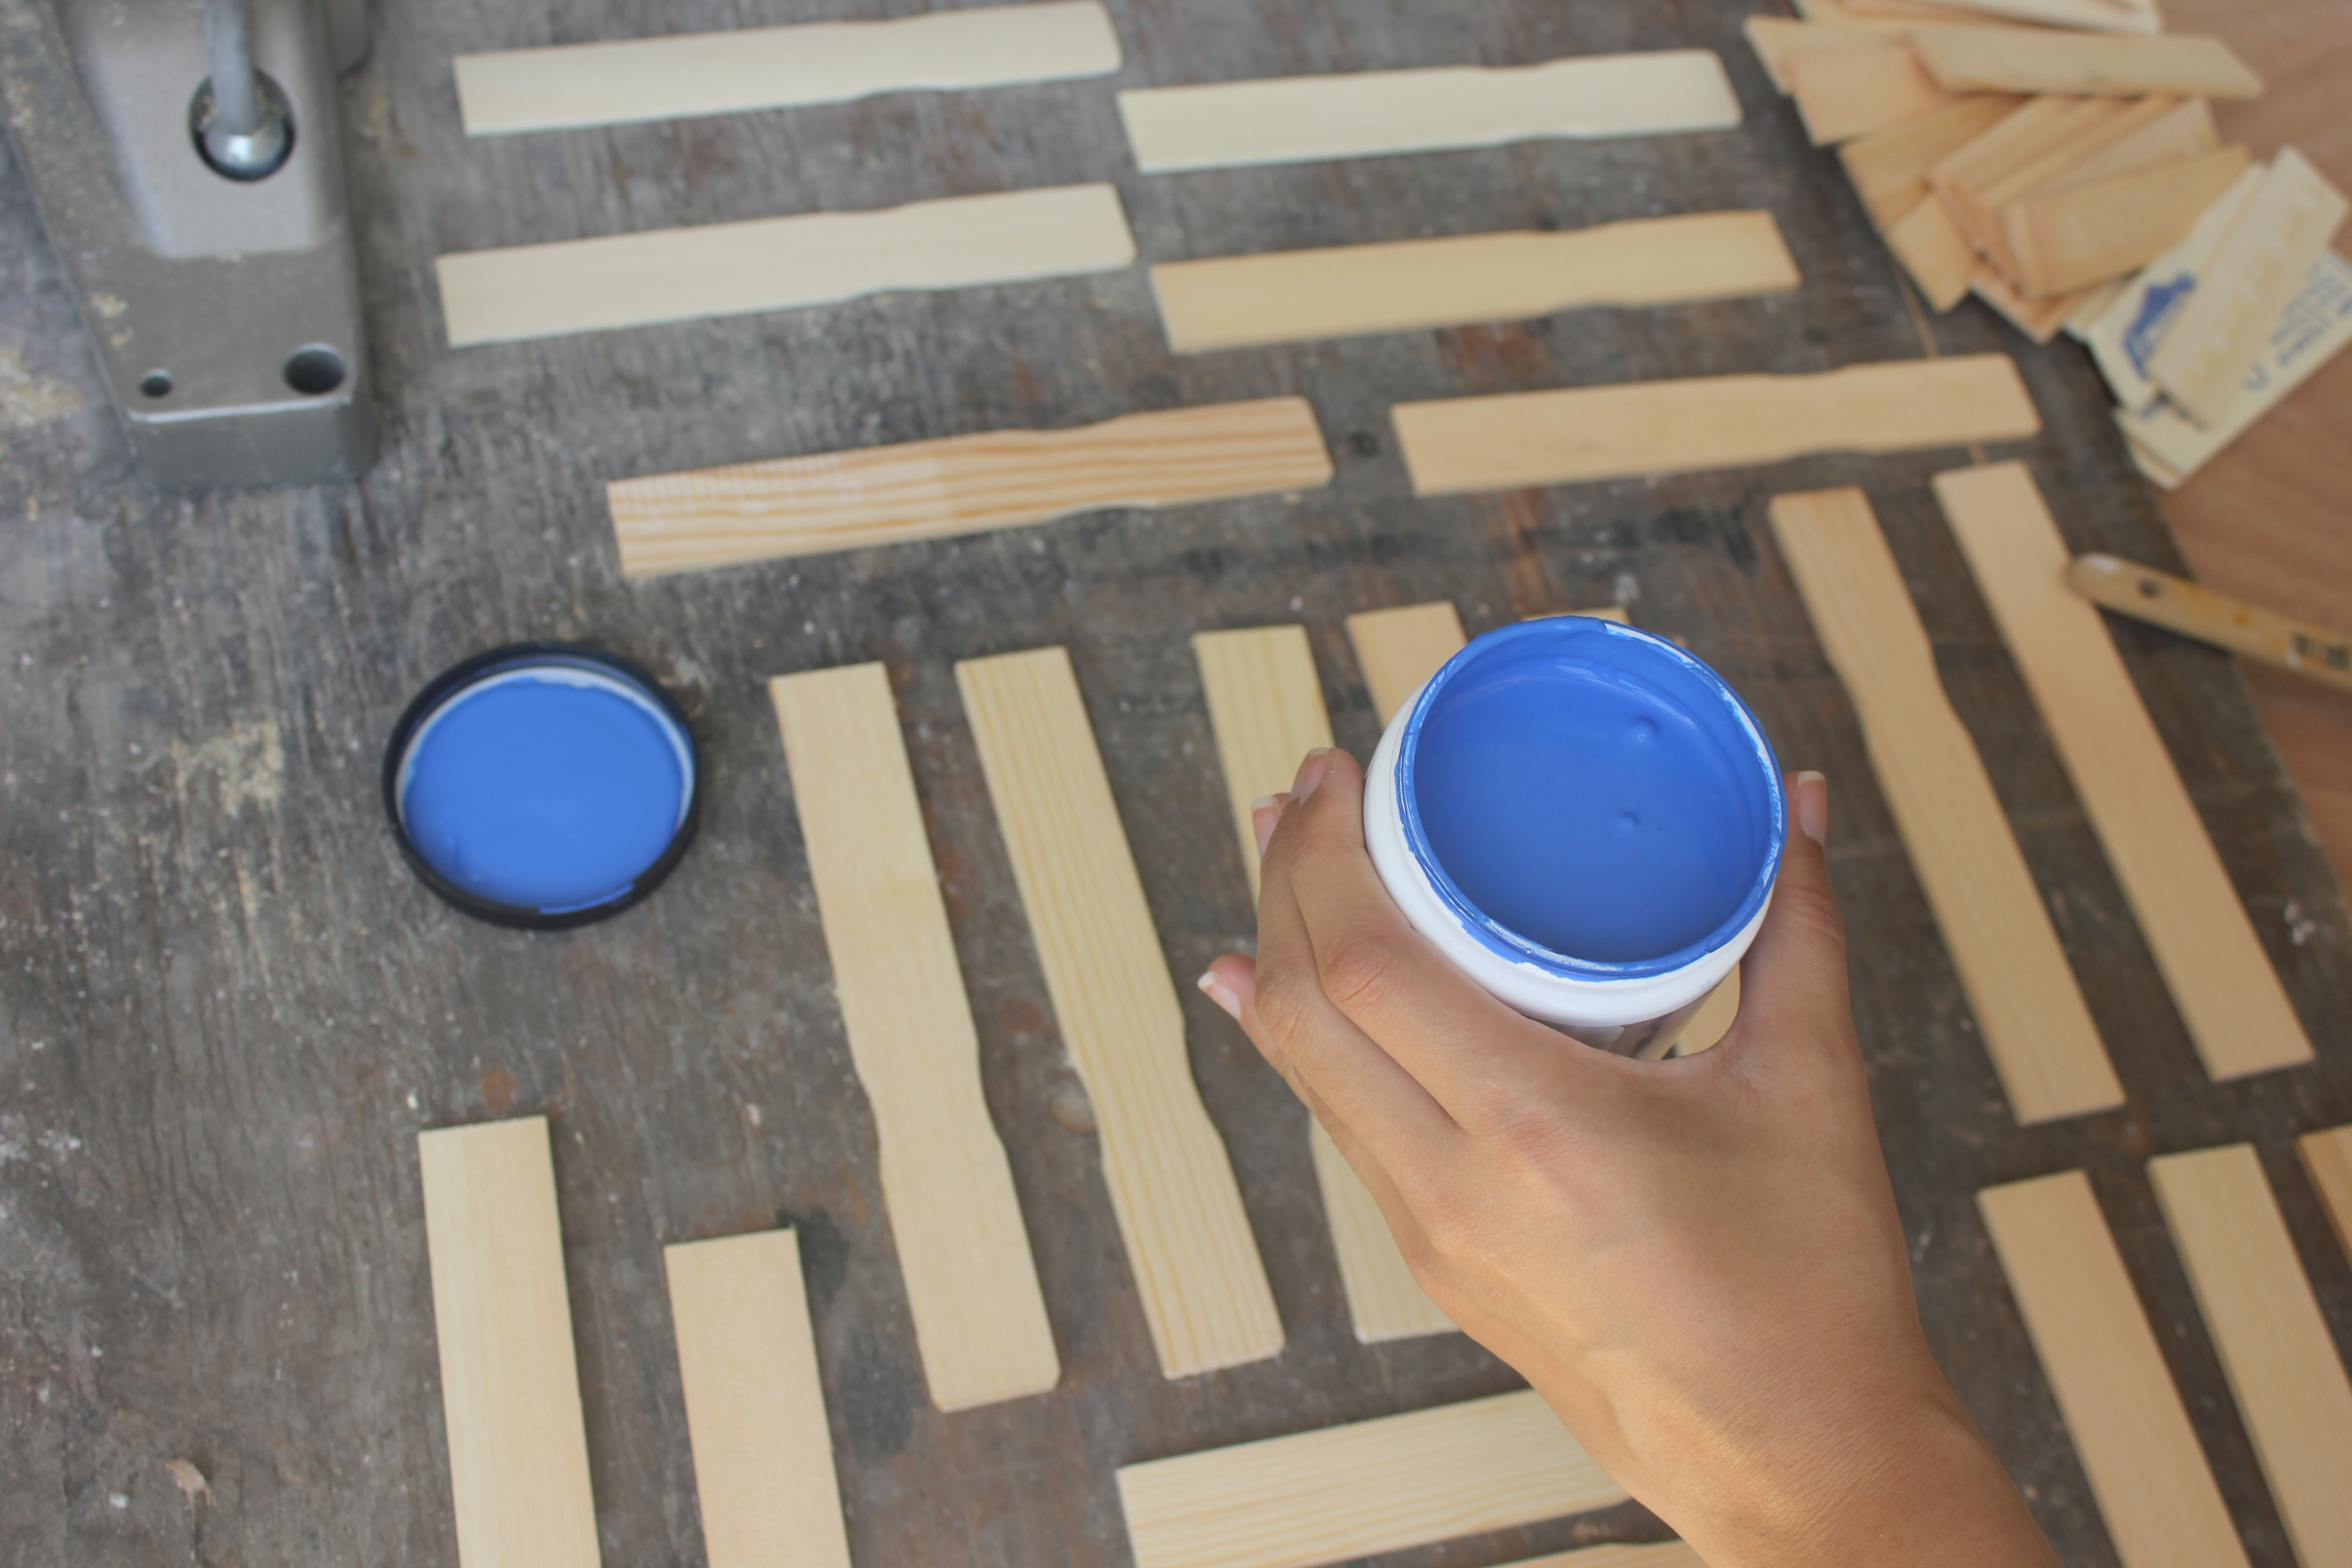
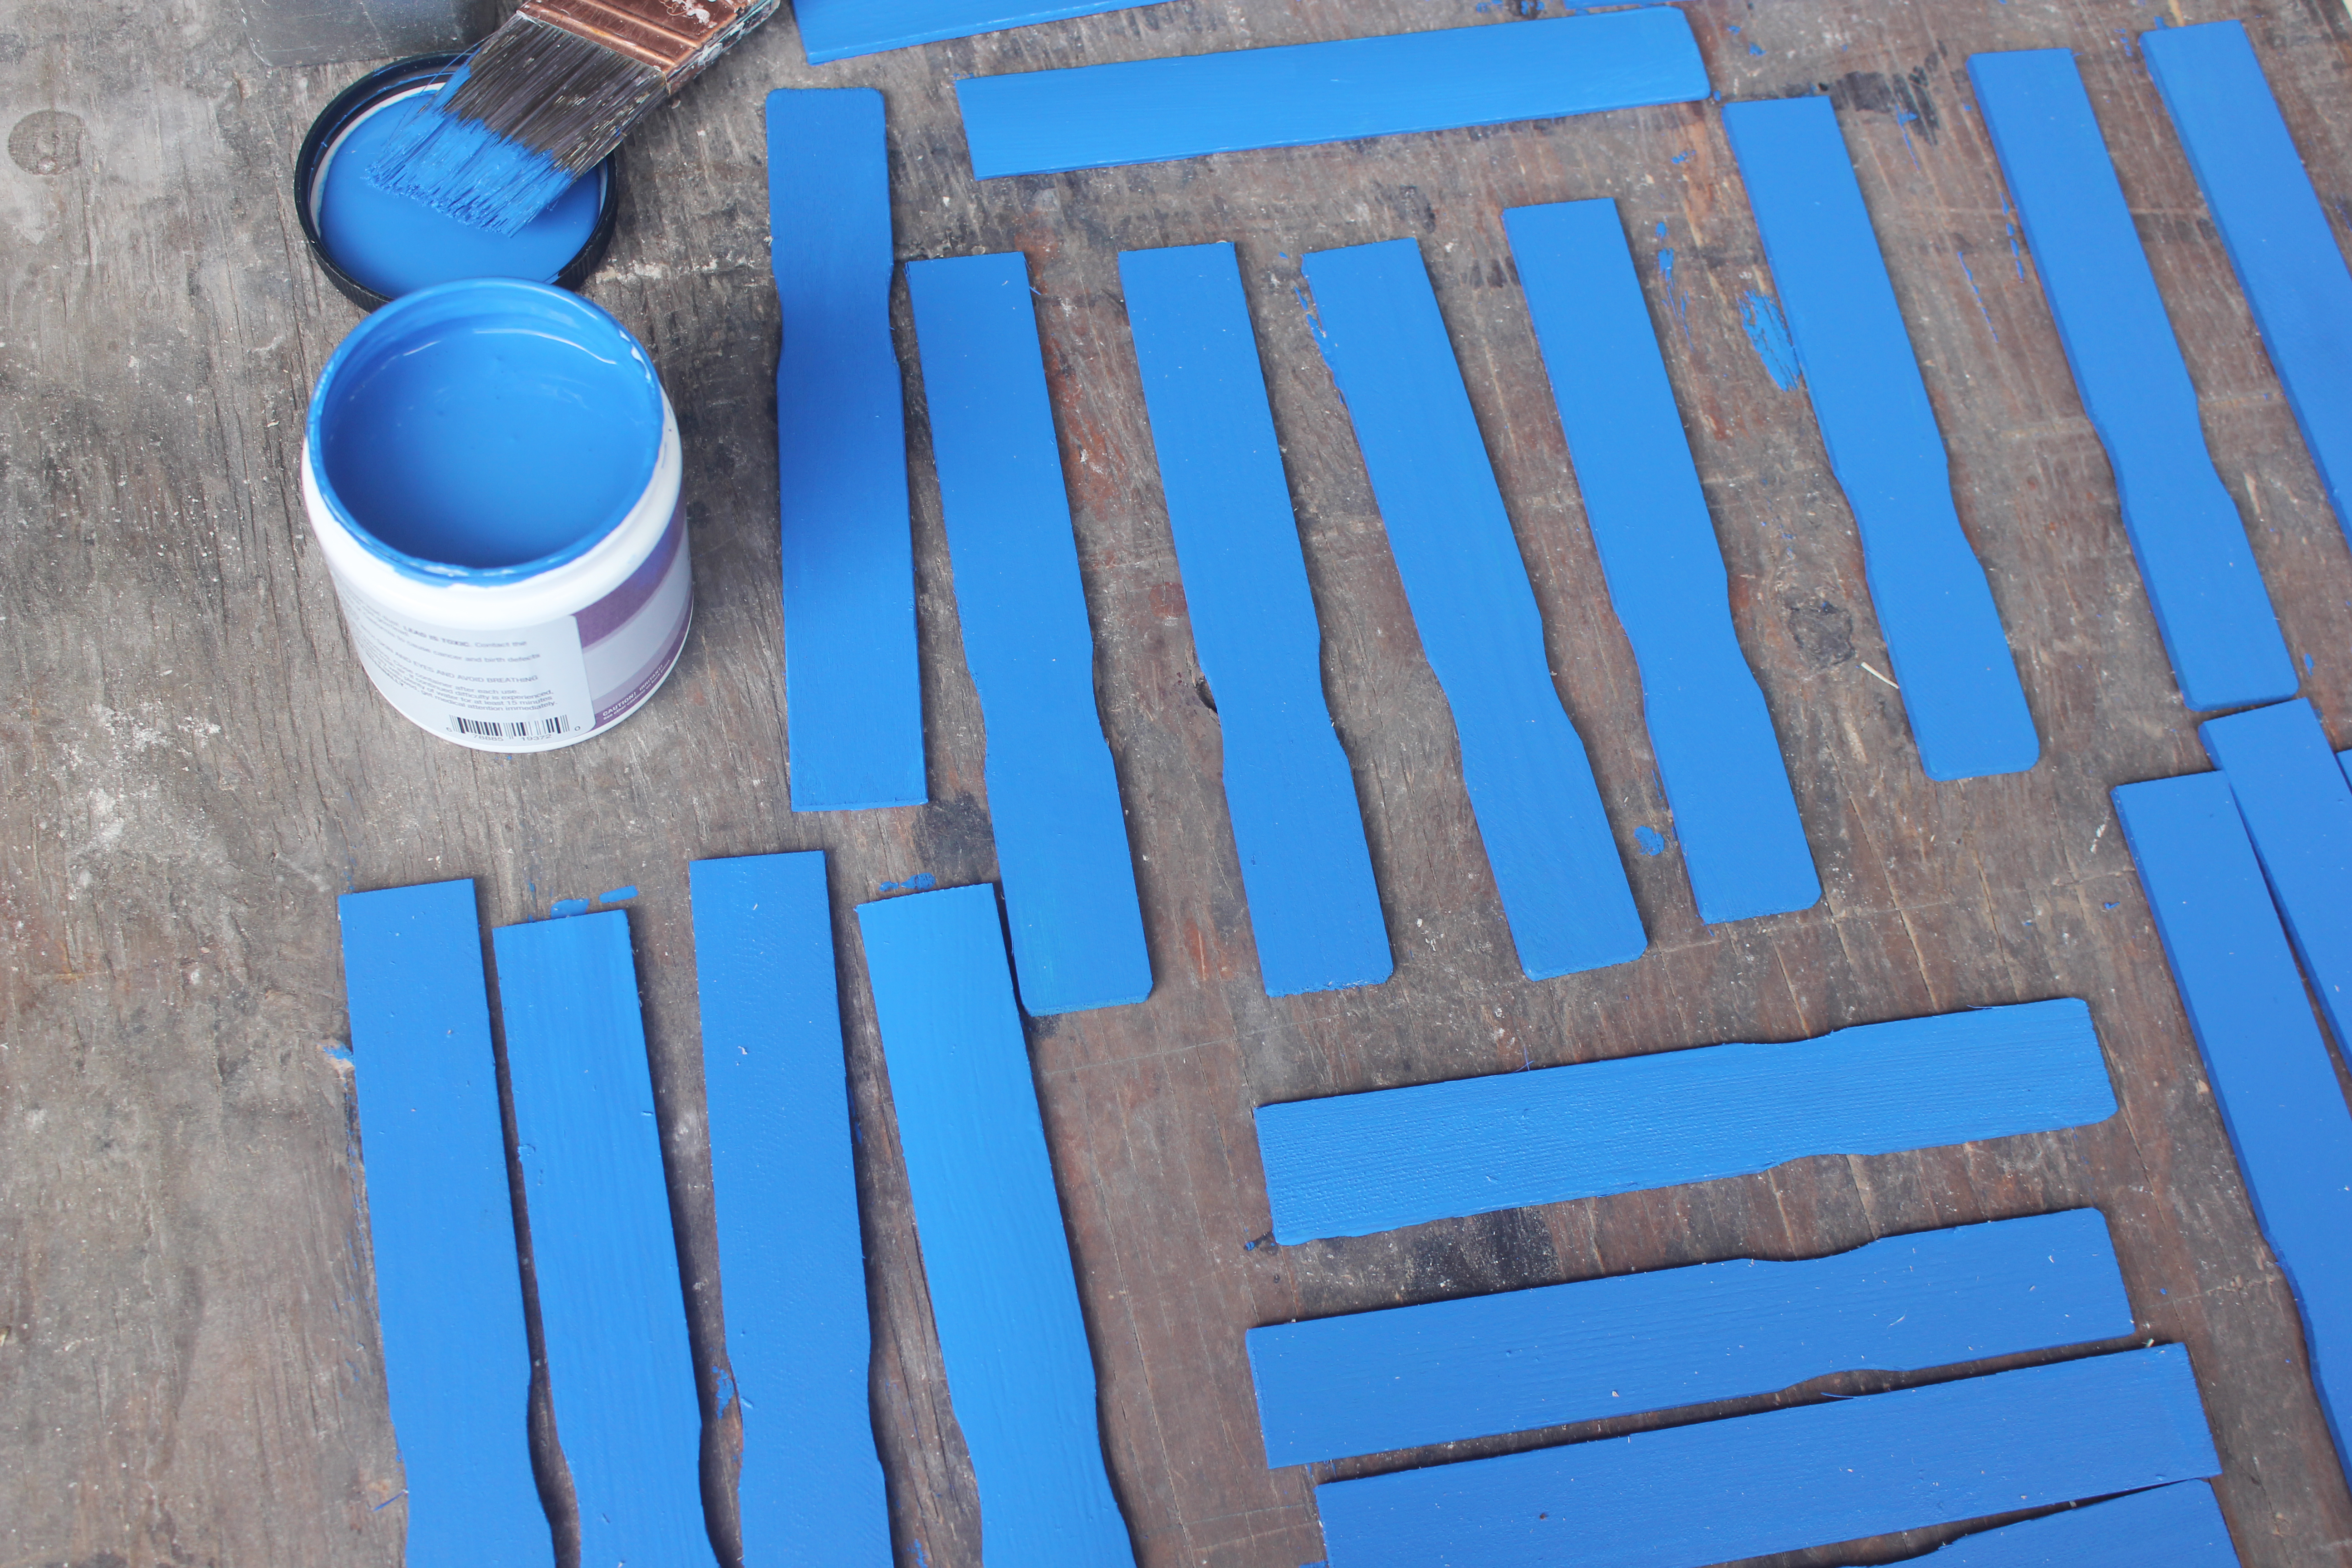 Smurfette in the house!!
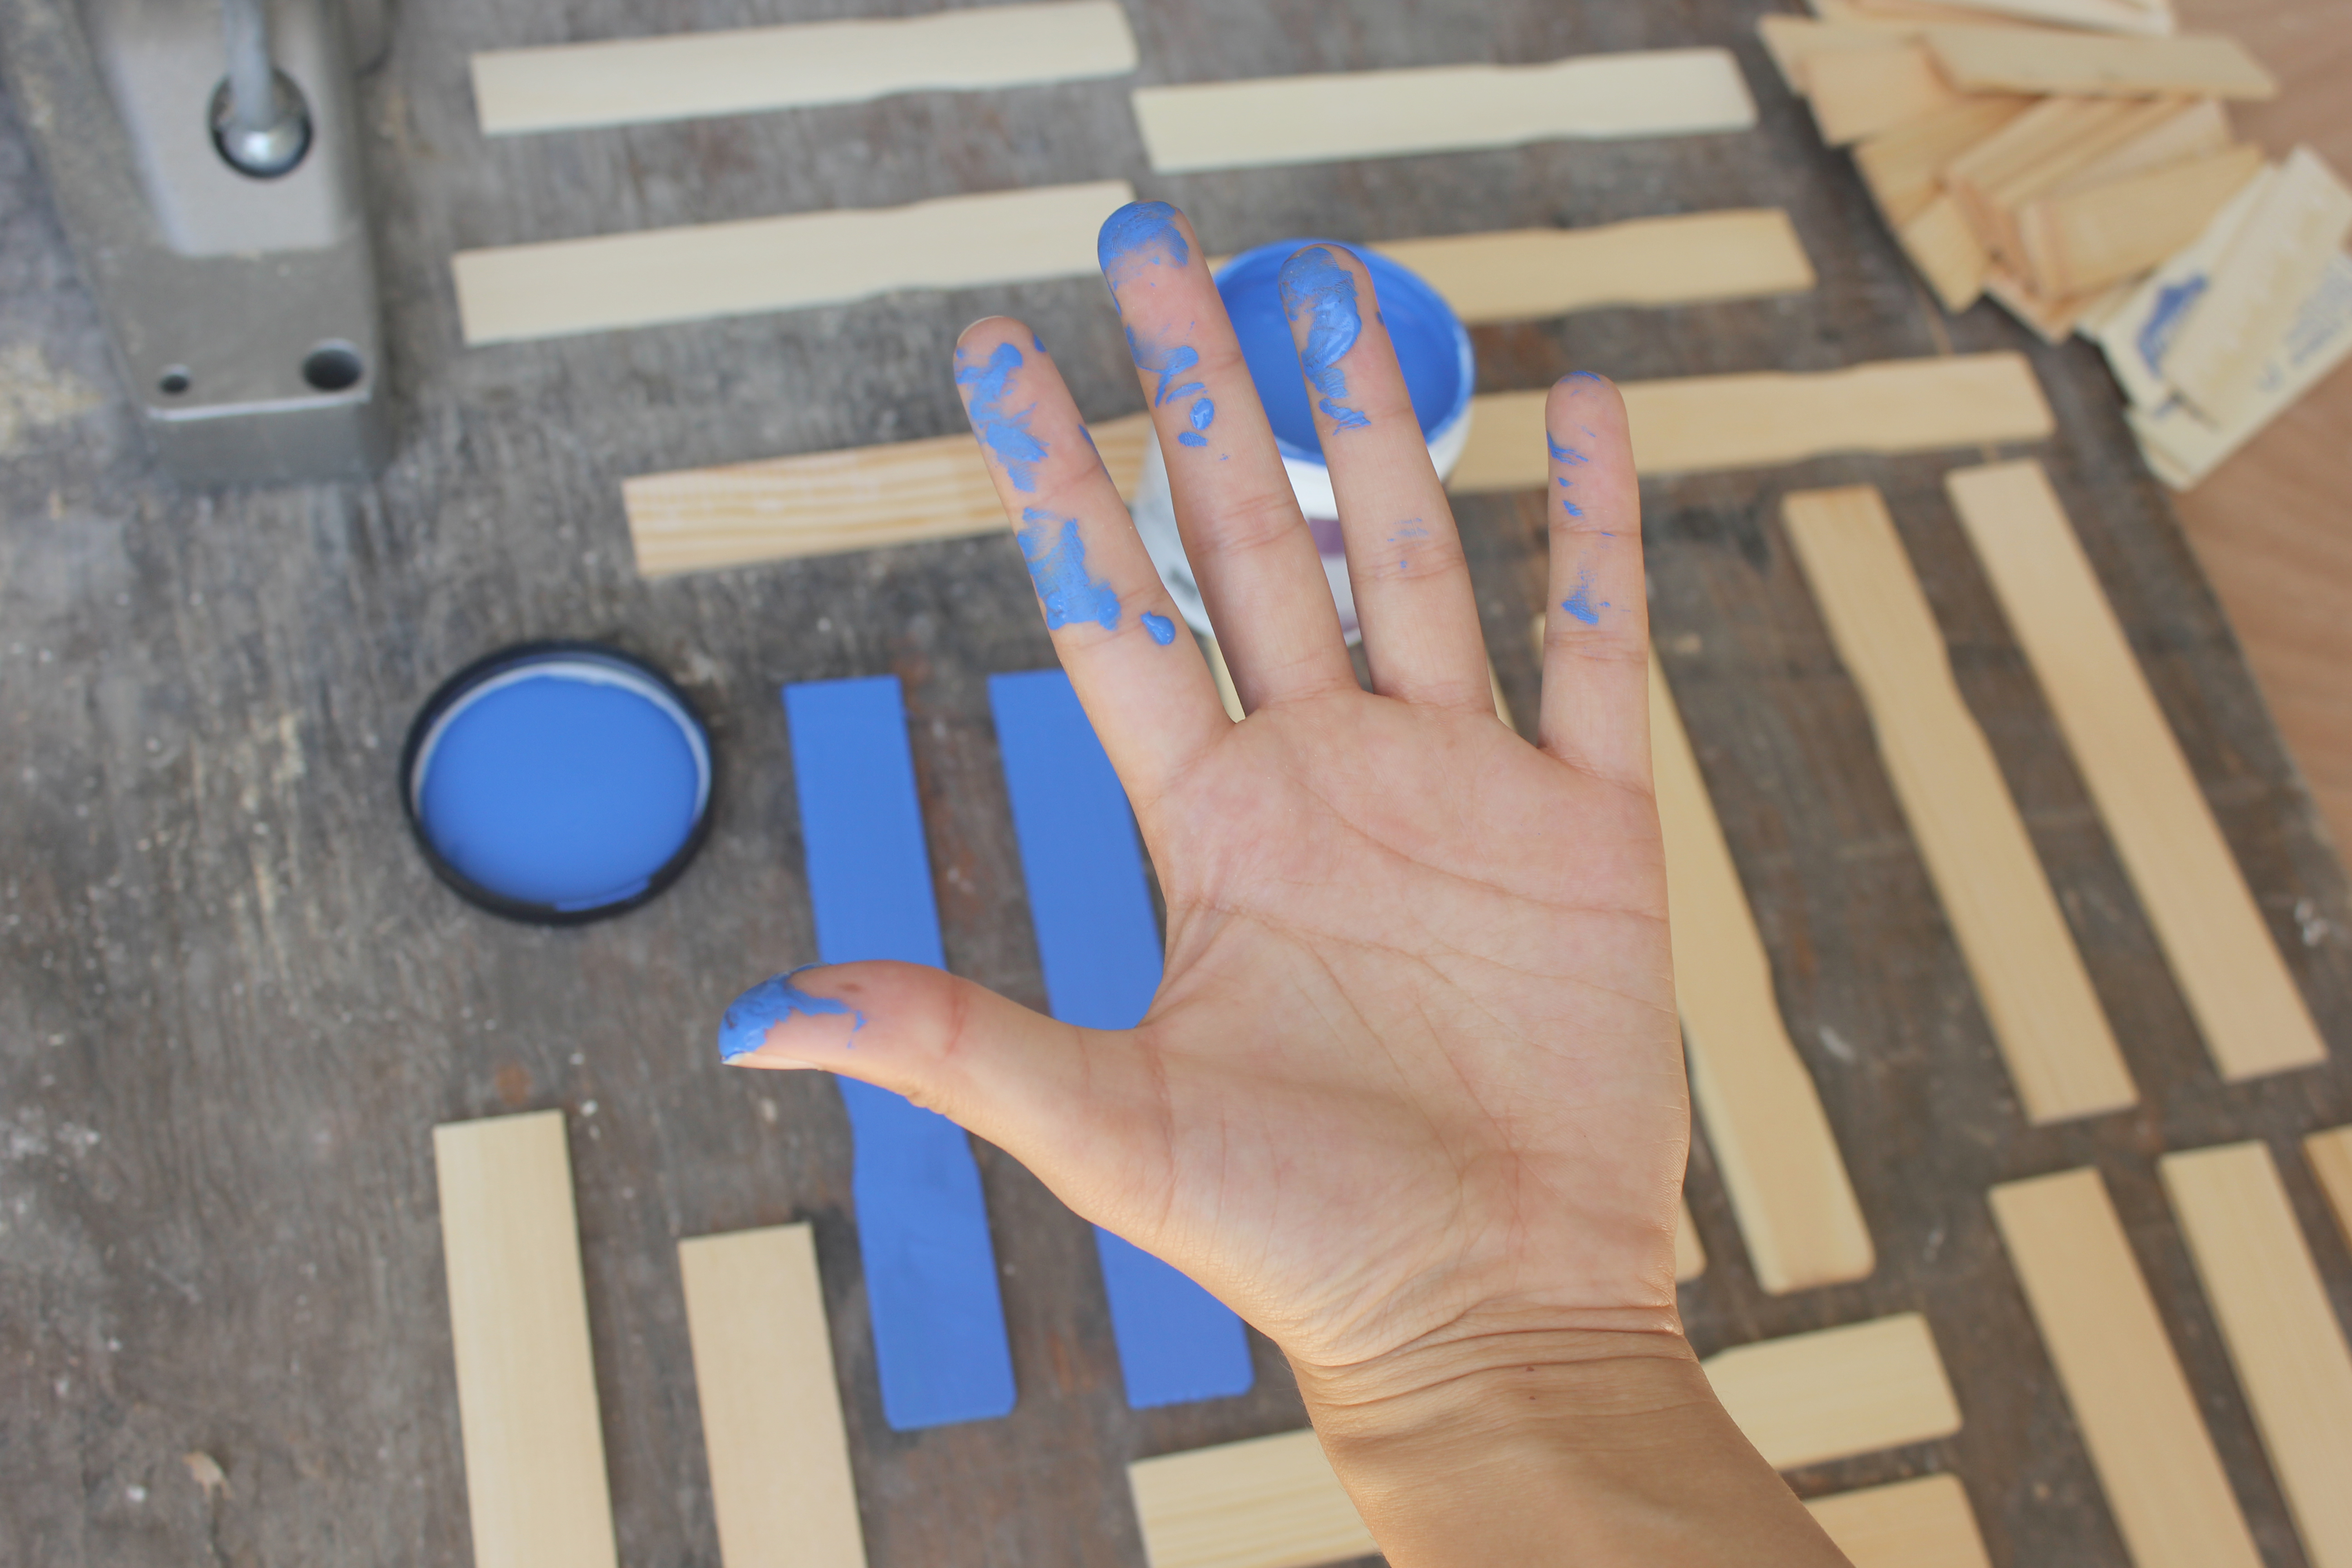
Step 2 – Prep your shade and pendant
Next, it’s time to put together your shade. Now, you really should cut out the fabric part of your shade – leaving only the edges all the way around. This will allow you to have somewhere to attach the sticks, but also make the shade see-through and let light through.
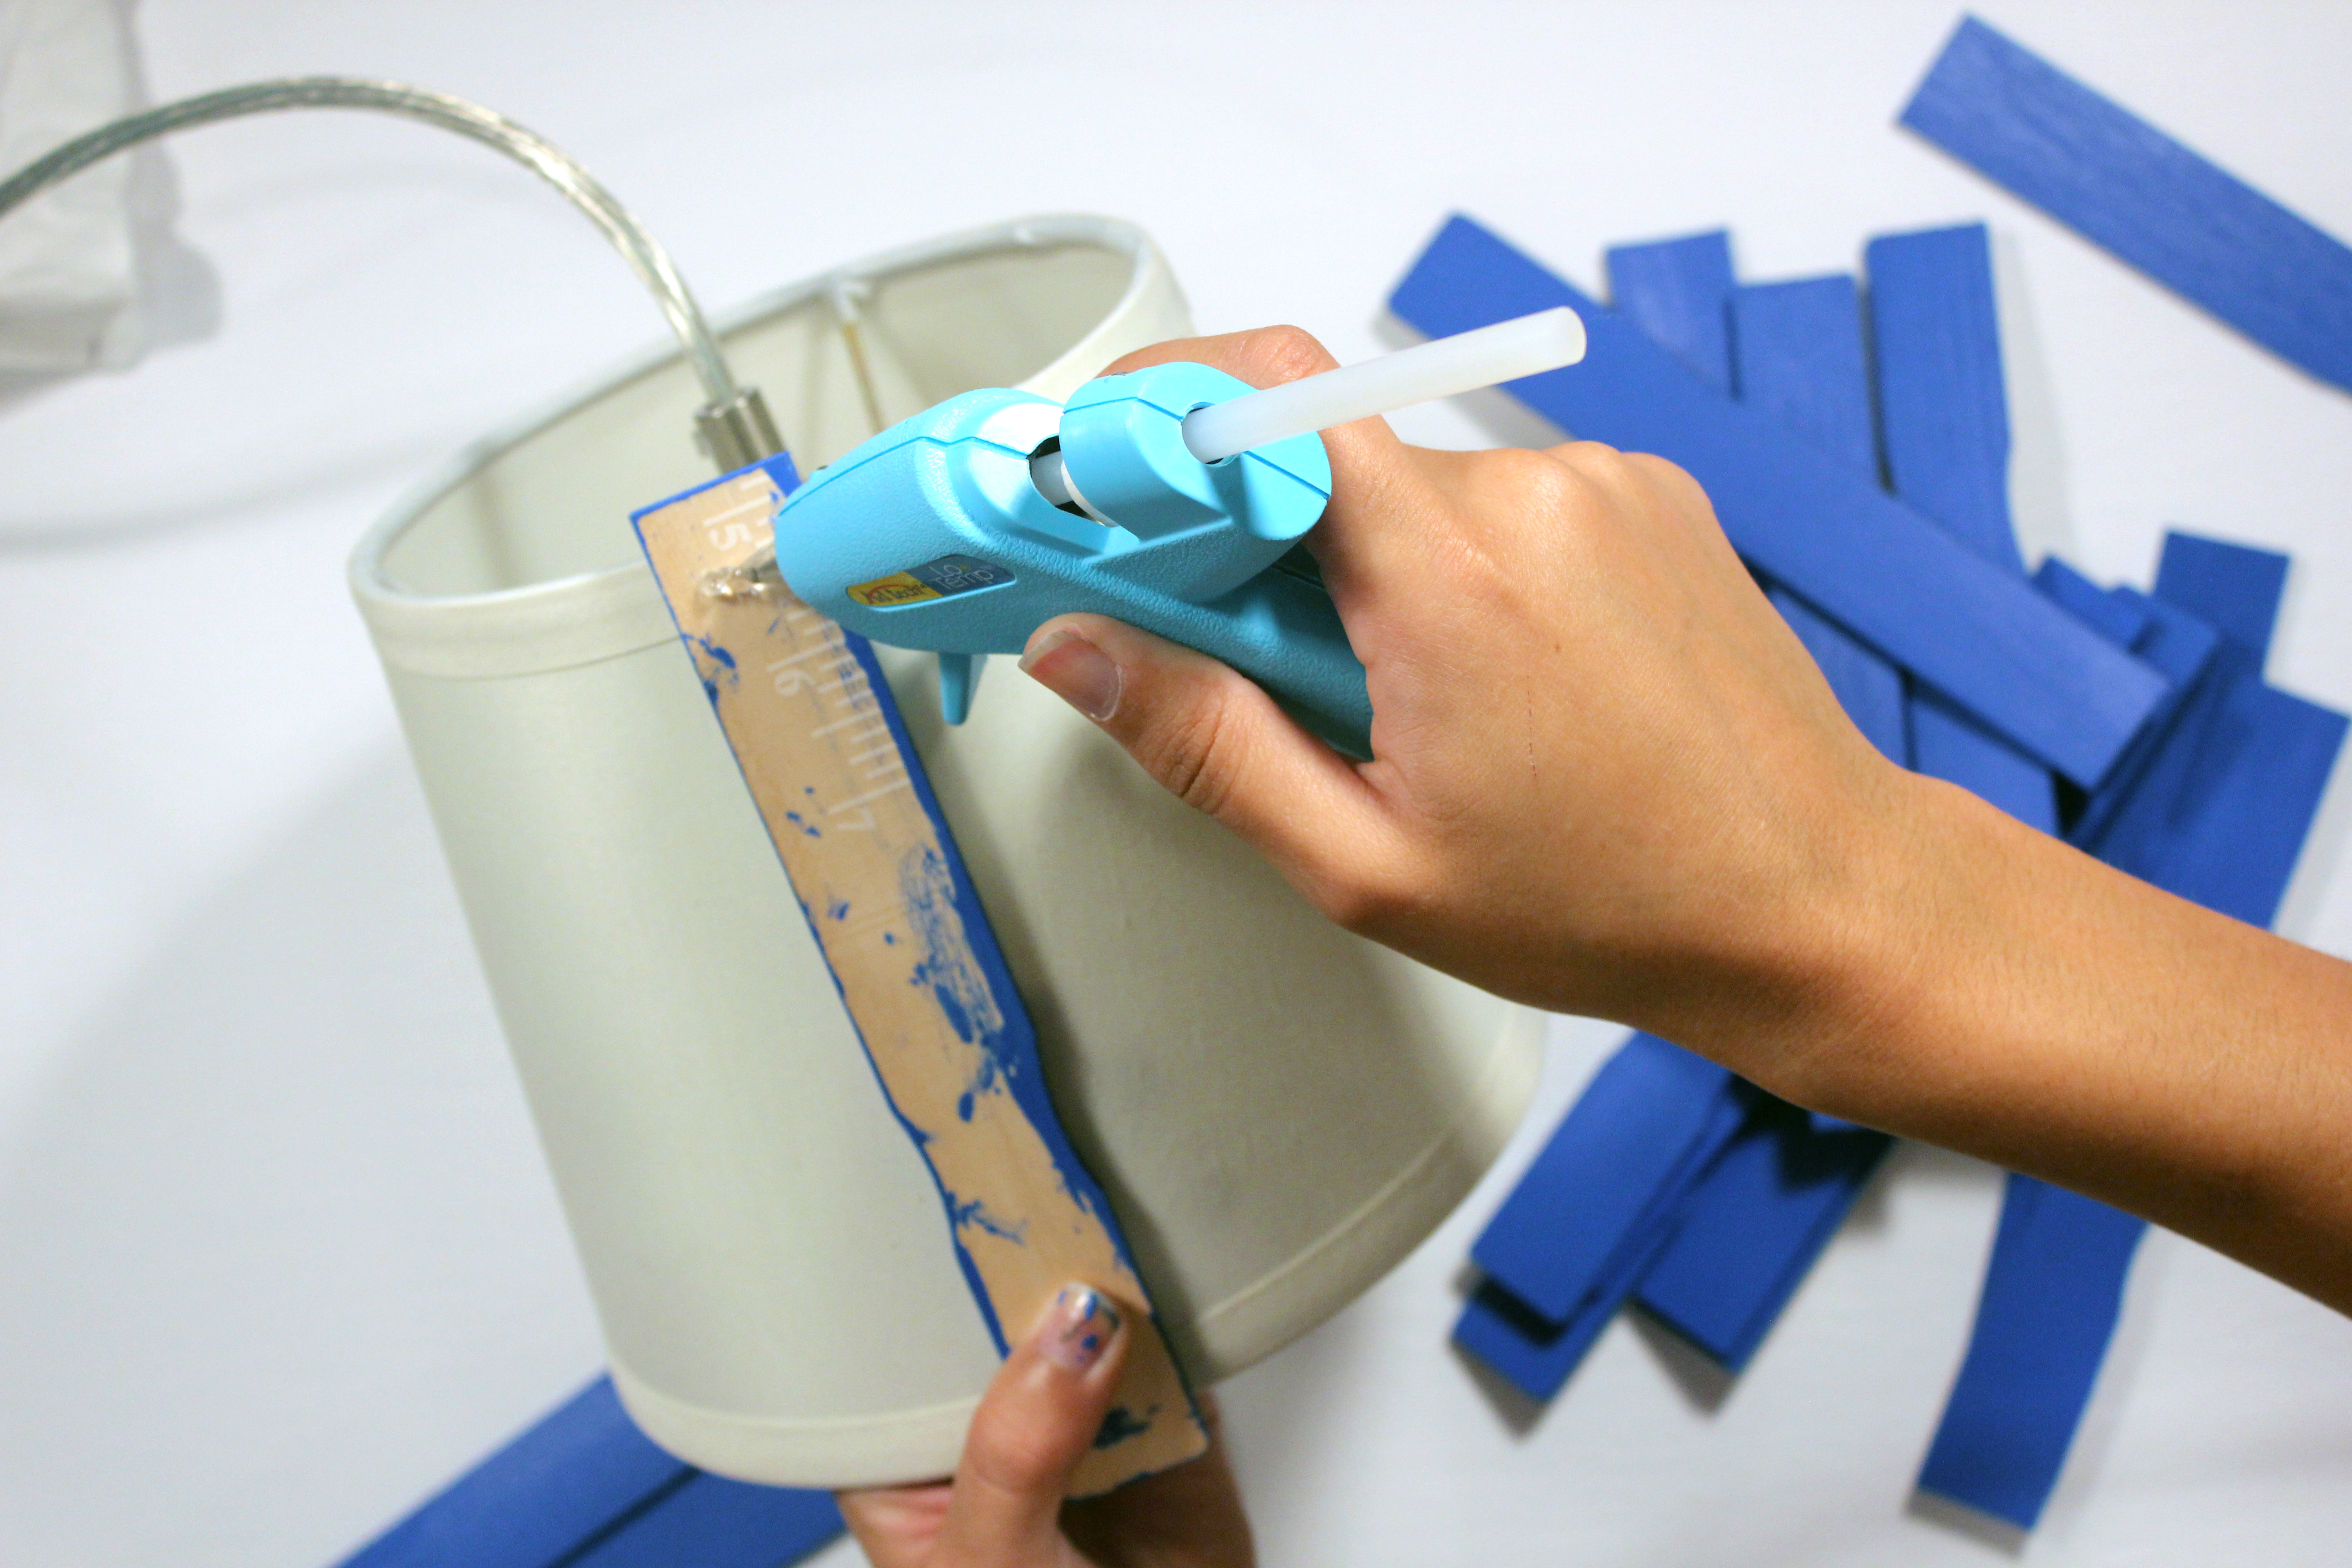
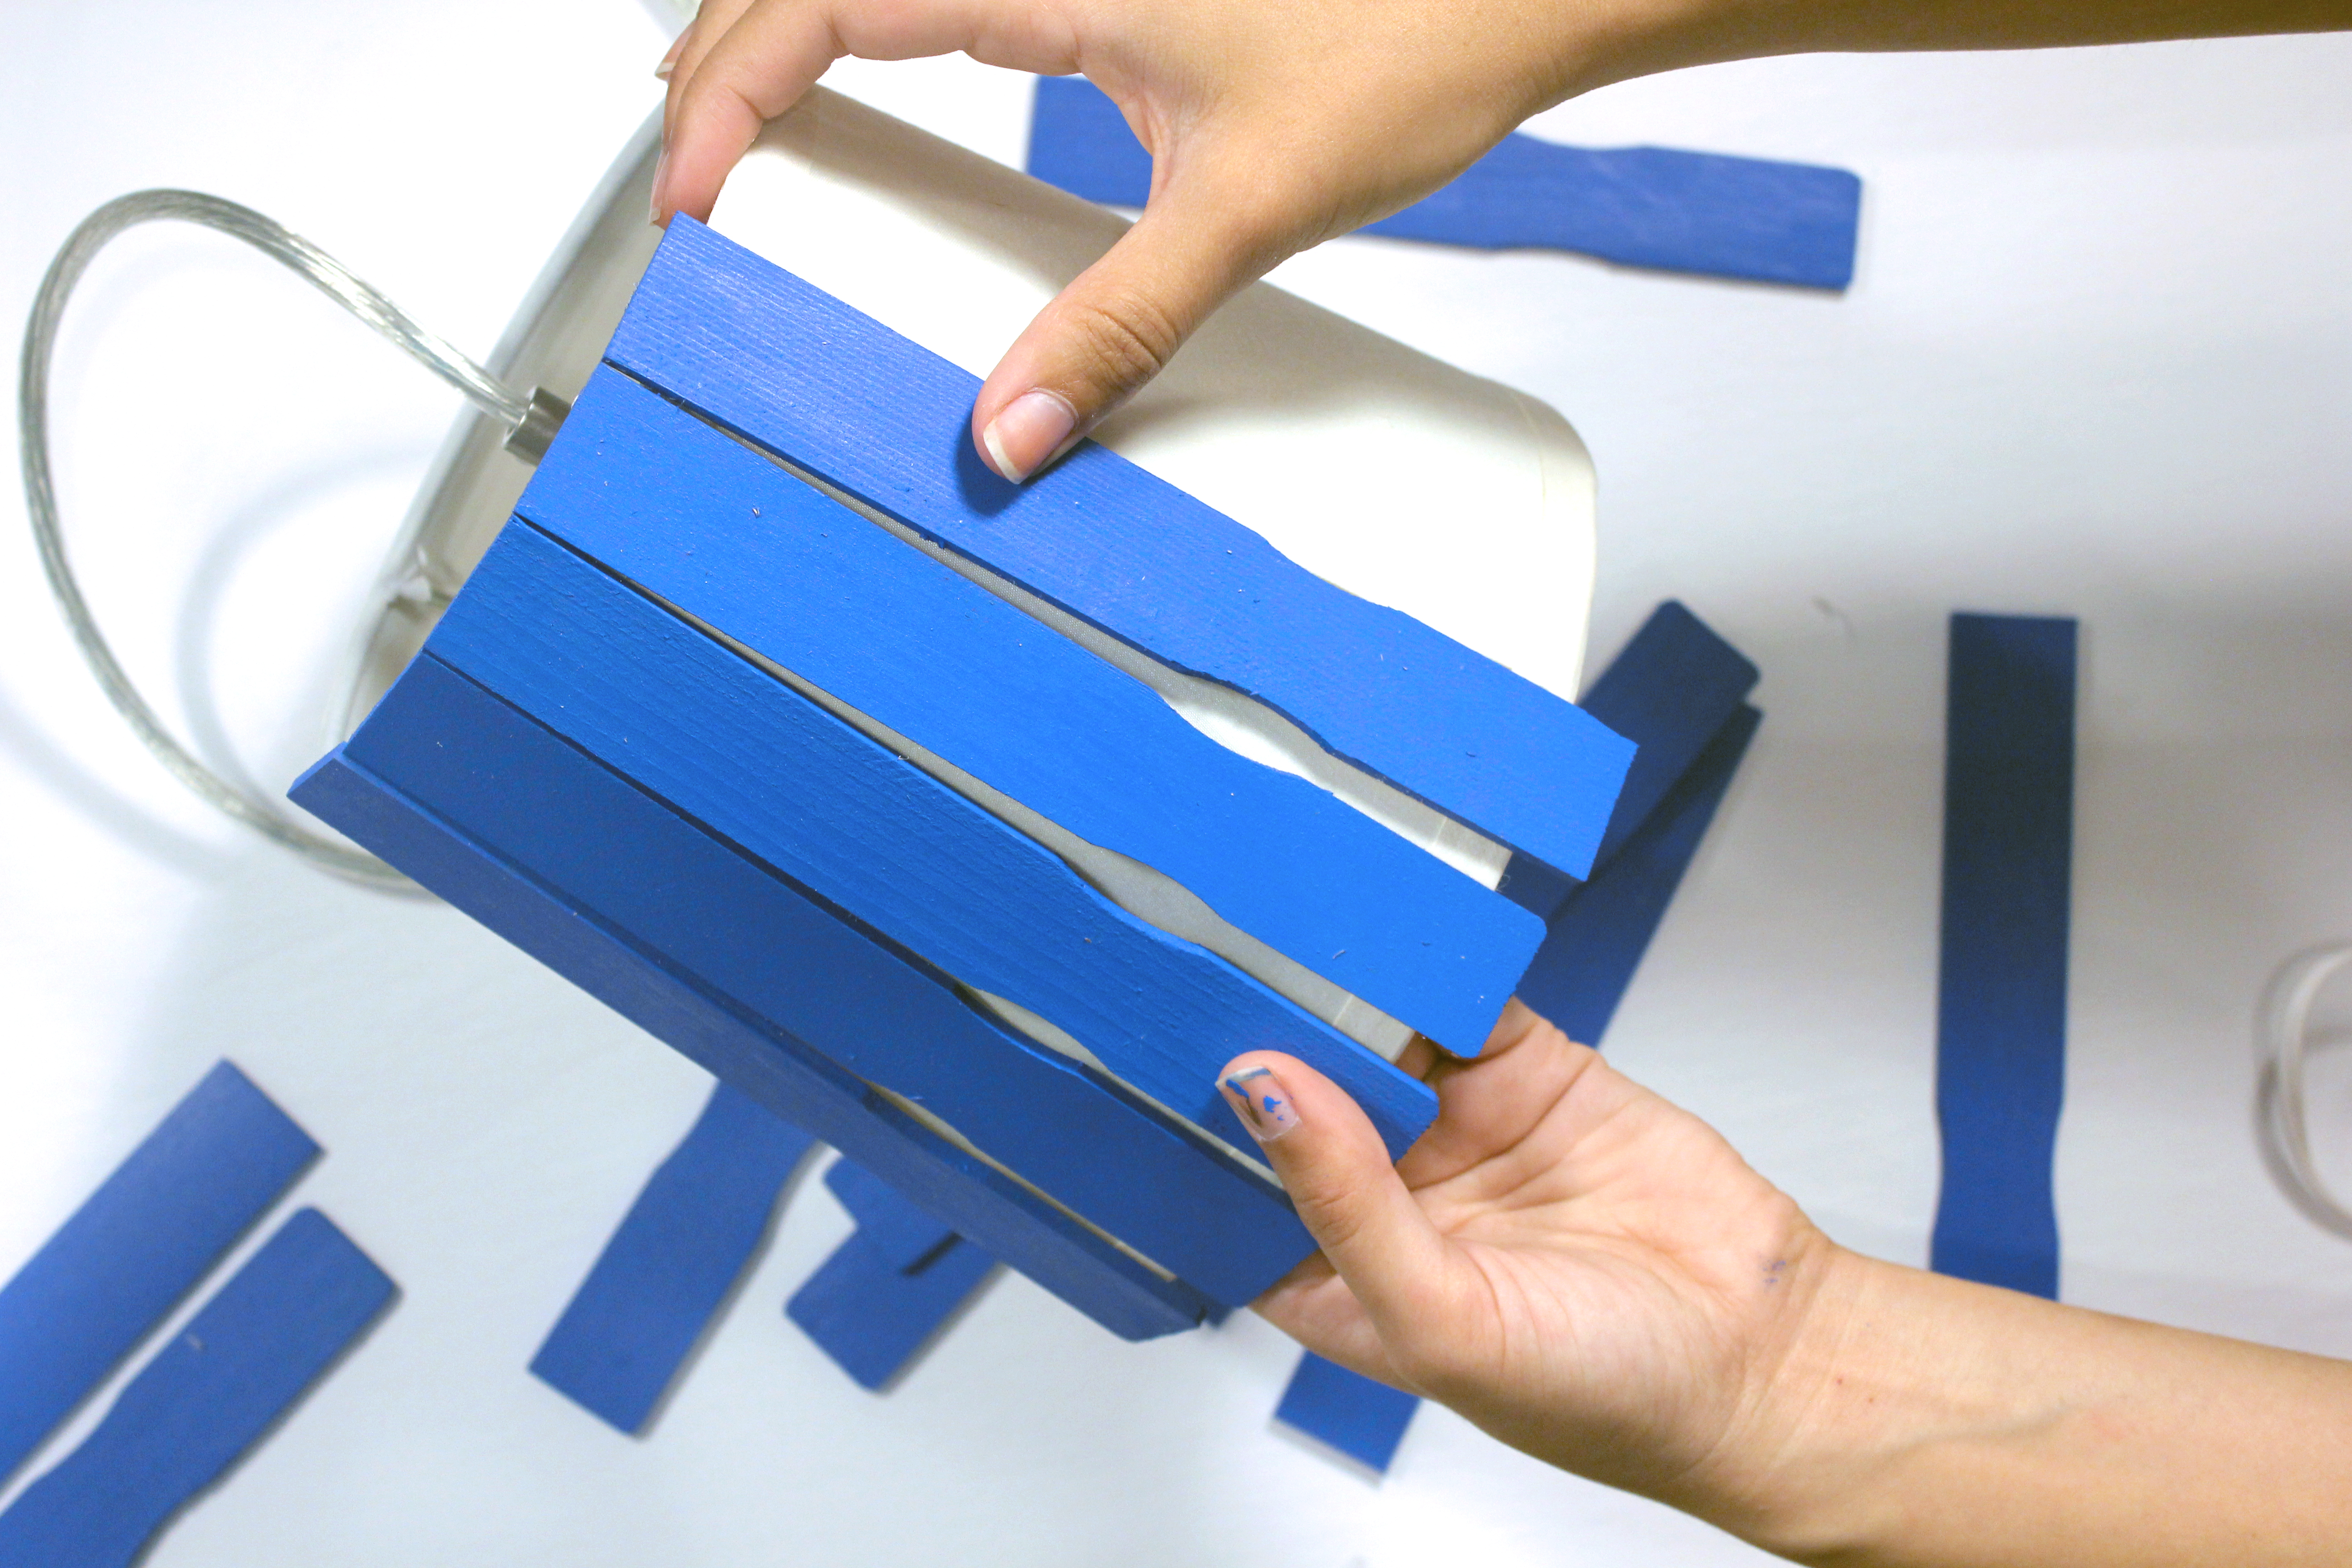
Step 3 – Start attaching your sticks
Using a hot glue gun, add a small dab of glue to about 1 inch down the top of the stick and 1 inch up from the bottom of the stick and then attach to the edges of the shade.
Affix to the shade and continue all the way around, leaving a tiny bit of room for the light to shine through.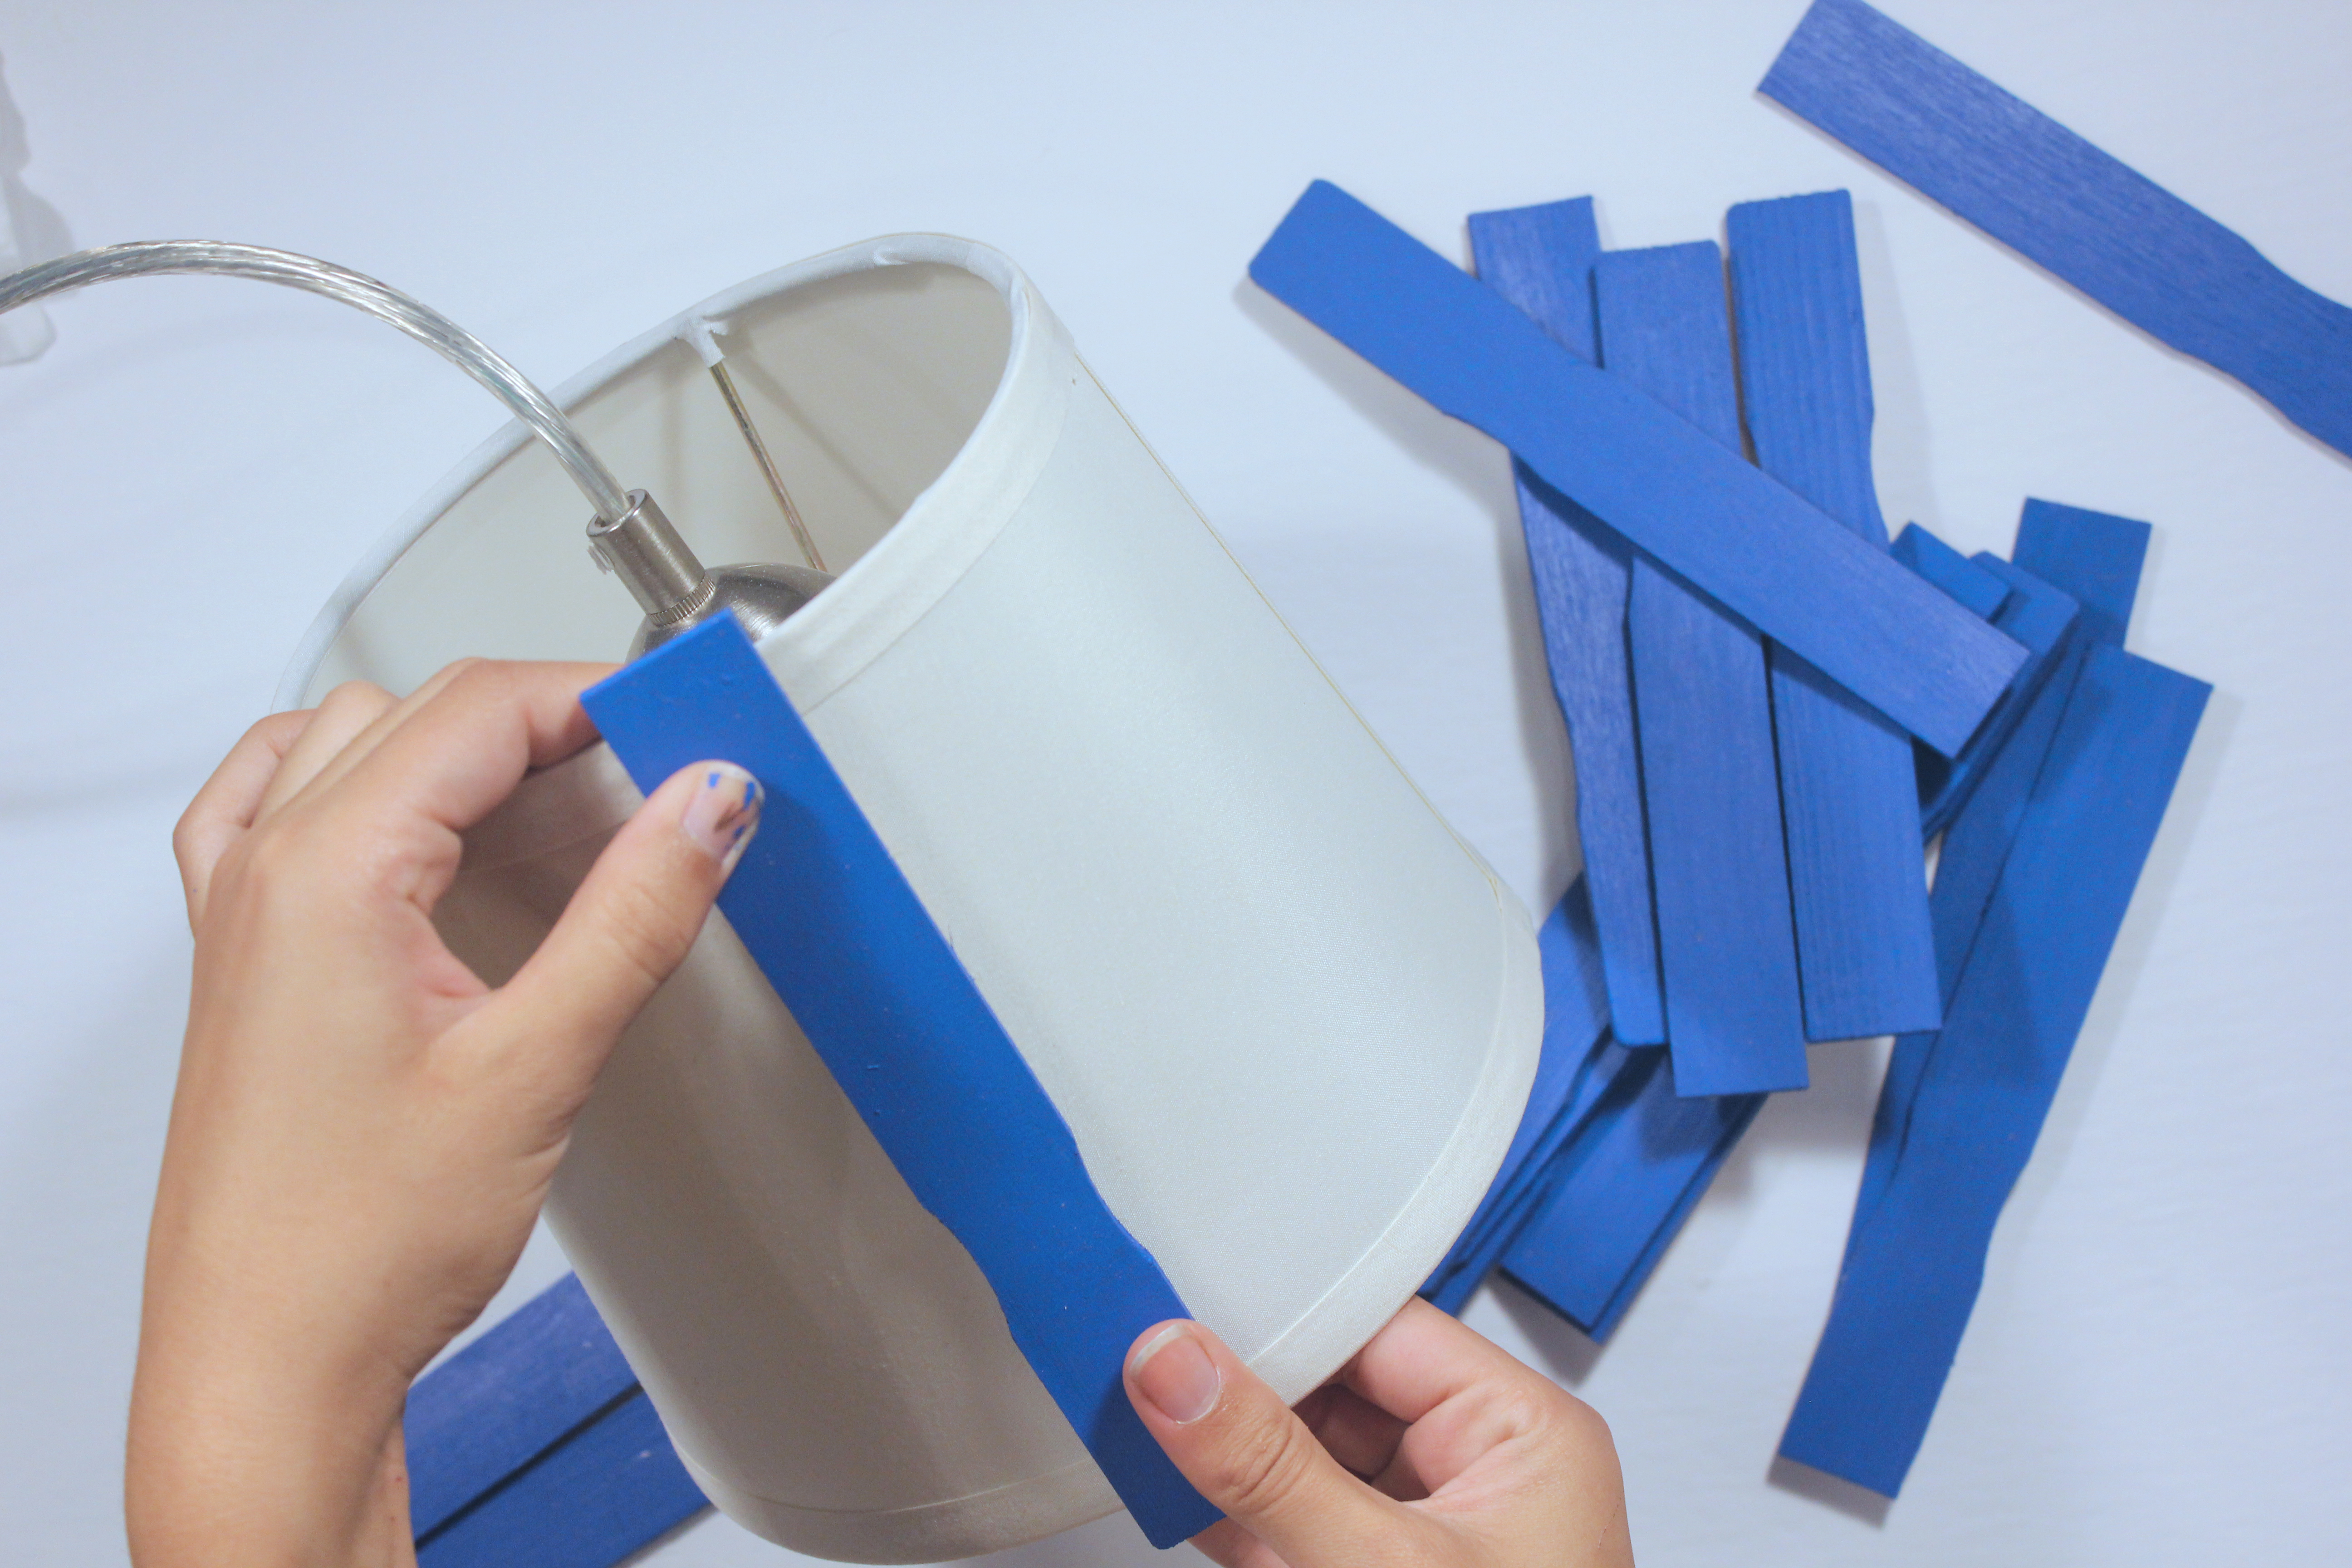
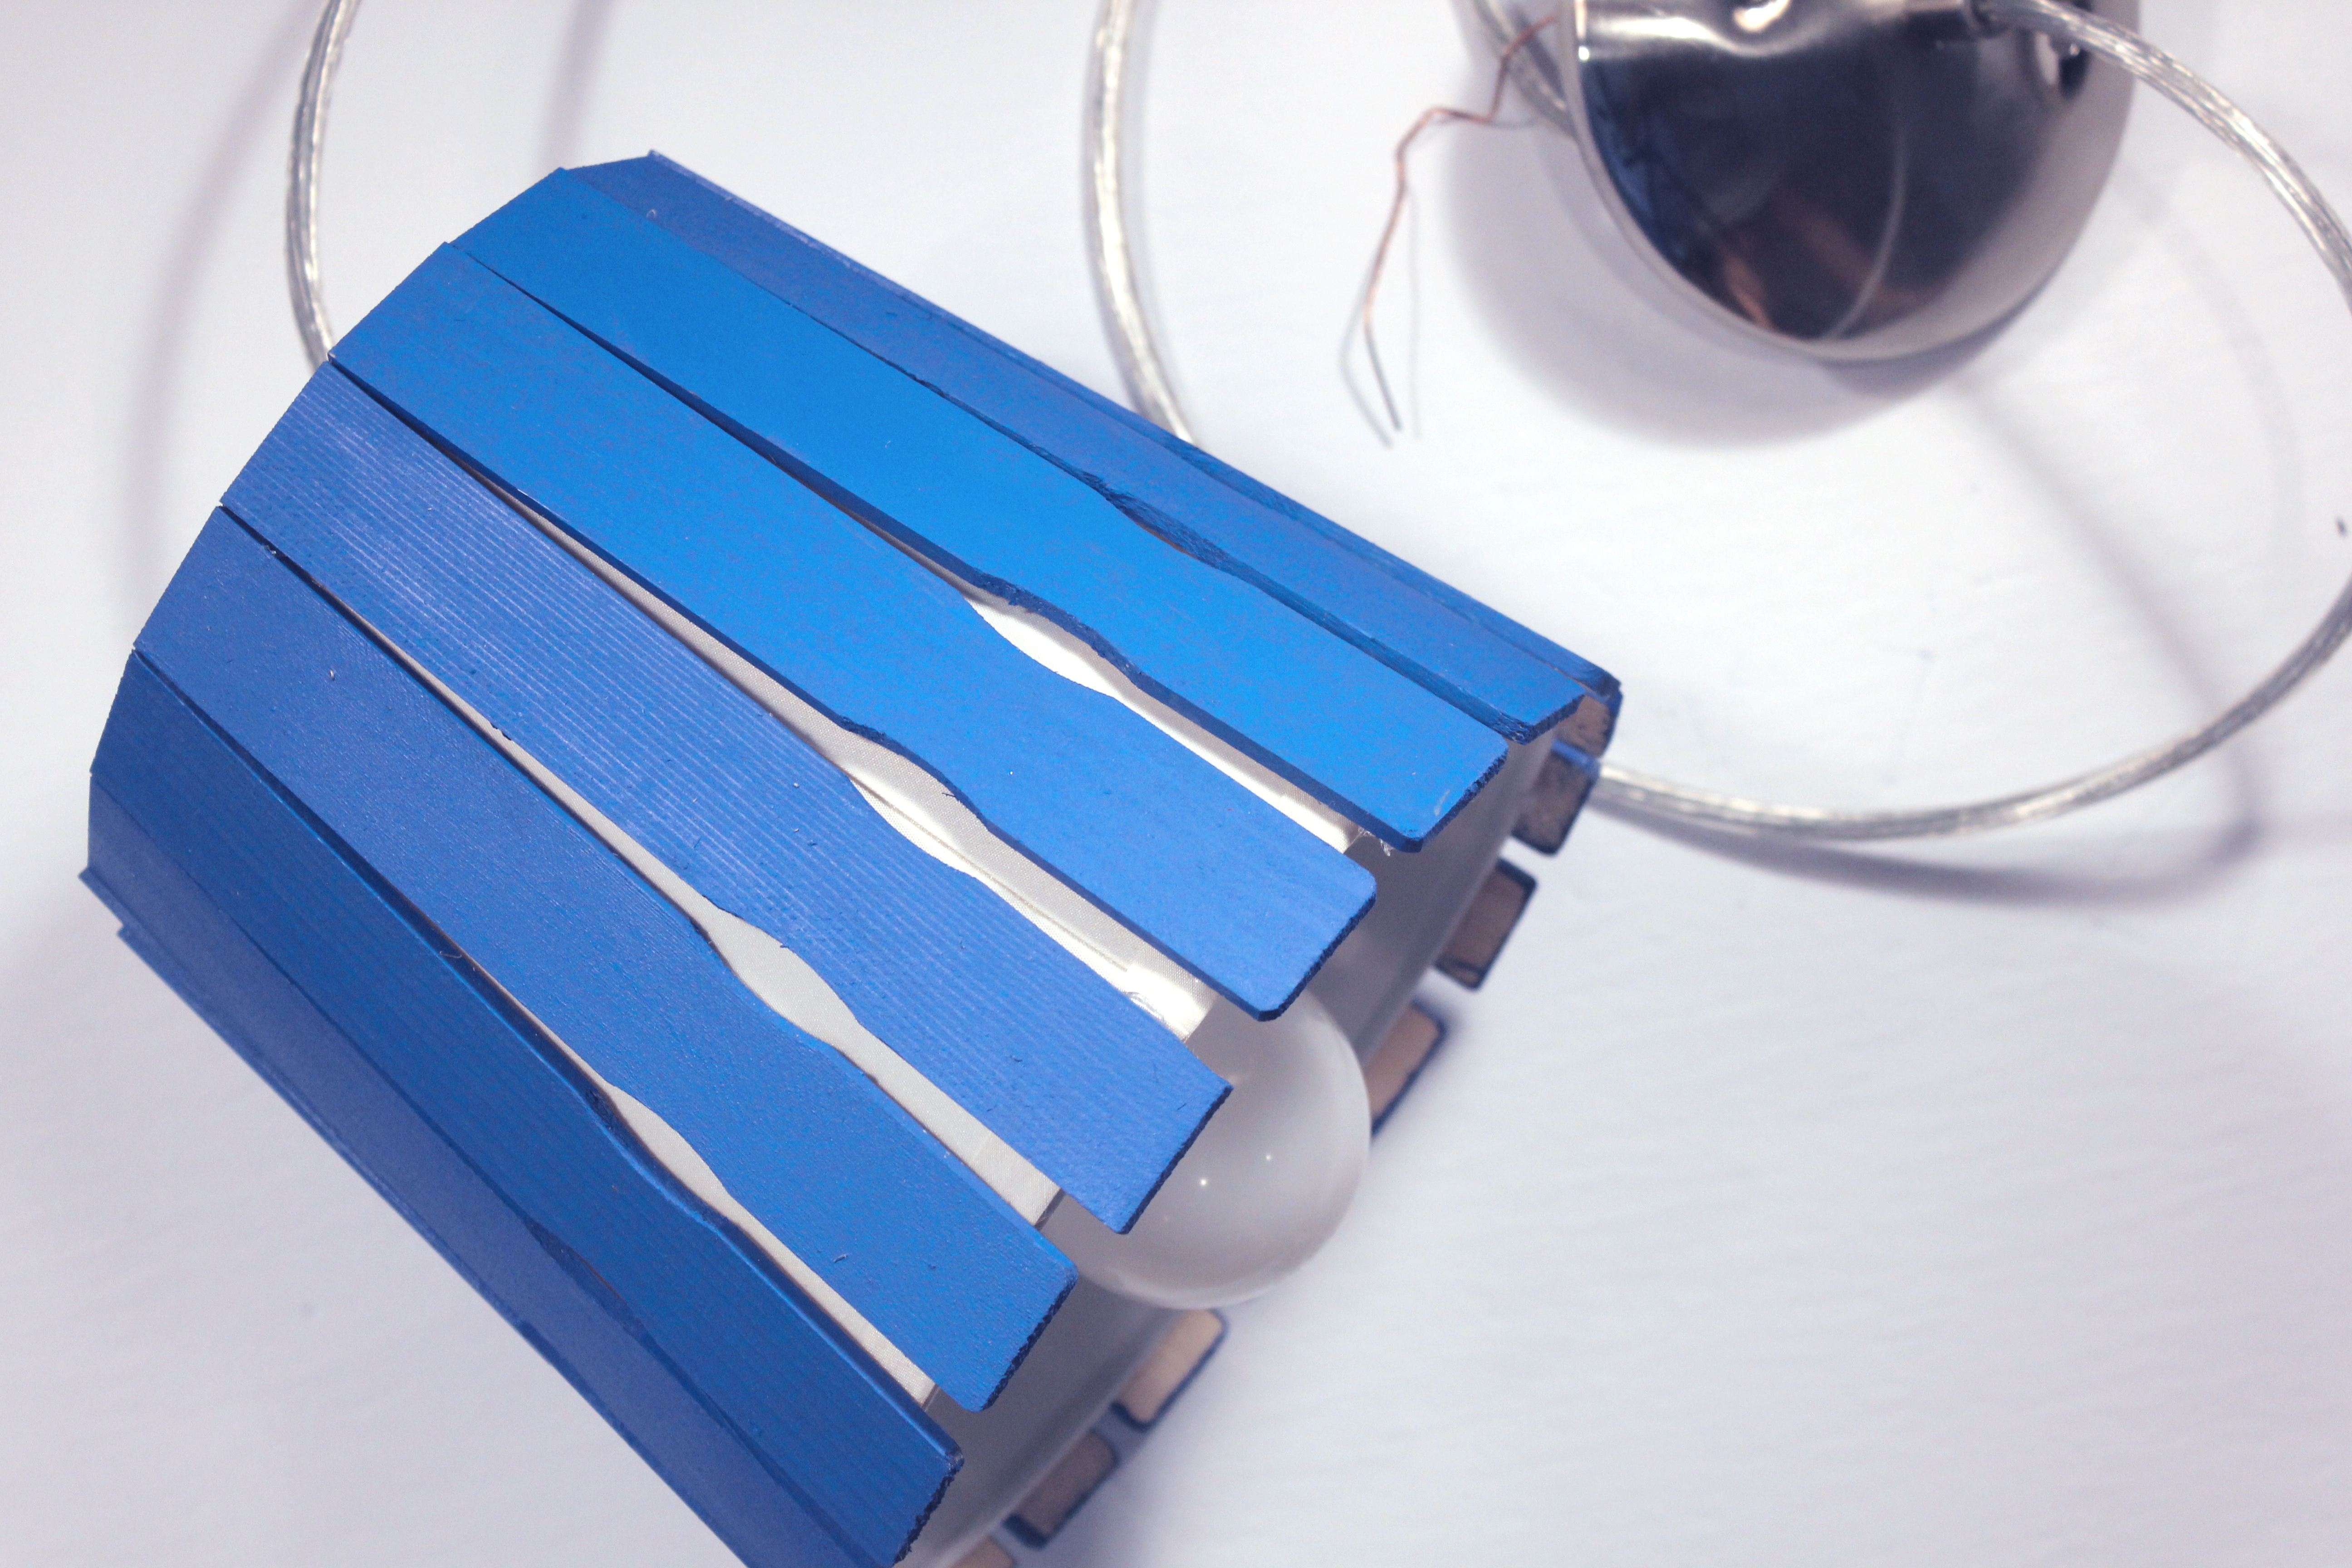
And hang!!
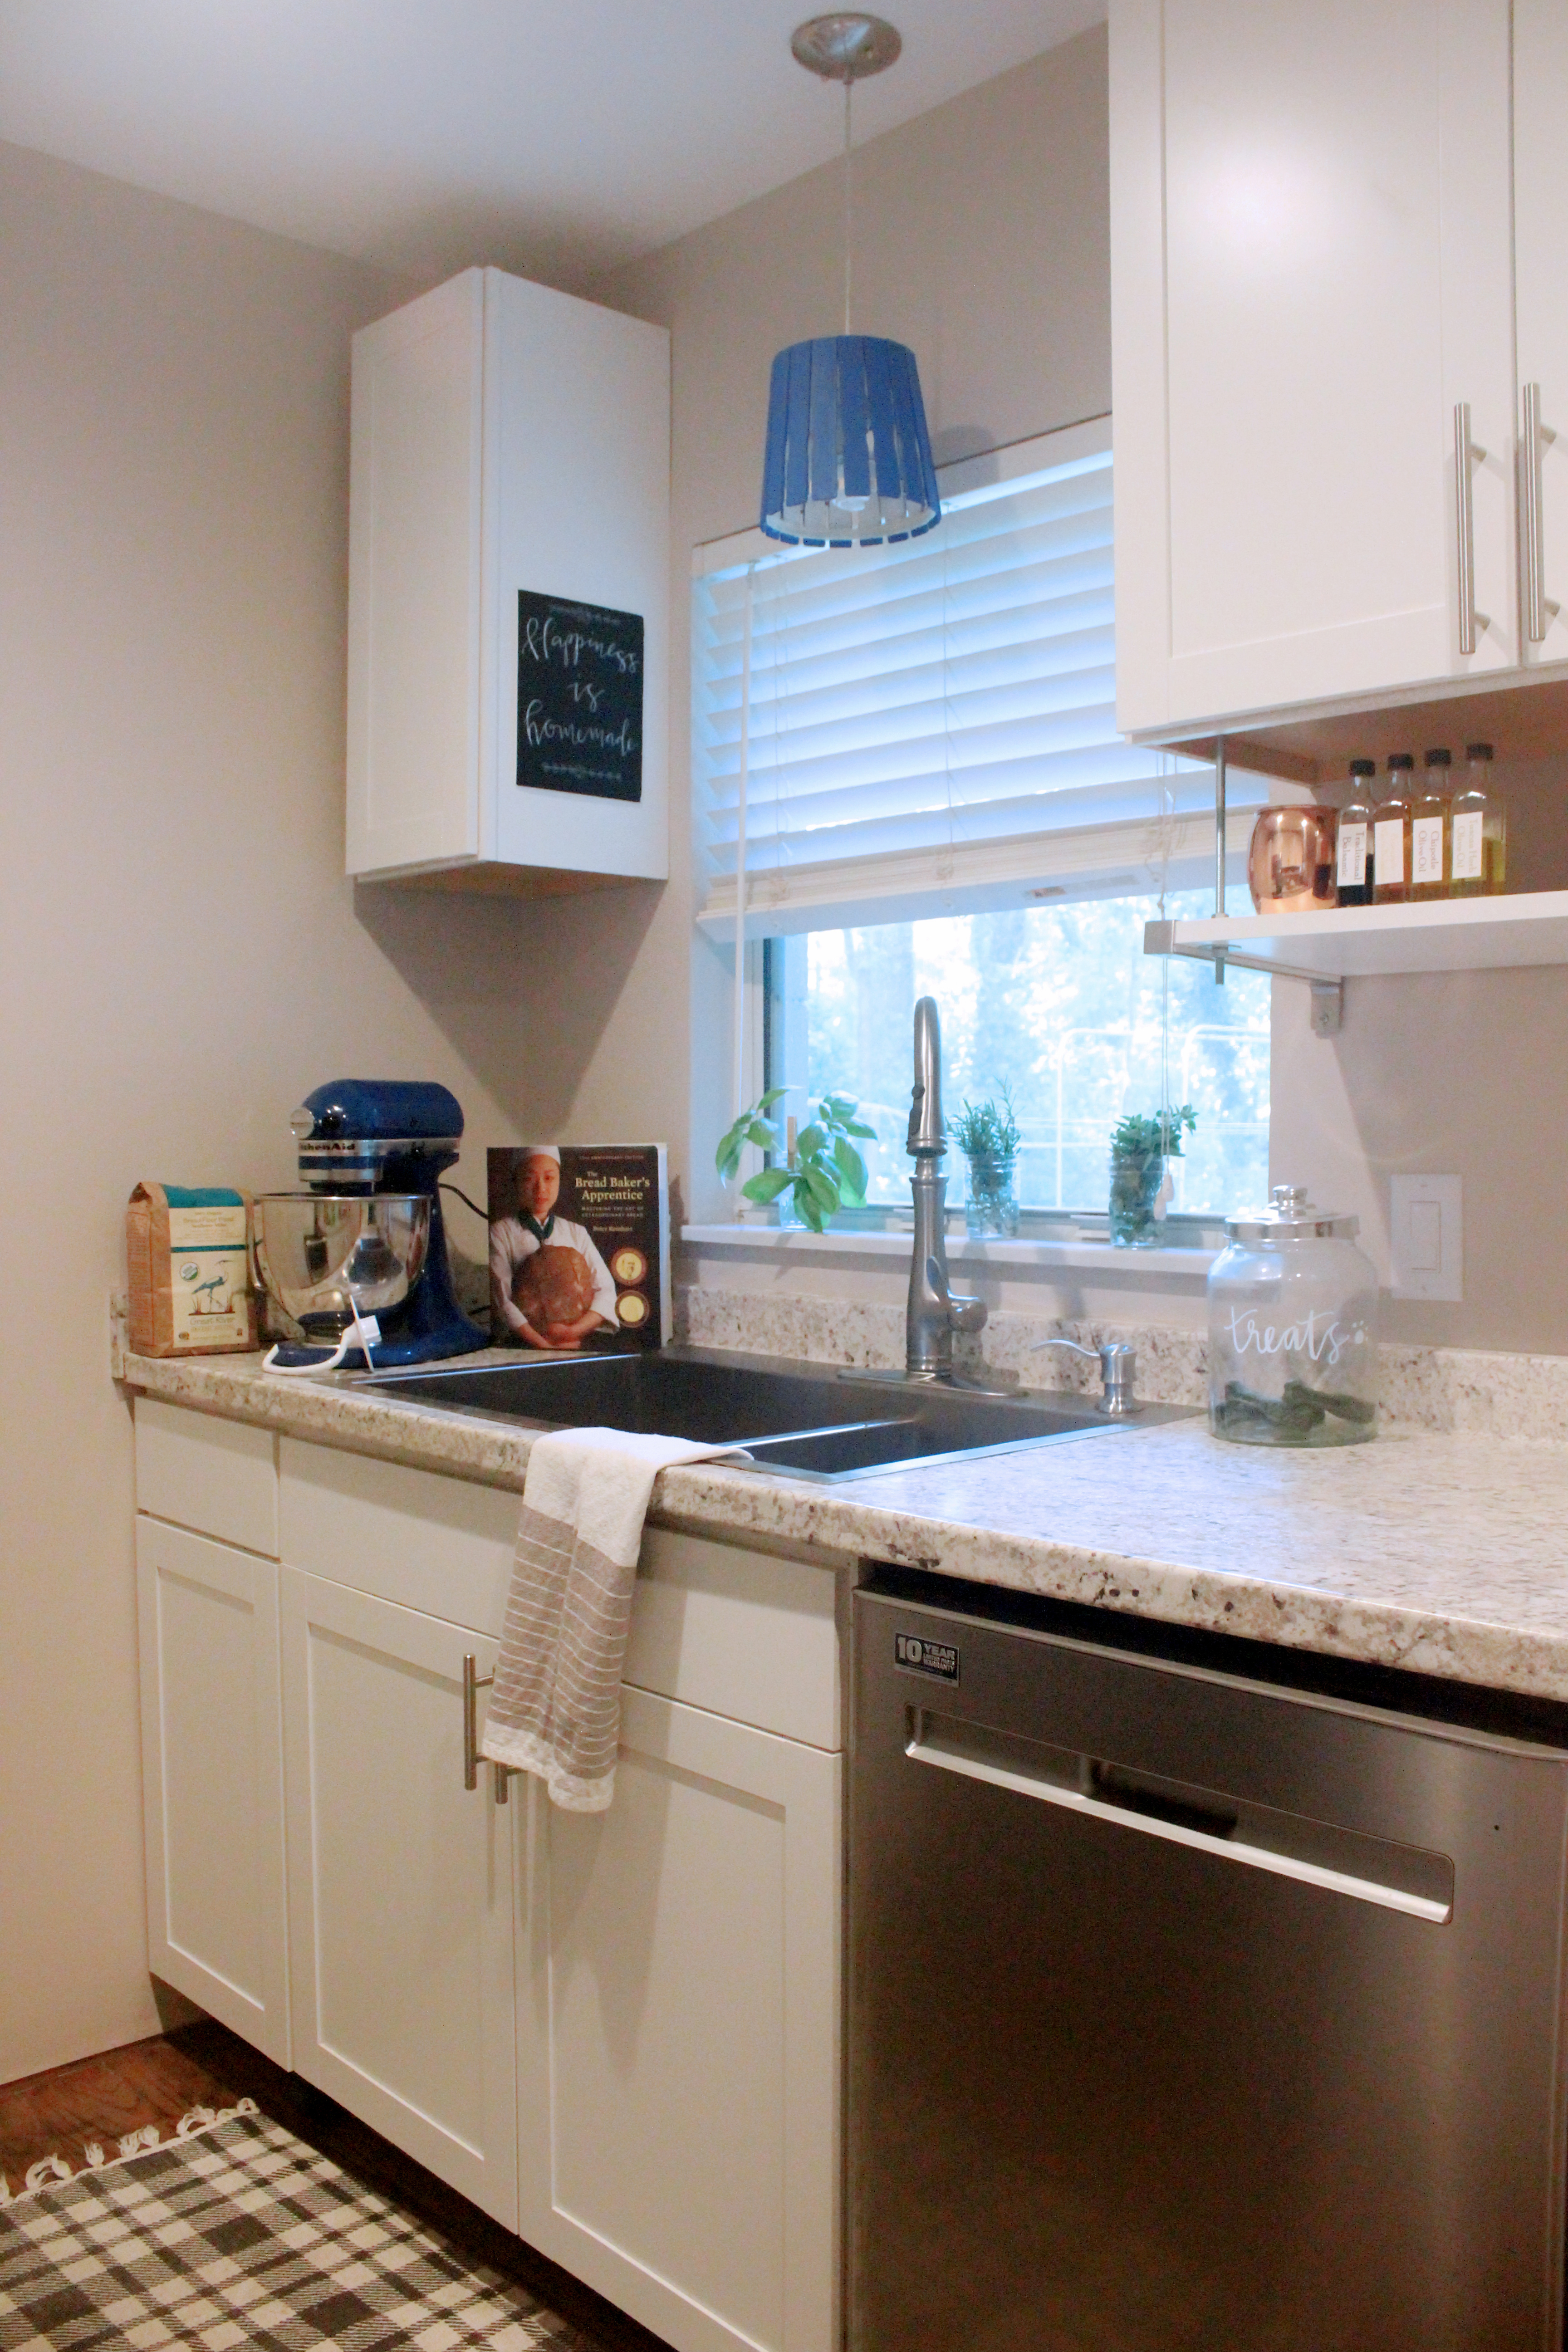
Look how pretty it looks with the light shining through and check out how well it matches the Kitchen Aid Mixer. 🙂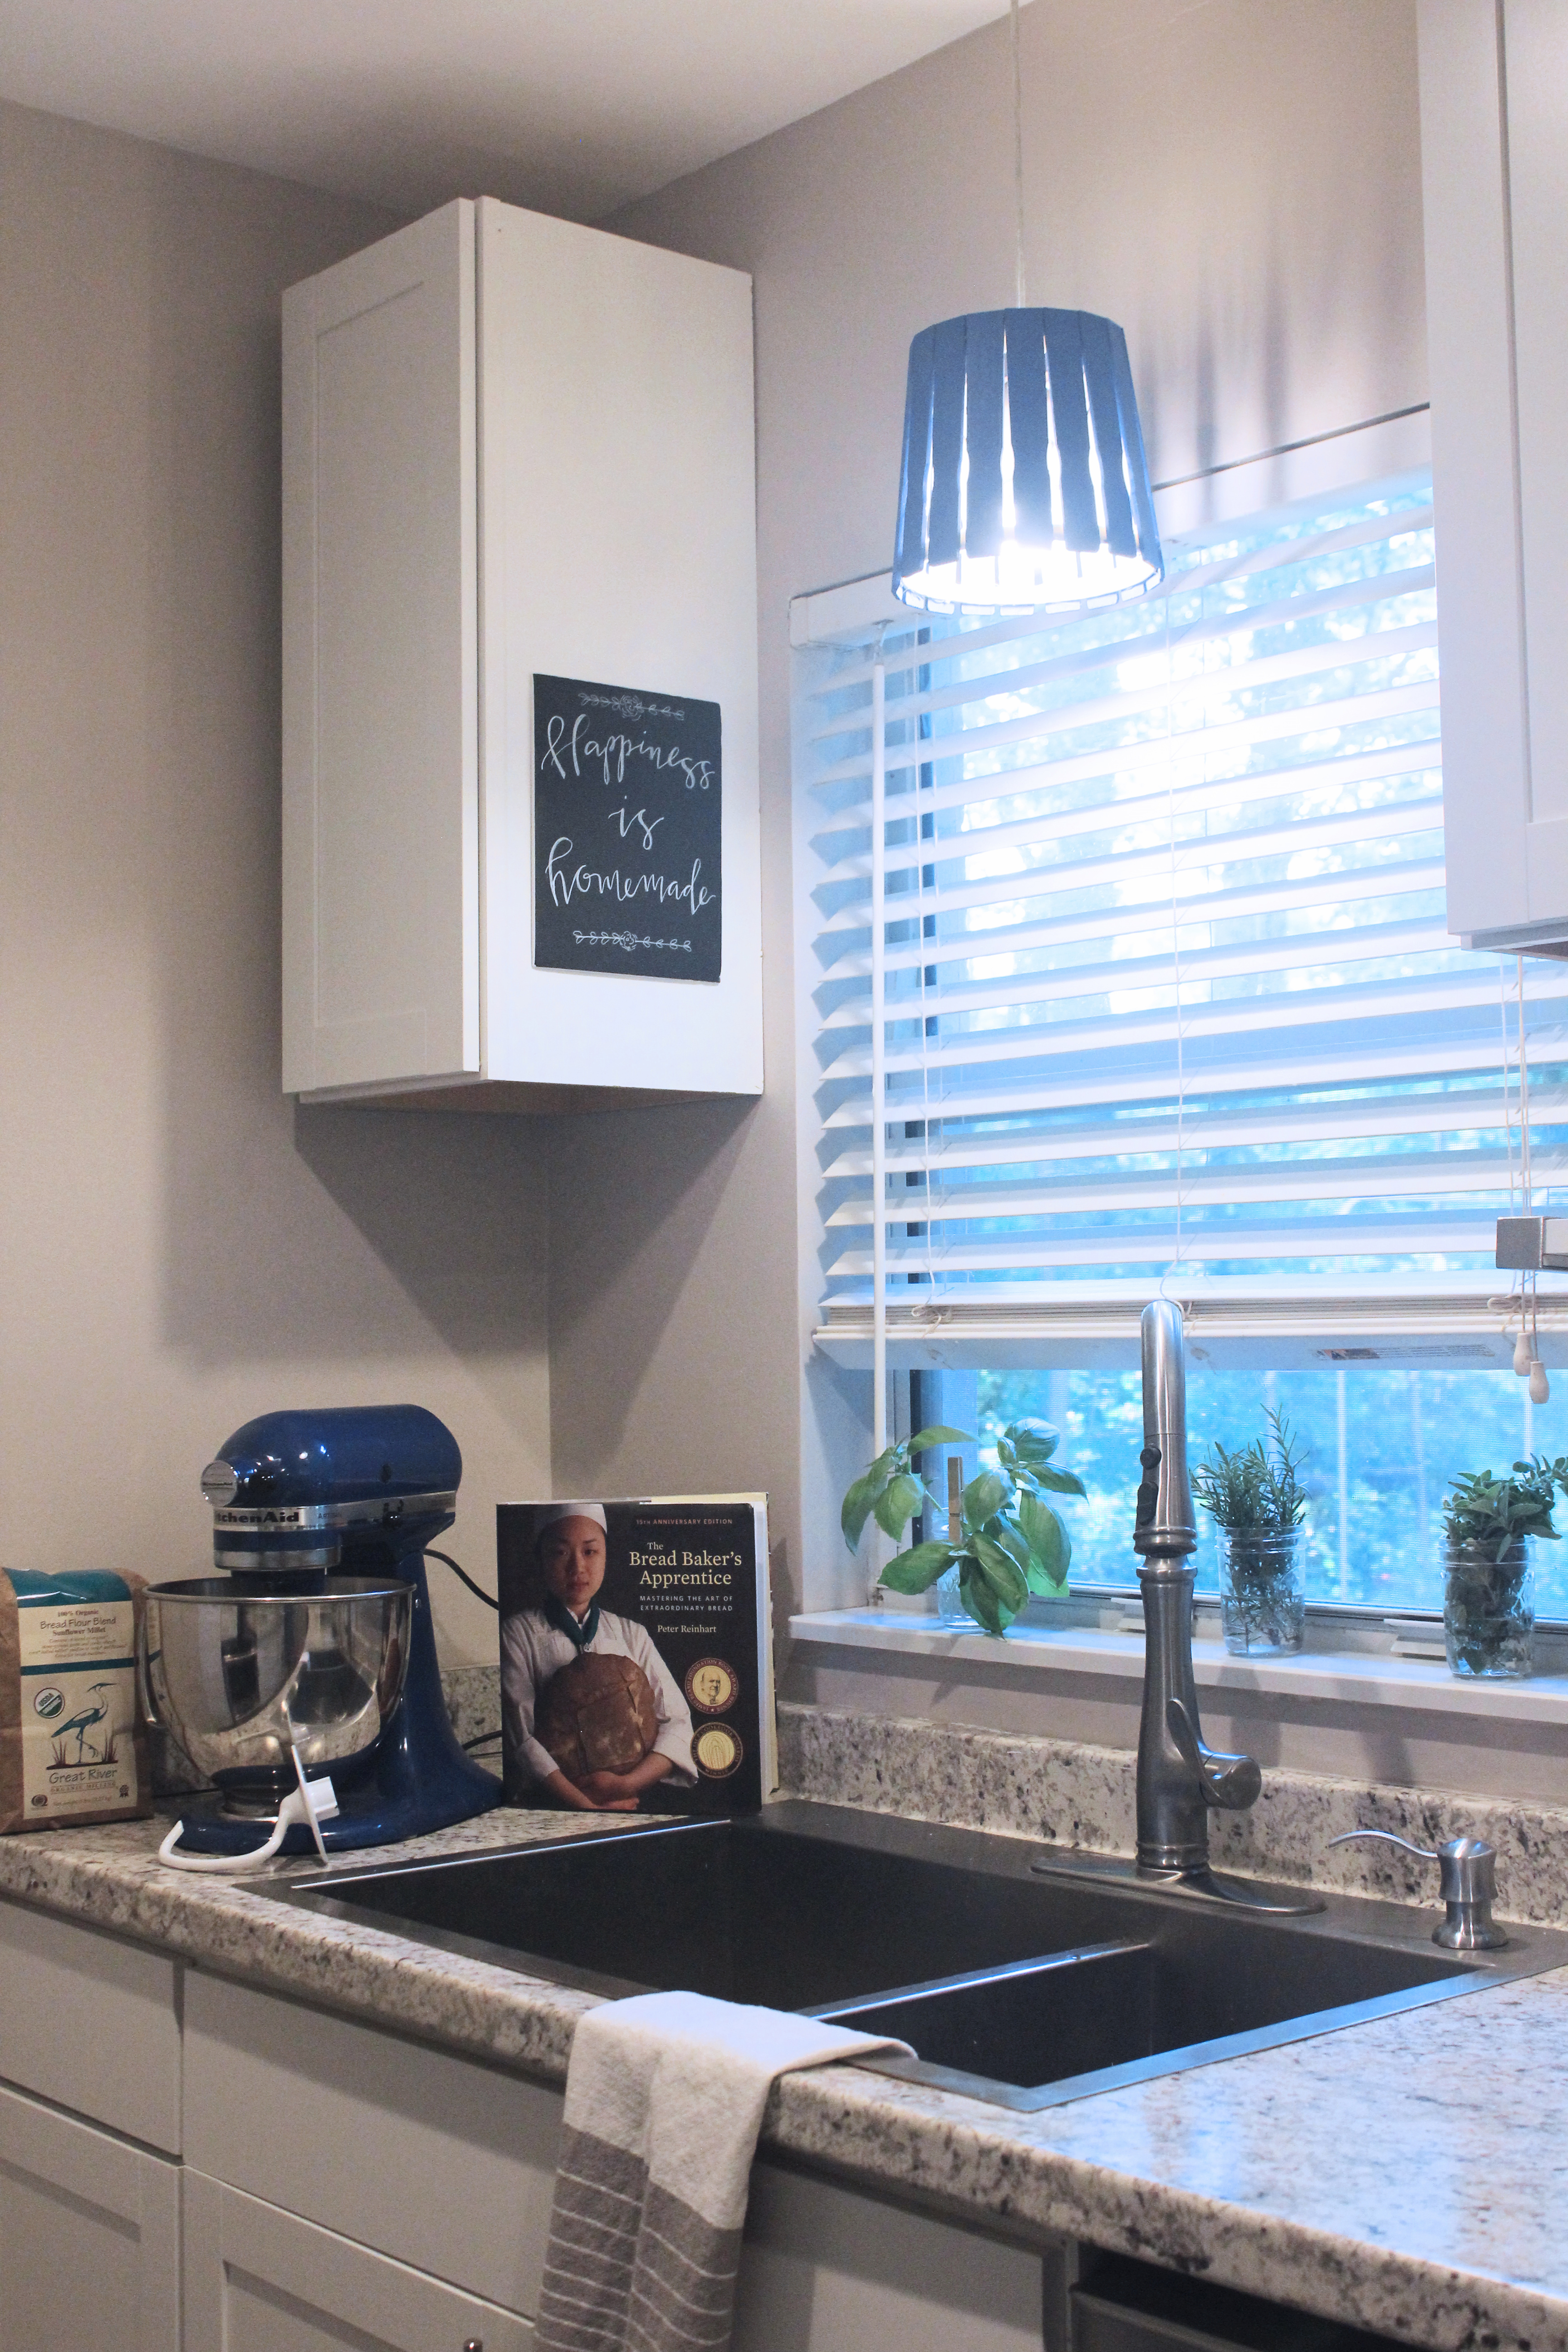


Leave a Reply