Hello readers! Today I am going to share my adventures repainting my front door! Now when I say adventures, it really was one – that’s not just fluffy blog speak.
I’ve been wanting to brighten up our curb appeal for a while now and started off by removing all of the old paint from our charcoal grey vinyl shutters which were hiding underneath a coat of old boring light grey paint (they literally matched the house). After seeing how amazing this looked, the front door was just an eye-sore of smudges that never came out no matter how hard I scrubbed or how many magic erasers I used. We probably had the cleanest door on the block.
The natural solution was to paint it! Let’s just cover up all of those ugly smudges. 😉
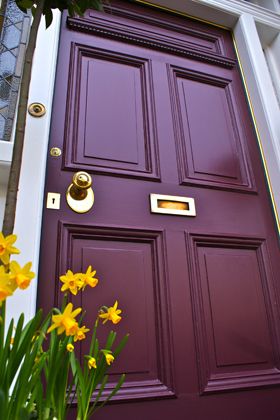
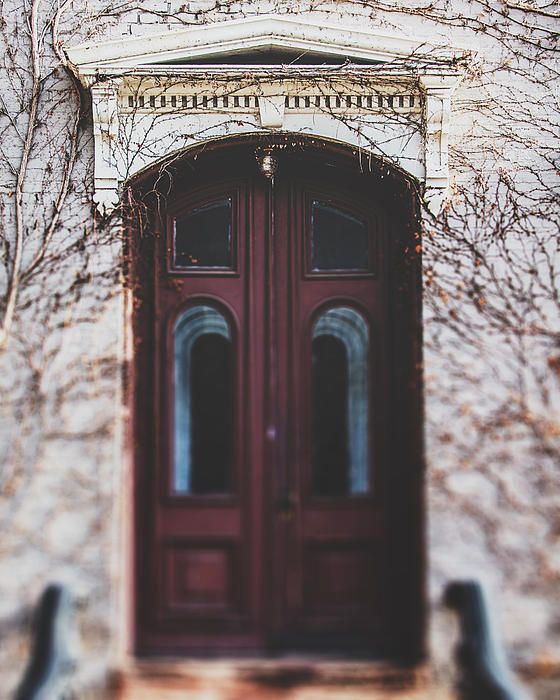
I wanted a door that would not only pop color-wise, but I had seen a ton of oxblood/garnet/burgundy style doors on pinterest and literally fell in love. 😀 Just peep these for a second and tell me that you don’t want to run out and buy paint right now.
It came down to a few simple supplies….
3″ Paint Brush – Had this one but you can grab one for about $10-15
2 quarts of Exterior, Acrylic Paint from Sherwin Williams- $16/can
3M Painters Tape
Medium & Fine grit sandpaper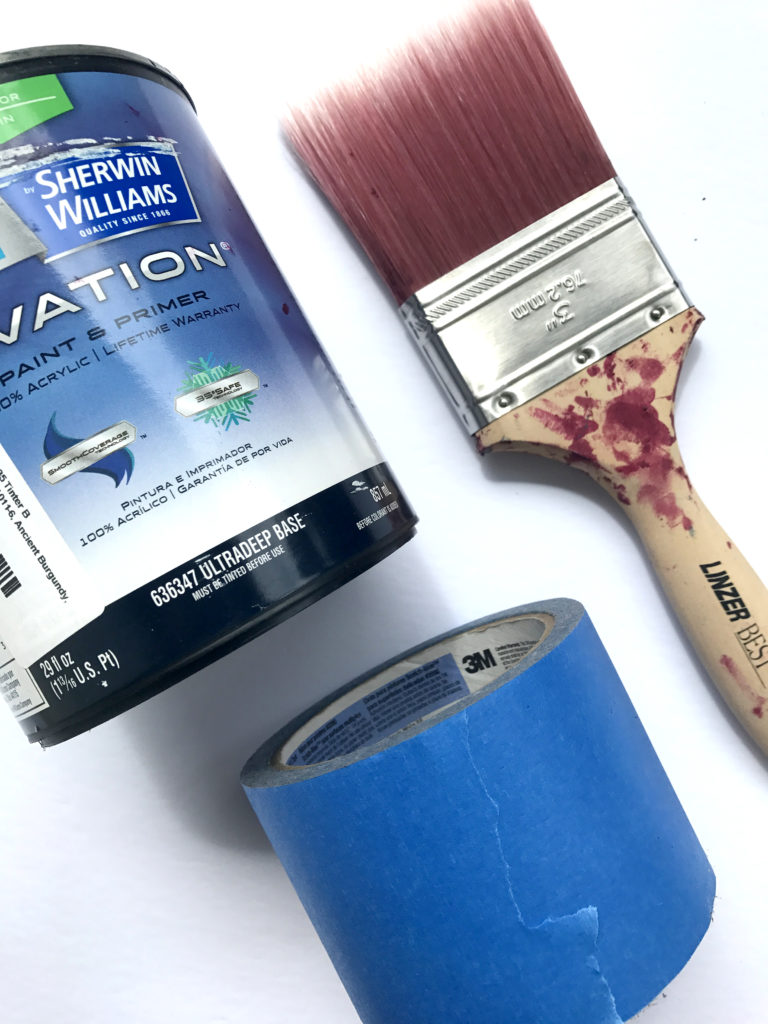
Choosing a color
Now, if you’ve ever done any home improvement projects in your life, you’ve probably visited either Lowes or Home Depot. This was by far one of my worst experiences – if corporate offices really want to know why shoppers are constantly complaining about them, they should go to my local store and try to ask for help.
After a little back and forth with my dad about what kind of paint I needed I finally decided on a color – Ancient Burgundy by Valspar was the final choice. They tinted my paint to be this color, after 2 attempts I must add. (hence the bad experience) The first time they did it, it came out hot pink and told me they couldn’t make the color. “What do you mean?!”

Pro Paint Tip:
Make sure that if you’re painting a metal door, that you either pick up a specialty paint like this one from Modern Masters (which you CANNOT purchase at Home Depot/Lowes) OR you can purchase a 100% Acrylic exterior option. The acrylic better adheres to the door. Also, make sure that if you’re repainting an old door, that you use the same type of paint on top (I.e. If the old paint was oil-based then you have to use oil-based vs. If the old paint was latex you have to use latex) otherwise you have to strip the old paint off first.
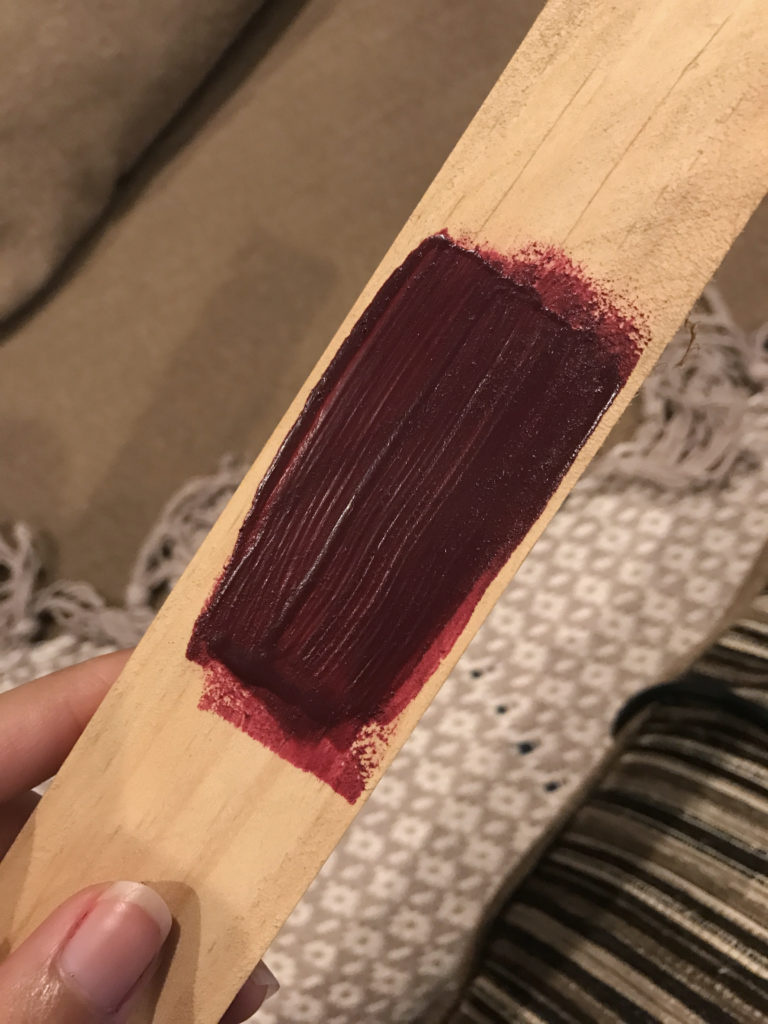
After fearing for my life that I would end up with a hot pink door, I decided to test out the paint color/amount of coats on a small piece of wood. It took quite a few to get it to this deep of a color.
Prep time
After deciding a color and gathering all of my supplies, it was time to prep the door.
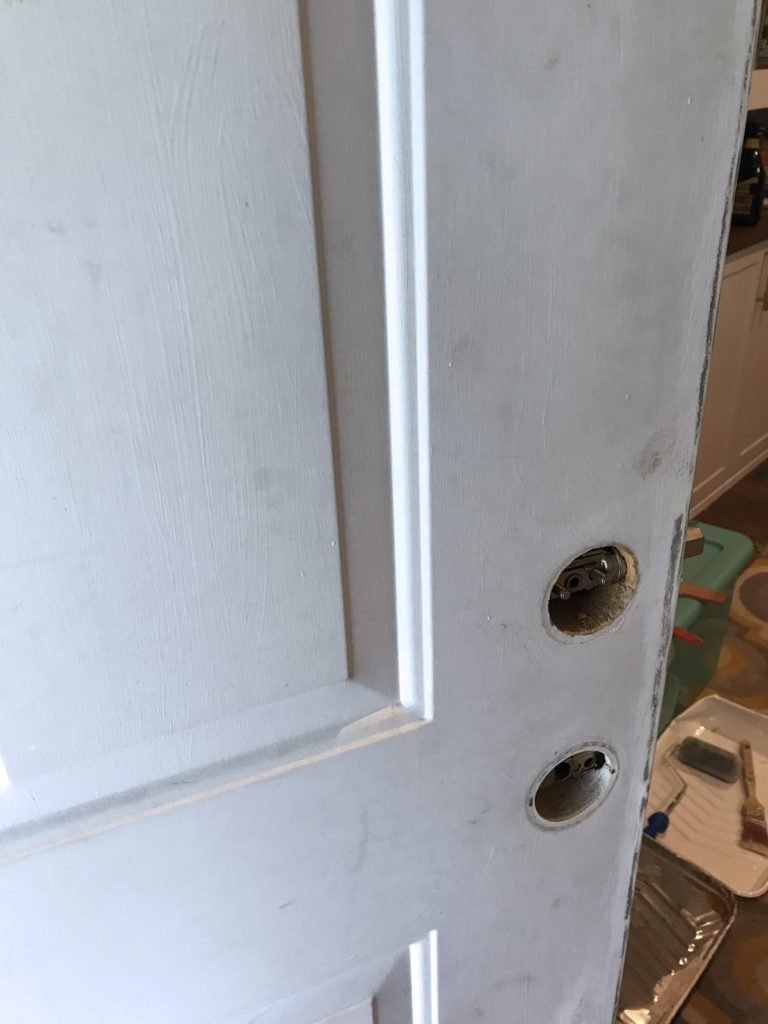
First, remove all of the hardware from the door.
Then, use a rough grit sandpaper to remove any bigger lumps or marks and smooth out with the fine grit paper.
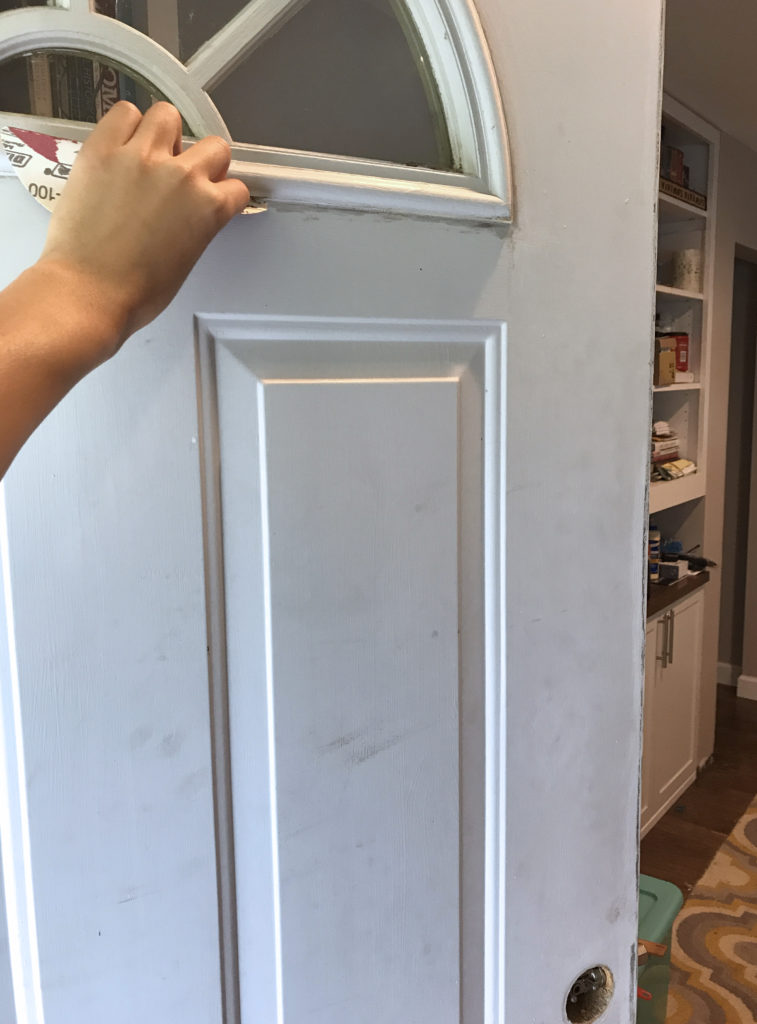
Cut off your windows (if you have) using 3M blue painters tape – remember not to leave your tape on for too long after it starts to dry or your paint will peel off with it.
Something I’m sure you didn’t think of:
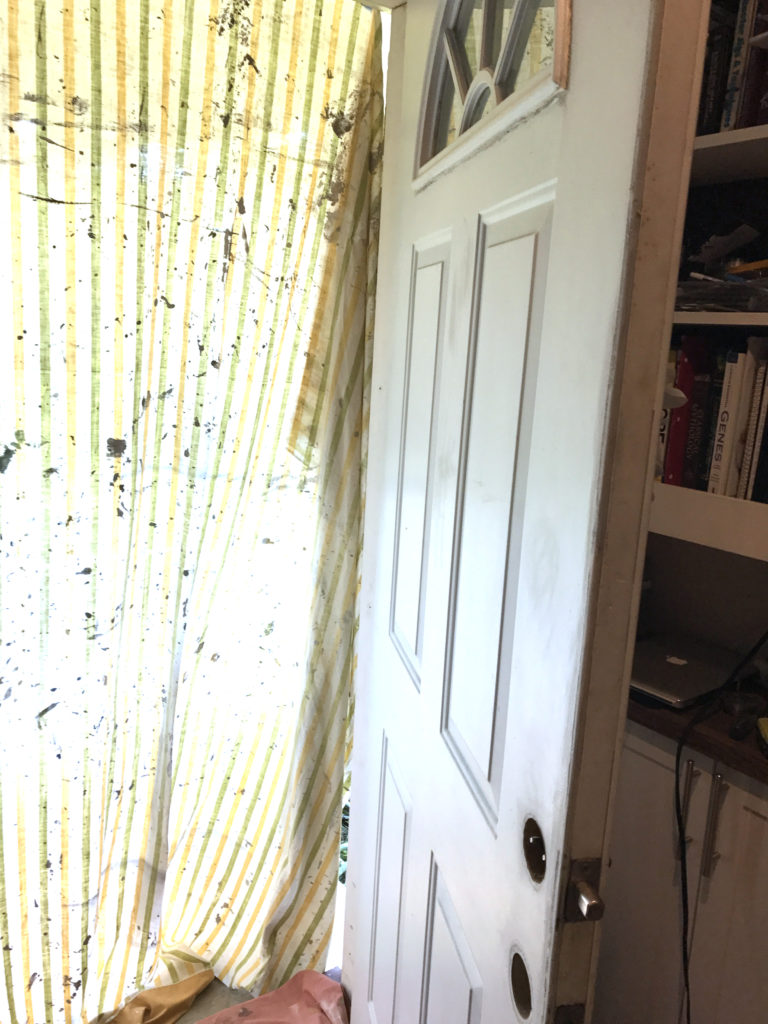
Once you start painting, you cannot close your door. Keep this in mind before you start full speed ahead. Your door must remain open the entire time you are painting – which in my situation, was ALL DAMN DAY. Since I live where it’s about 90 degrees at this time of the year, it’s imperative that you don’t turn your house into a sweat box.
Solution!?
Hang a drop cloth or old blanket (that you don’t mind accidentally getting paint on) from the top of the door frame with a few pieces of painters tape. This way, you can stop some of the hot air and bugs from getting in and keep the cool air inside, where it belongs.
Do not forget to put down another drop cloth to protect the floor from uh-ohs. 🙂
Paint Time
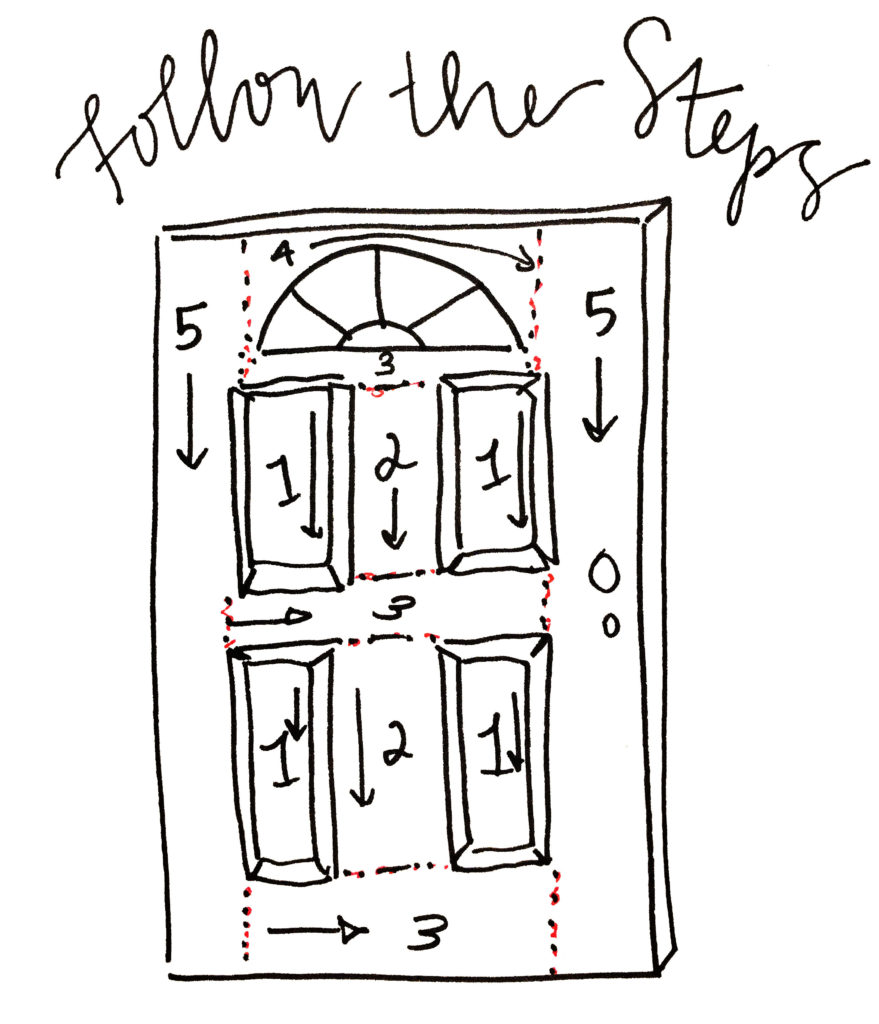
Before you start, make sure you know where exactly you plan to paint first. I found quite a few handy tutorial videos on youtube and pinterest, but I mocked up a little step sketch for you myself! Paint the panels first, then the top and bottom cross sections, then the horizontal cross sections and then the very top to the very sides.
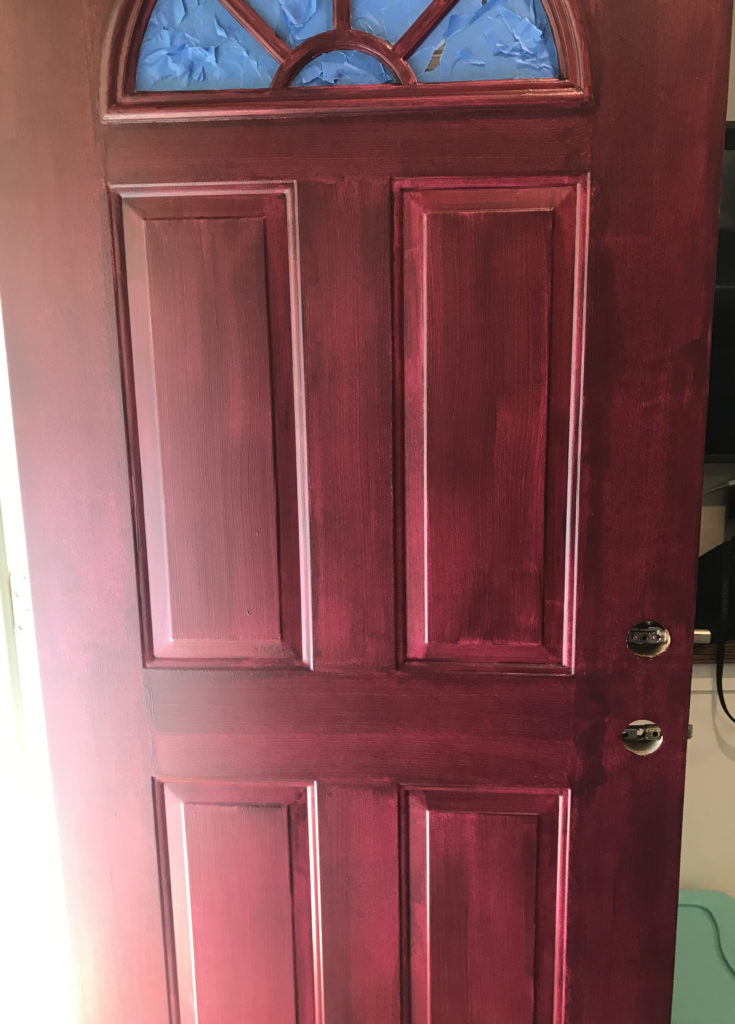
Have to admit that I was a bit frightened after my first couple of coats. Lesson learned: A roller doesn’t do too well on a metal door. LOL
My advice would be:
Make sure to use a wide brush, even strokes, and even if you feel like you should go back over a spot you just painted, do not go overboard. Think of it like painting your nails – for the ladies out there. If you do one coat and then don’t wait for it to dry and try to paint it over to fix it, it will get clumpy. And no one wants clumpy nails or front doors.
This was after 2 coats.
Wait about 45 min-an hour in between coats and you should be good!
A whole day later…… *spongebob voice*
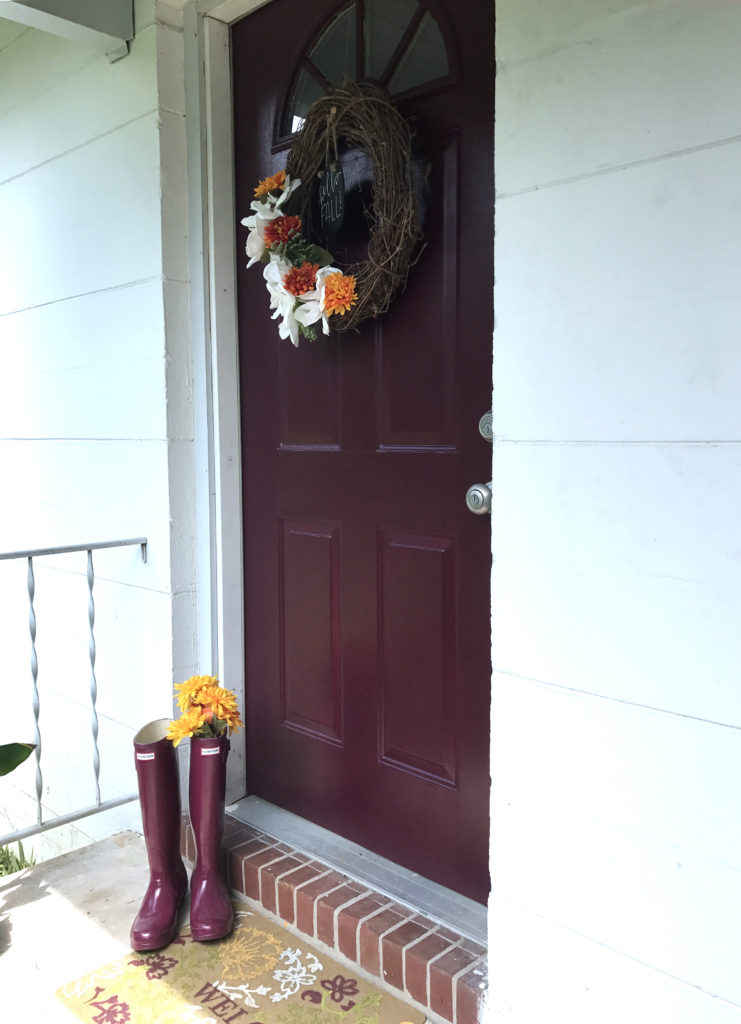
YAY! It’s doneeeeee. This was the first day – I think it came out beautiful and after 5 coats (more than I think I should’ve done to be honest) and 3 movies of waiting time later, it looks so deep and pretty, especially next to the charcoal shutters!
Added on my Fall wreath and voila!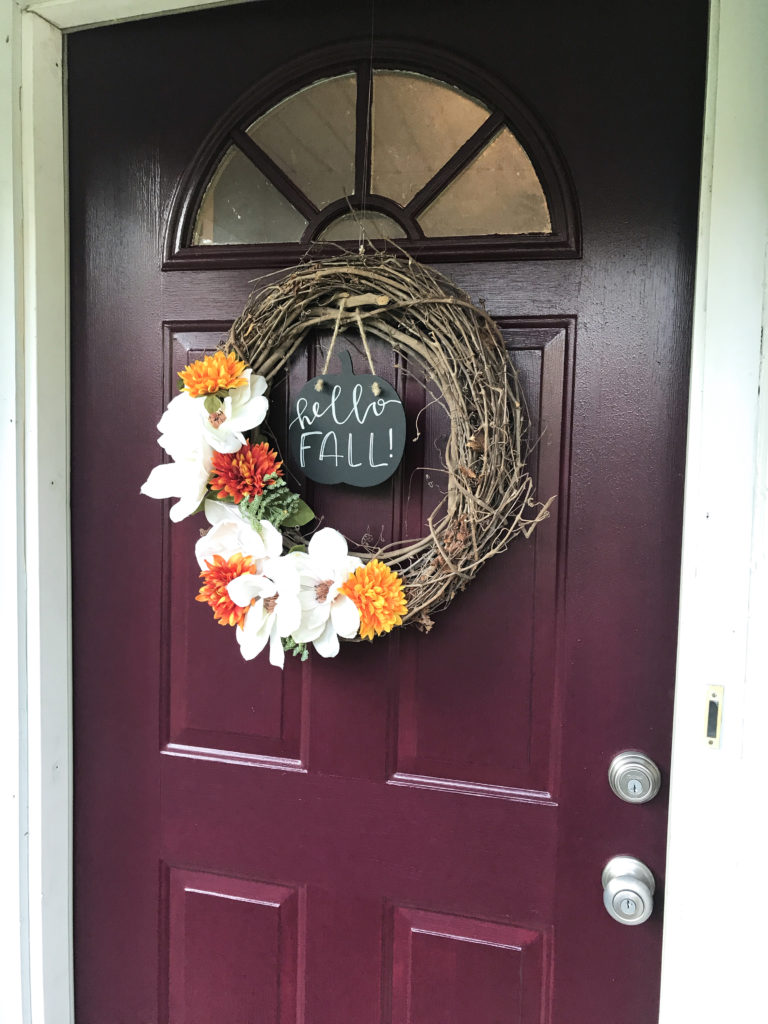
Save


Leave a Reply