In another effort to make the front of our house look pretty during this ~long~ and worth it renovation, I decided to finally do the welcome doormat DIY I’ve been thinking about.
Believe me when I say that I searched high and low for a doormat that would not shed, cough cough coir mats. While I was VERY tempted to buy one of the straw looking mats that are ever-so-popular at the moment, and add my hand-lettering to it, I didn’t give in. With a wool area rug that sheds and a dog that drops hairballs every time he gets excited, I just couldn’t deal.
Sooooooo, I opted for a very cheap, alternative from Walmart. Just in case it didn’t work out, I wouldn’t feel like I tossed money into the fire. The pattern on this rug was pretty, just had really awful muted colors that I could dress up by adding in pops of color.
Supplies
Cheap Welcome Mat From Walmart – $3.50
Behr Paint Samples From Home Depot – $3.00/each
Small Paint Brush
Rust-o-leum Clear Satin Enamel – $3.76
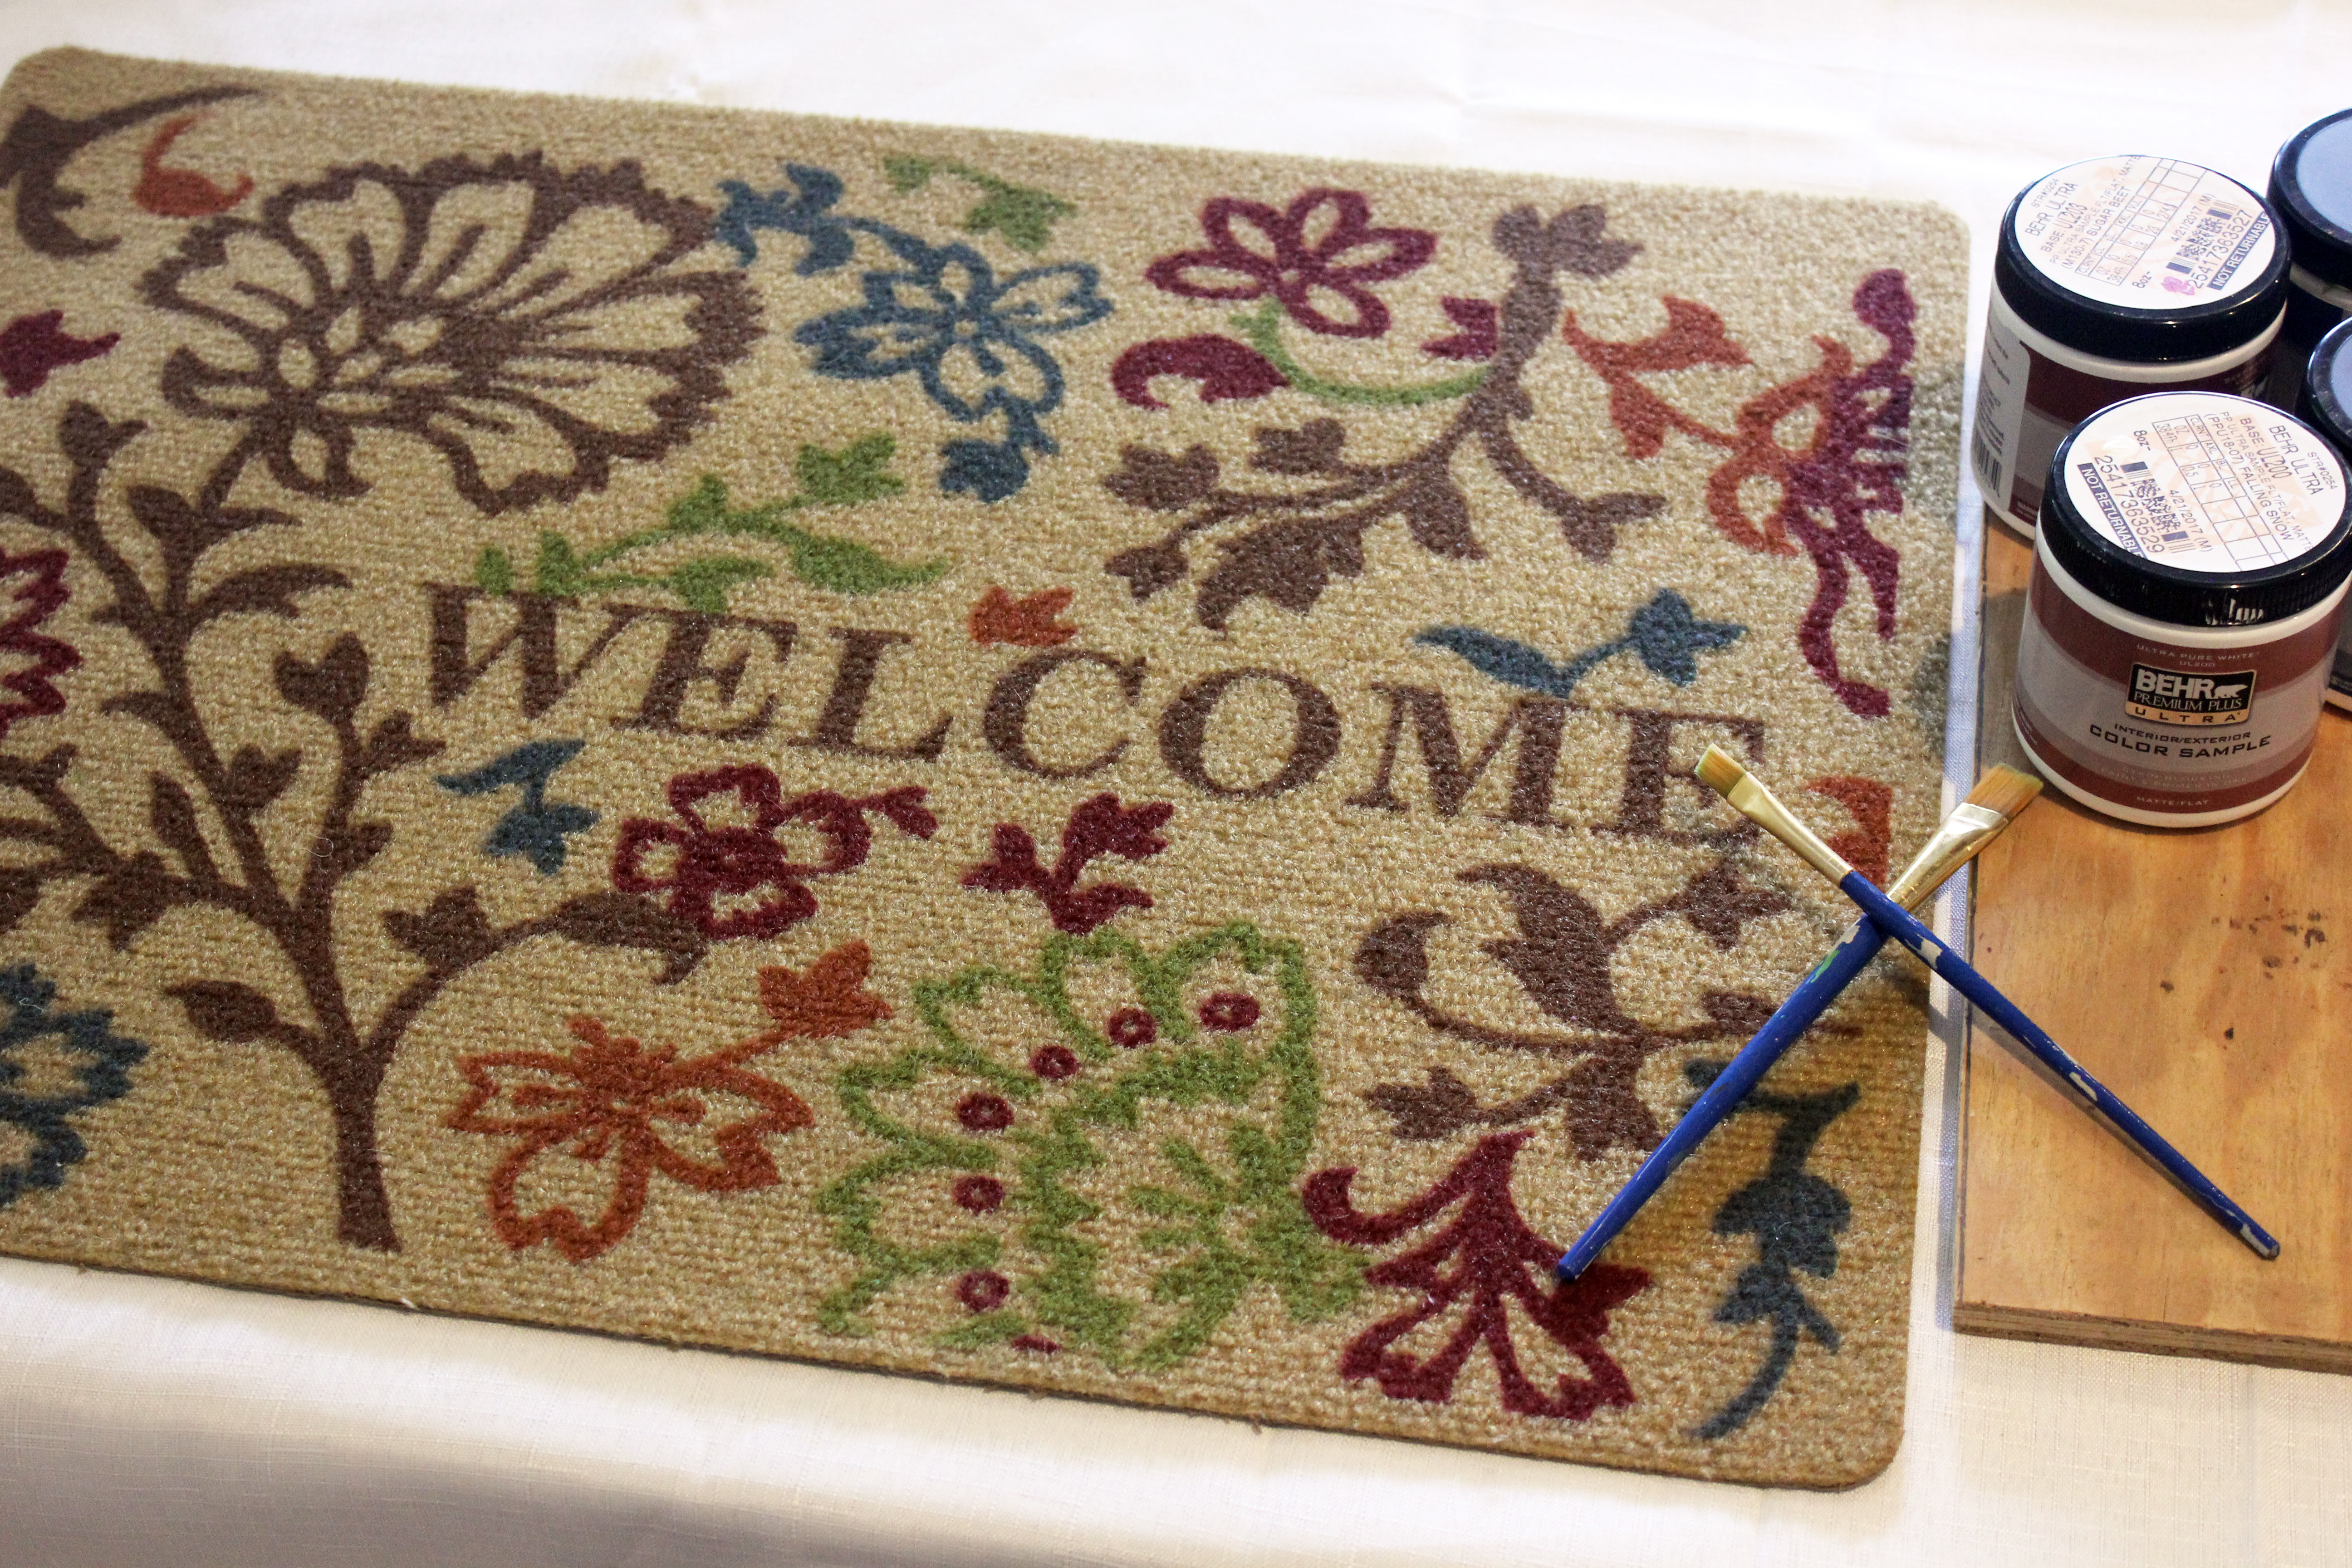
After picking out the perfect base (my mat), I headed to Home Depot to look for the perfect color paint. I wanted to stay within the warmer tones but still wanted something that was bright enough to make an impact. I went with four colors Behr paint colors, Sugar Beet, Falling Snow, Anime(that’s the green) and Fuzzy Duckling. Because I knew I wouldn’t be using a crazy amount of paint, I bought the small sample containers for this project.
I want to take a moment to say how amazing these small containers are for DIY projects. I can purchase paint in multiple colors, in outdoor as well as indoor and choose from all the normal paint finishes you can get in a paint department. For this project, I went with matte finish because I didn’t want them to look glossy.
 This is an added extra, so if you don’t know how to use photoshop you don’t have to do this. But, in the chance that you do…..I took a photo of the mat before I painted it, and added it to photoshop, where I could play around and see where I wanted the colors to go. I didn’t stick to the exact layout that i created, but it was great to have a guideline to follow and help visualize.
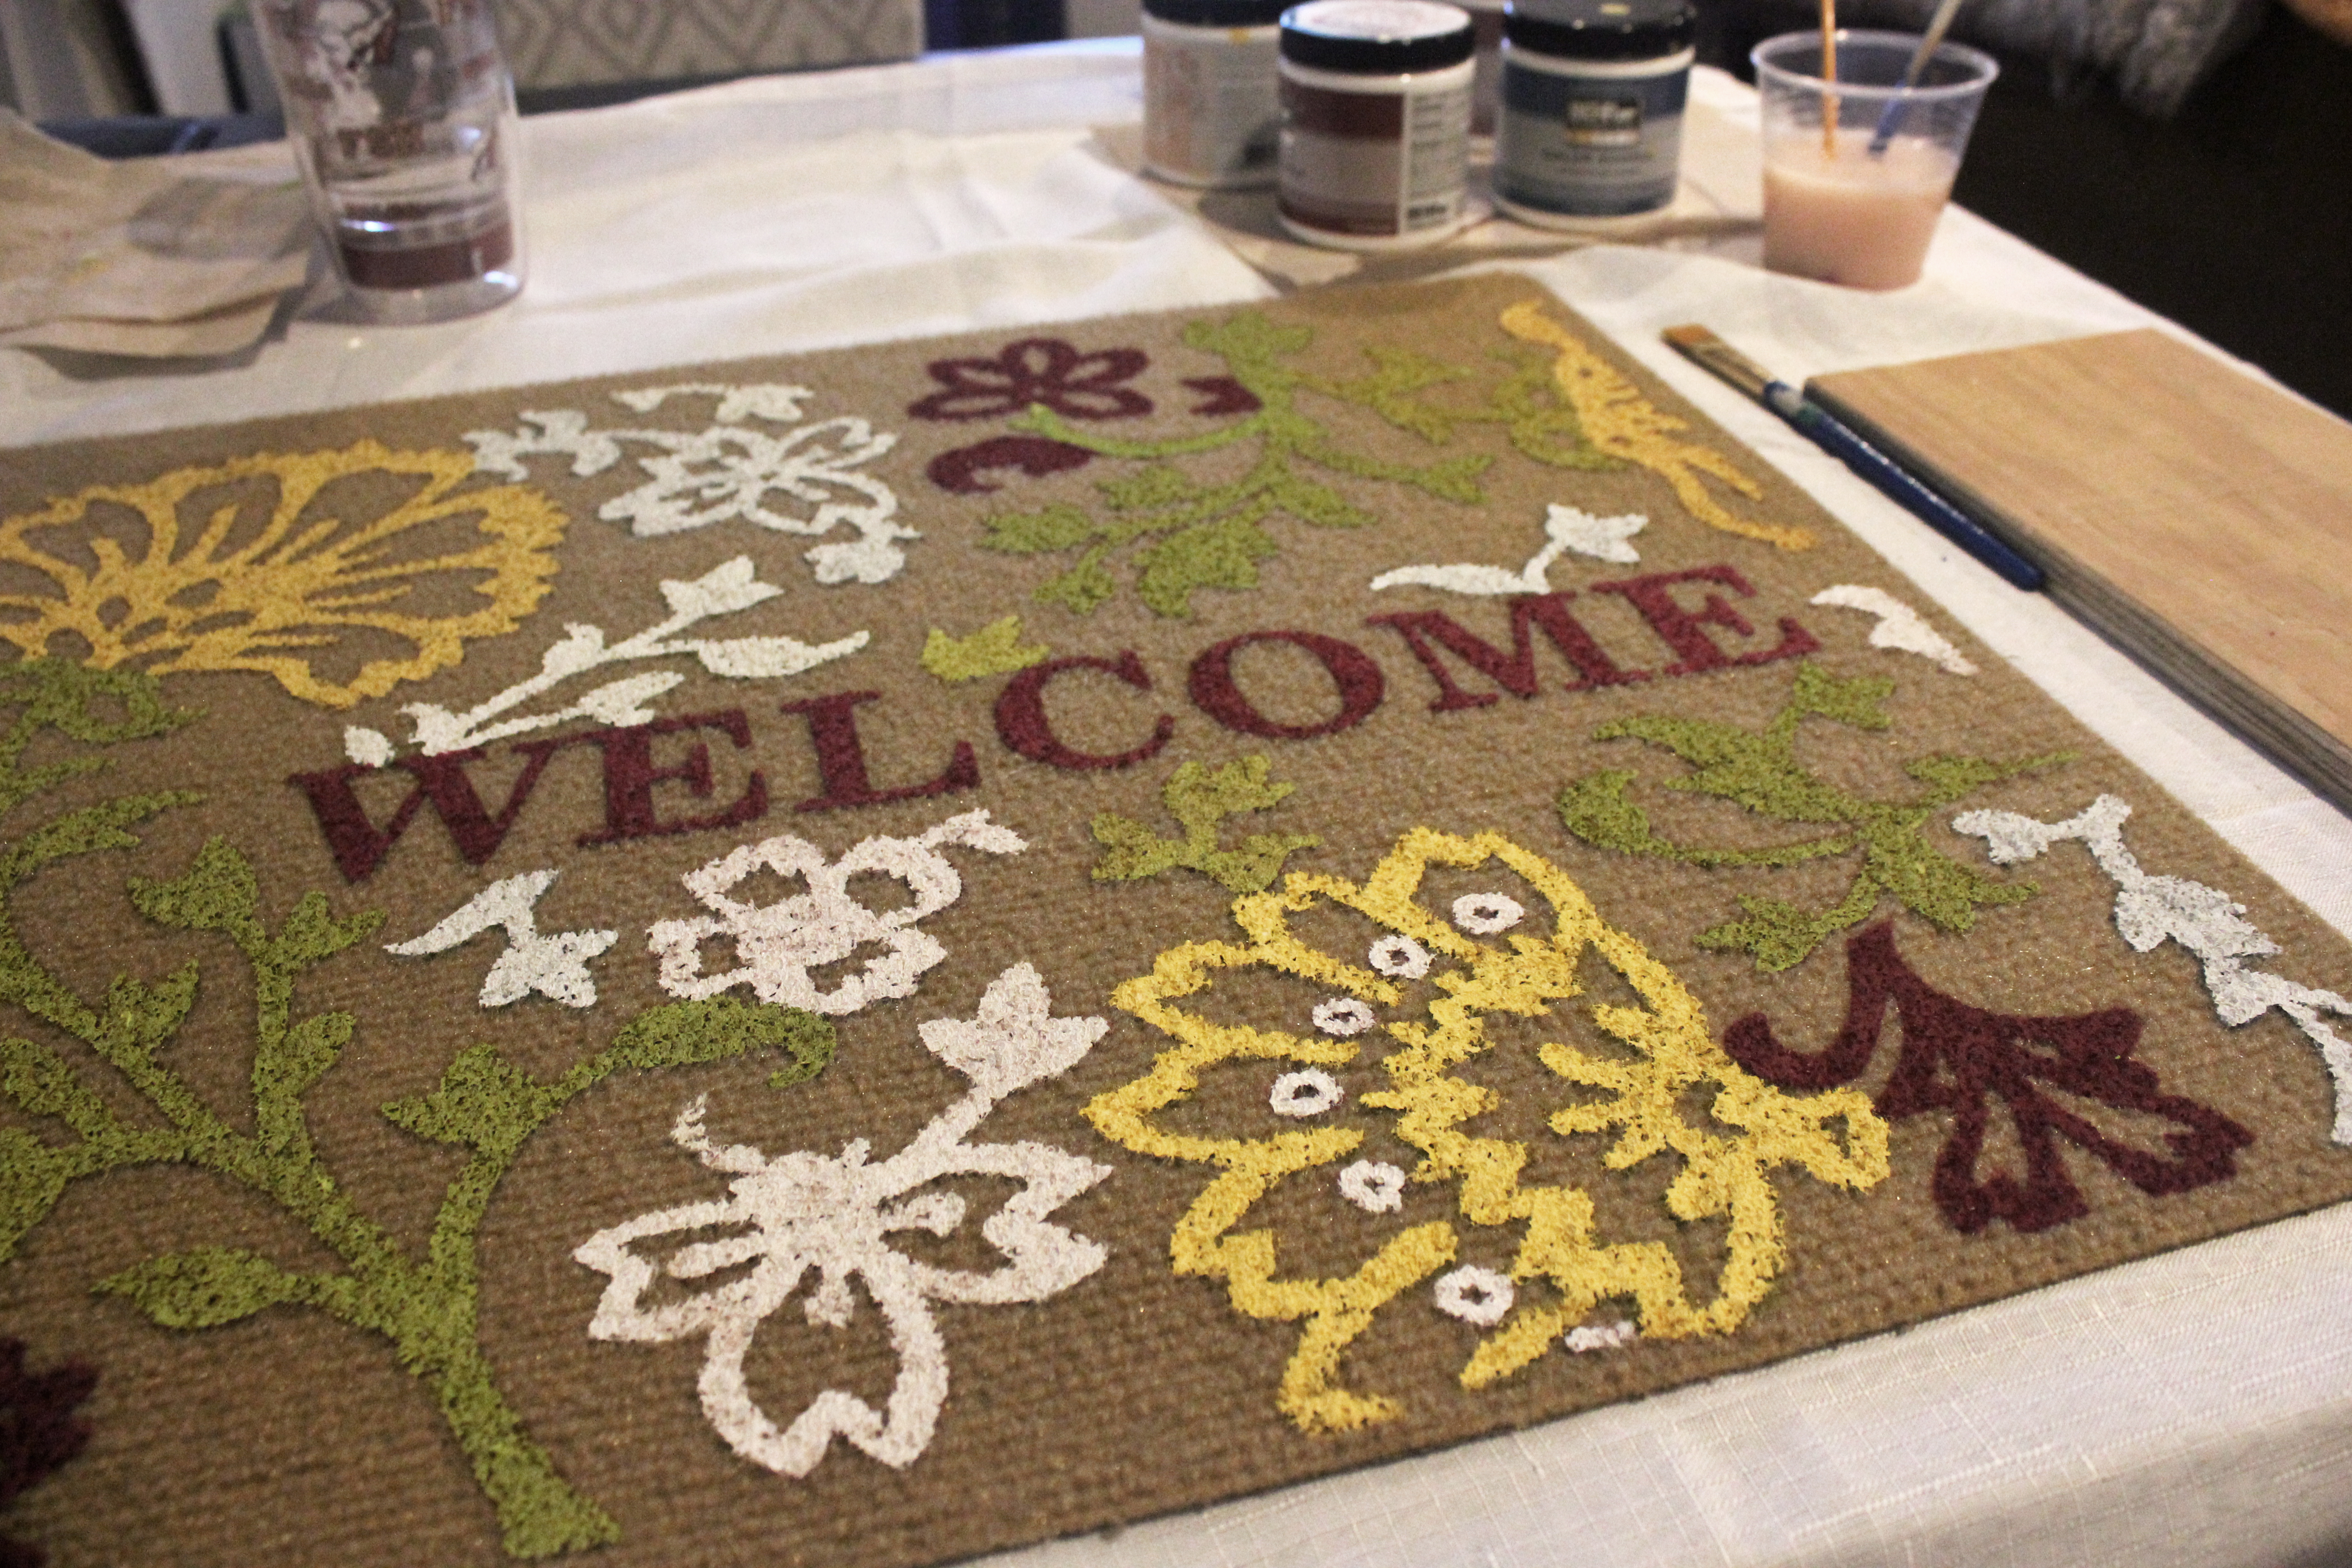
Time to paint!
When you do add the paint, use a relatively small paint brush. This will help you control where the paint goes and stay in the lines. Be liberal with the amount of paint you put on your brush as the mat seems to soak up the paint like crazy!

Finishing Touches!
Once you have finished painting and your mat has dried, it’s time to seal your mat to protect it as much as possible from dirty feet. (Jonathan would say this is silly because it’s a doormat, but I say fooey.)
I used a Rust-oleum Satin Clear Enamel, which you can purchase at Walmart or any Home improvement store

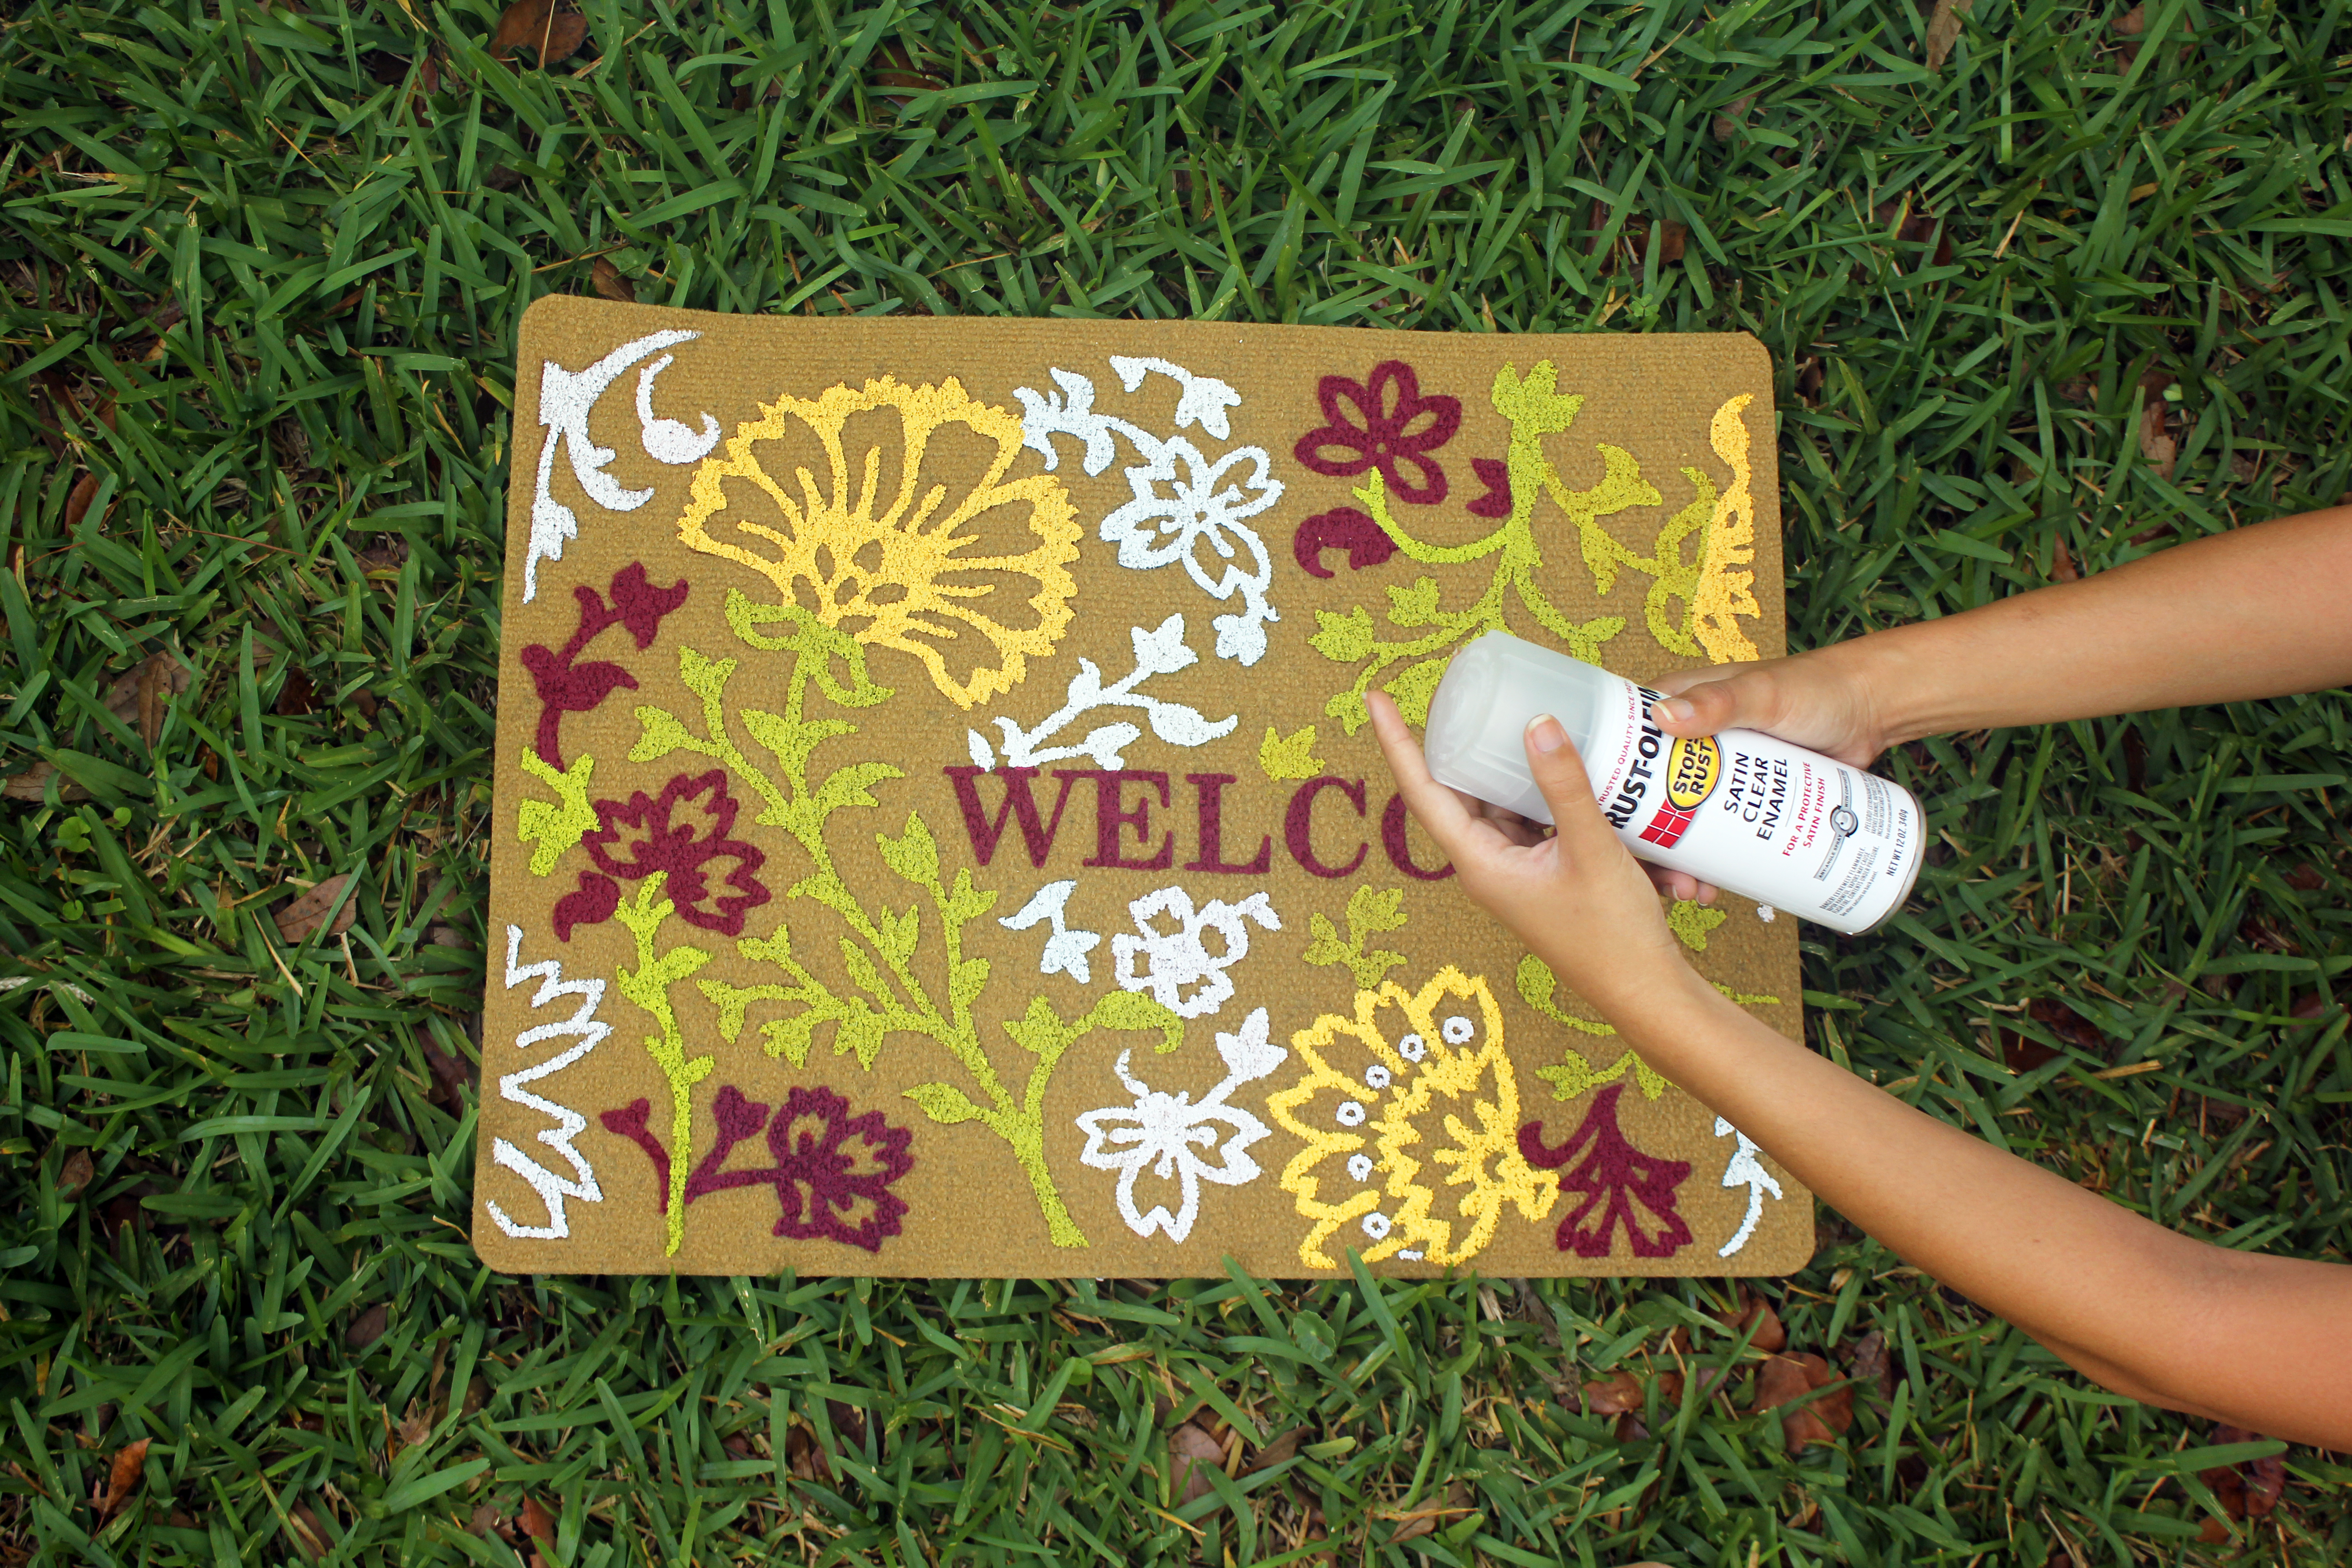
Make sure to shake and then spray over just the parts that you painted, to prevent the rest of the mat from becoming hard and looking plastic.

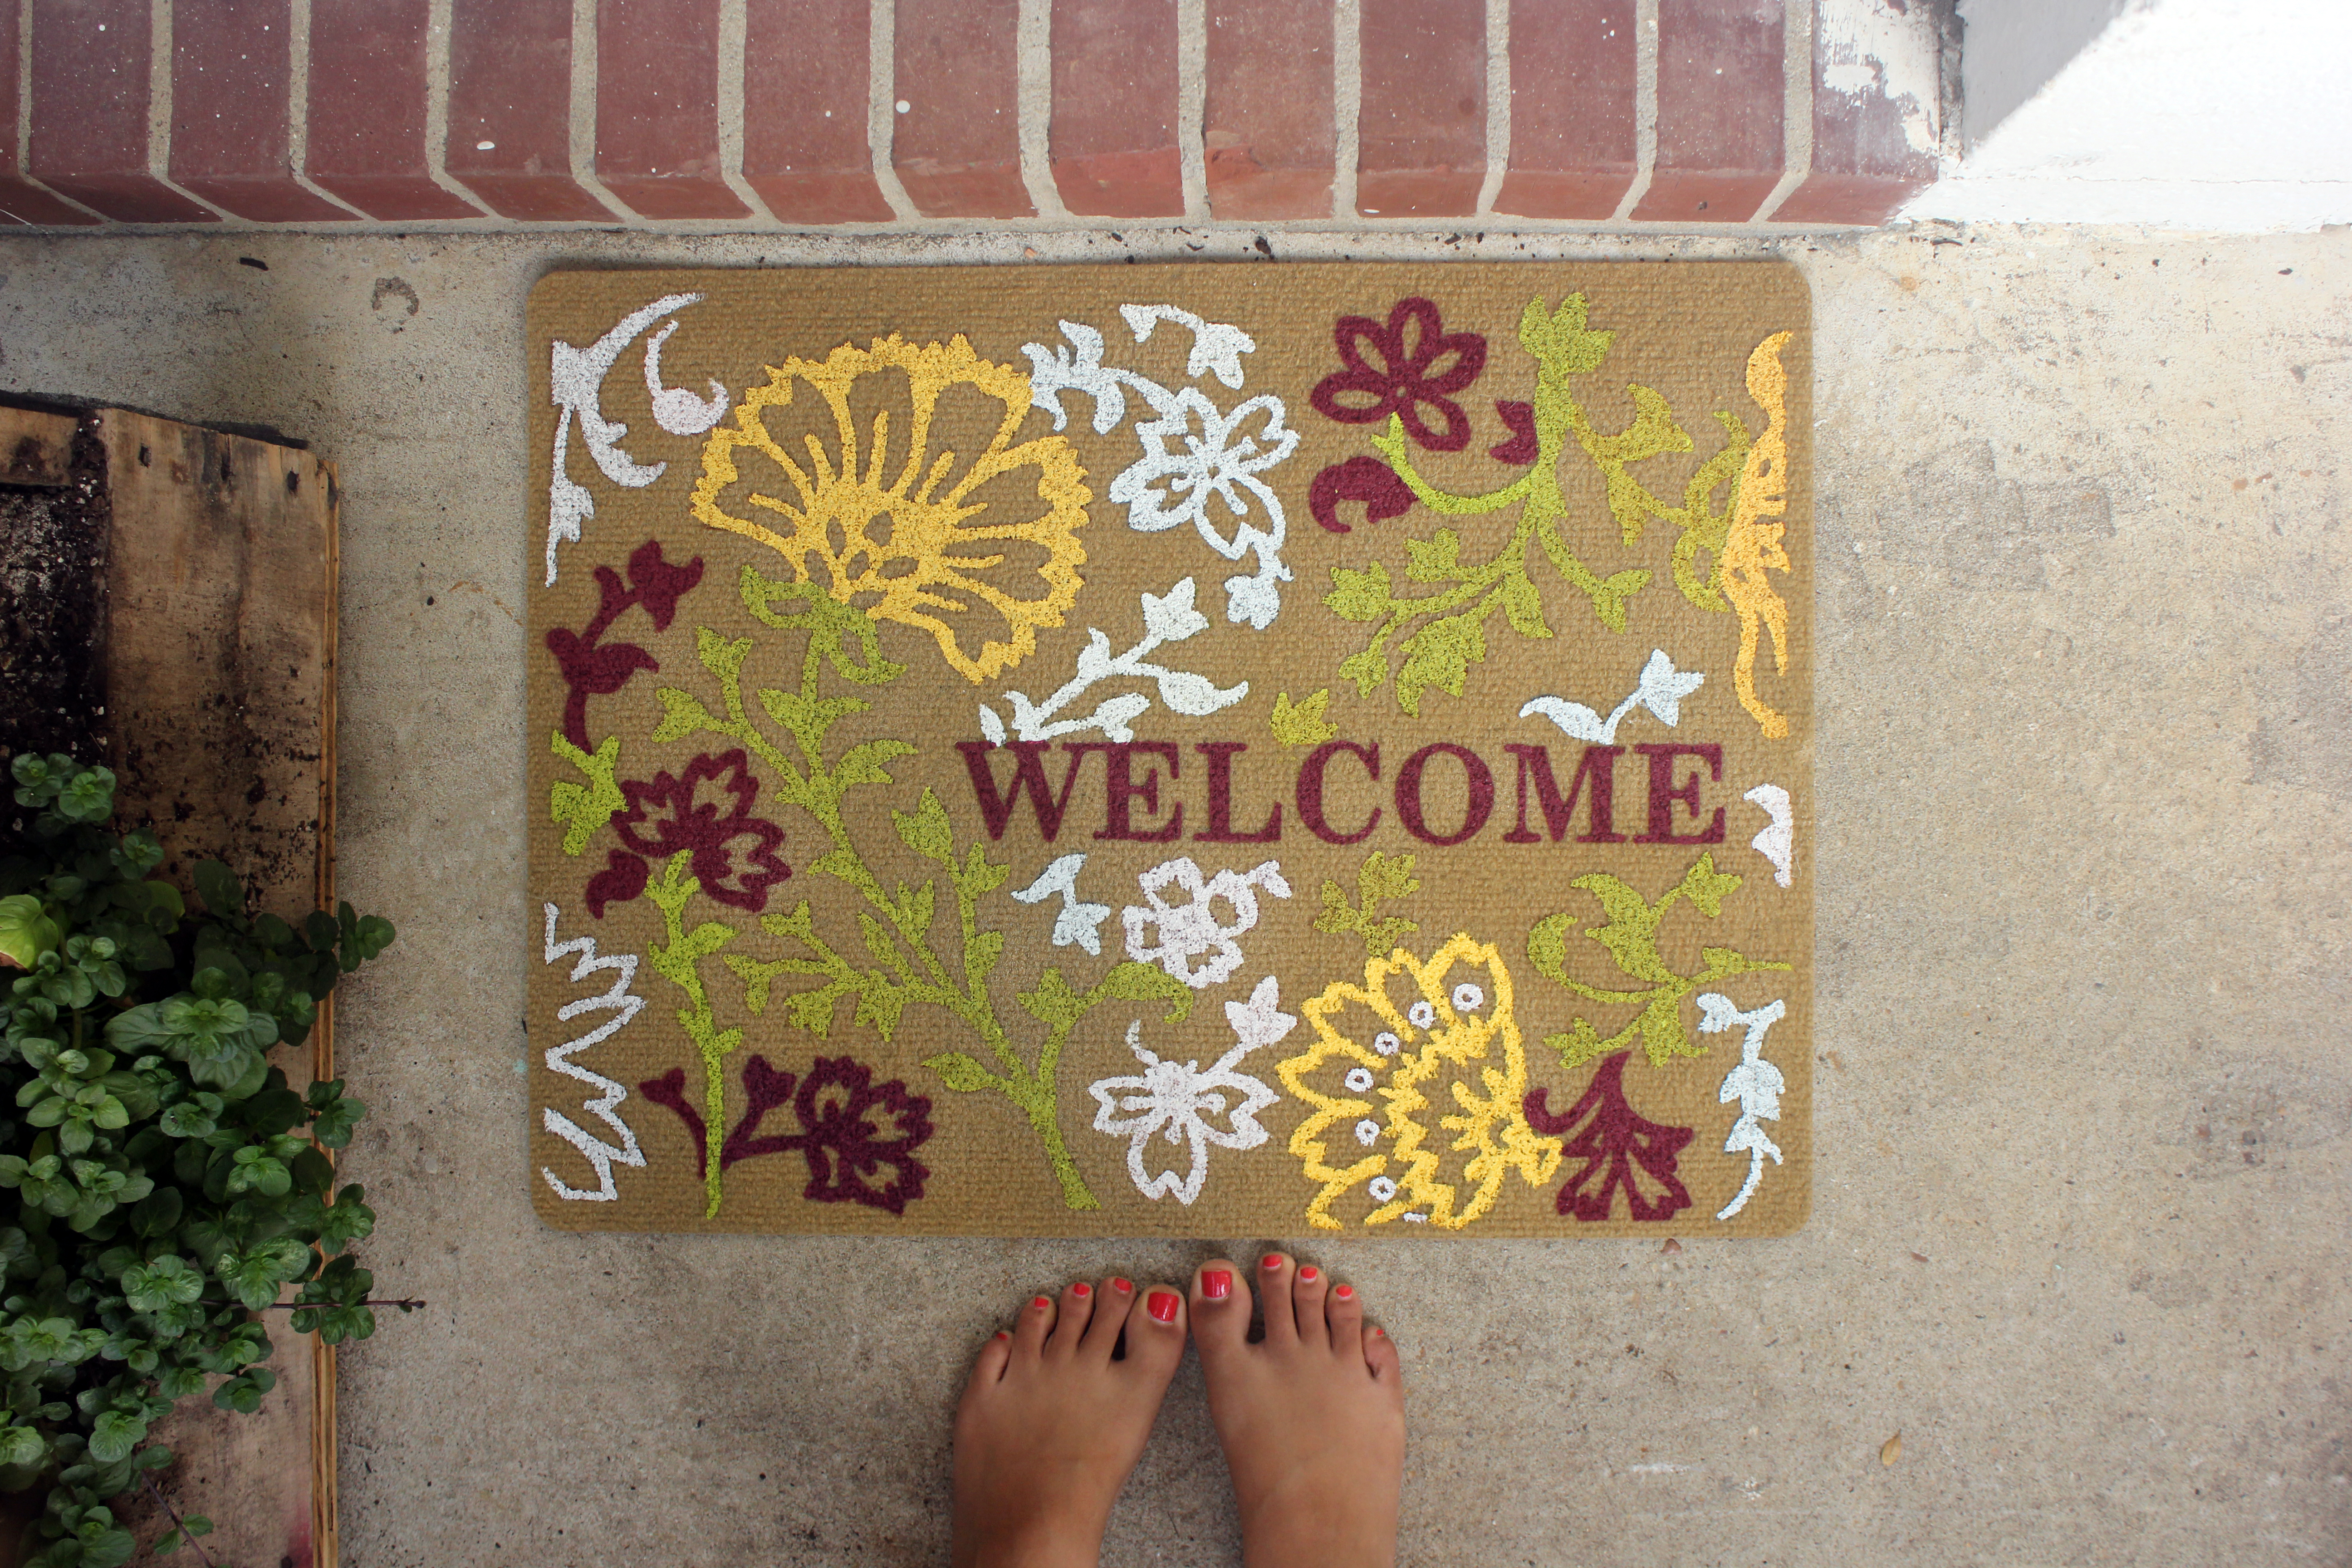
Ta da!!!! A bright and colorful welcome doormat. 🙂


Leave a Reply