Hi friends! Olivia here with another fun and easy DIY – this time in honor of today’s most fabulous holiday, Cinco De Mayo. 😉 If you’re looking for a last minute way to jazz up your cinco de mayo festivity, this is the perfect DIY for you. A colorful fringe garland!
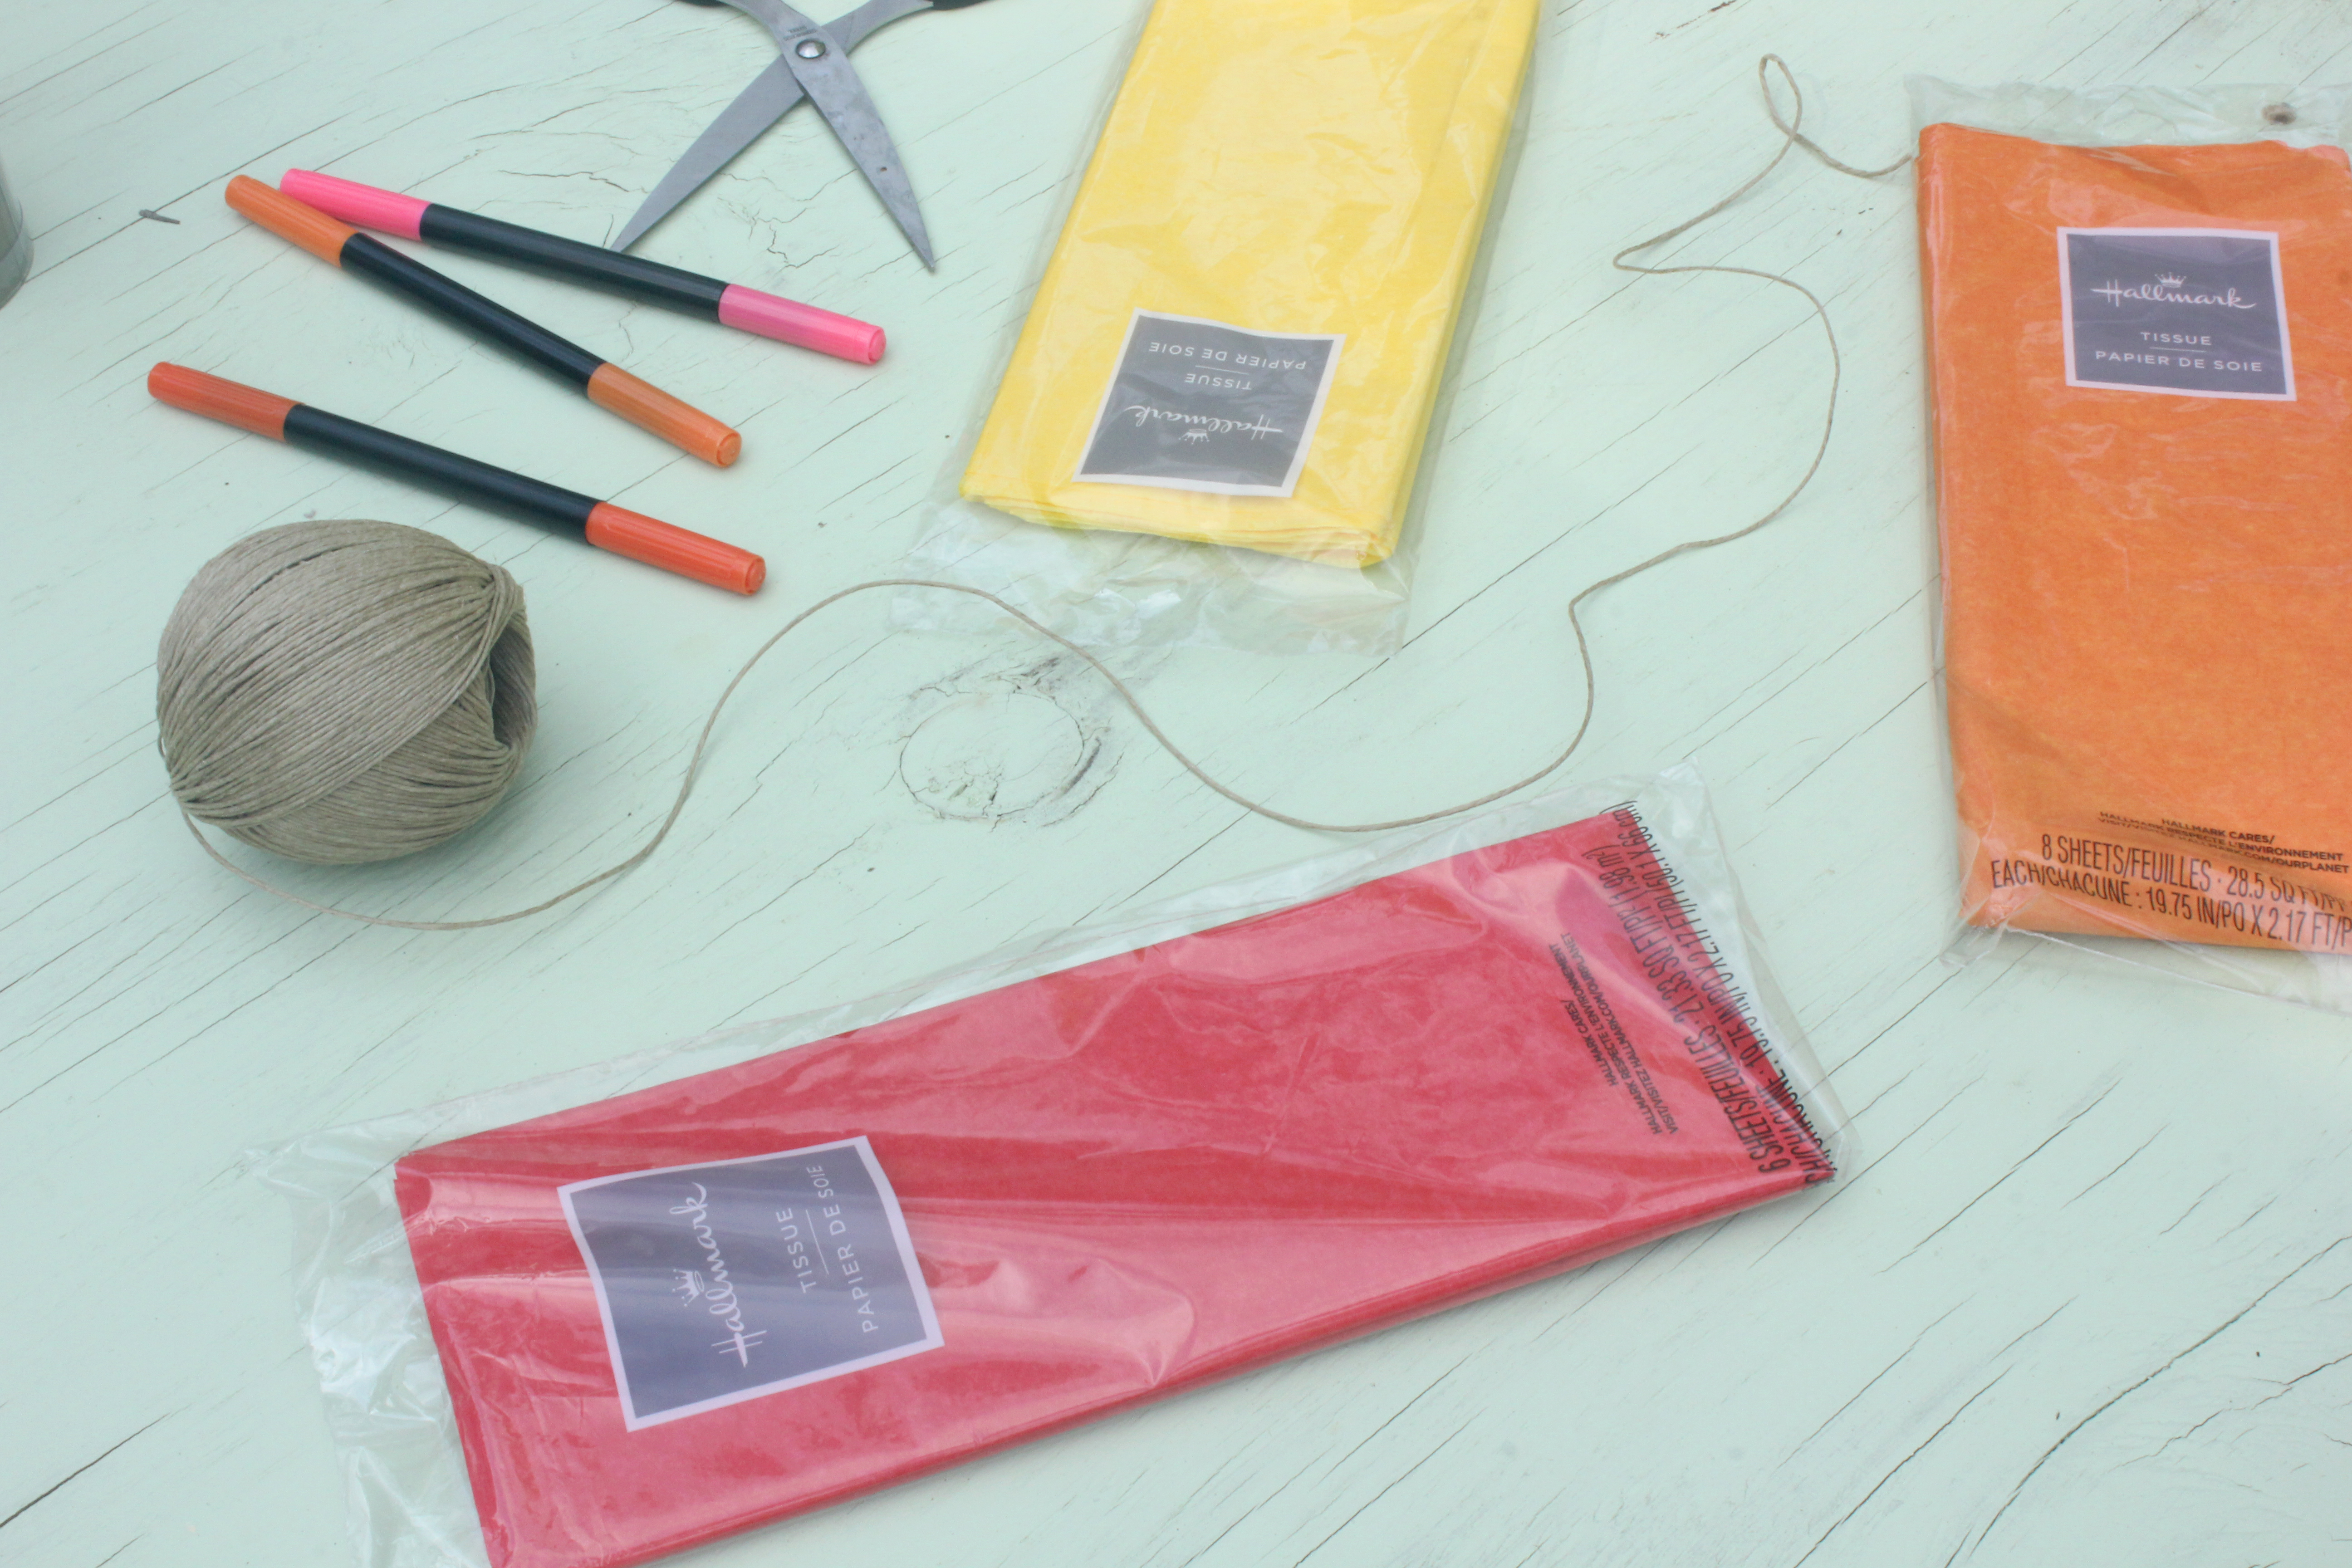
Supplies
Multi-color packet of tissue paper
Scissors
Twine
Staples
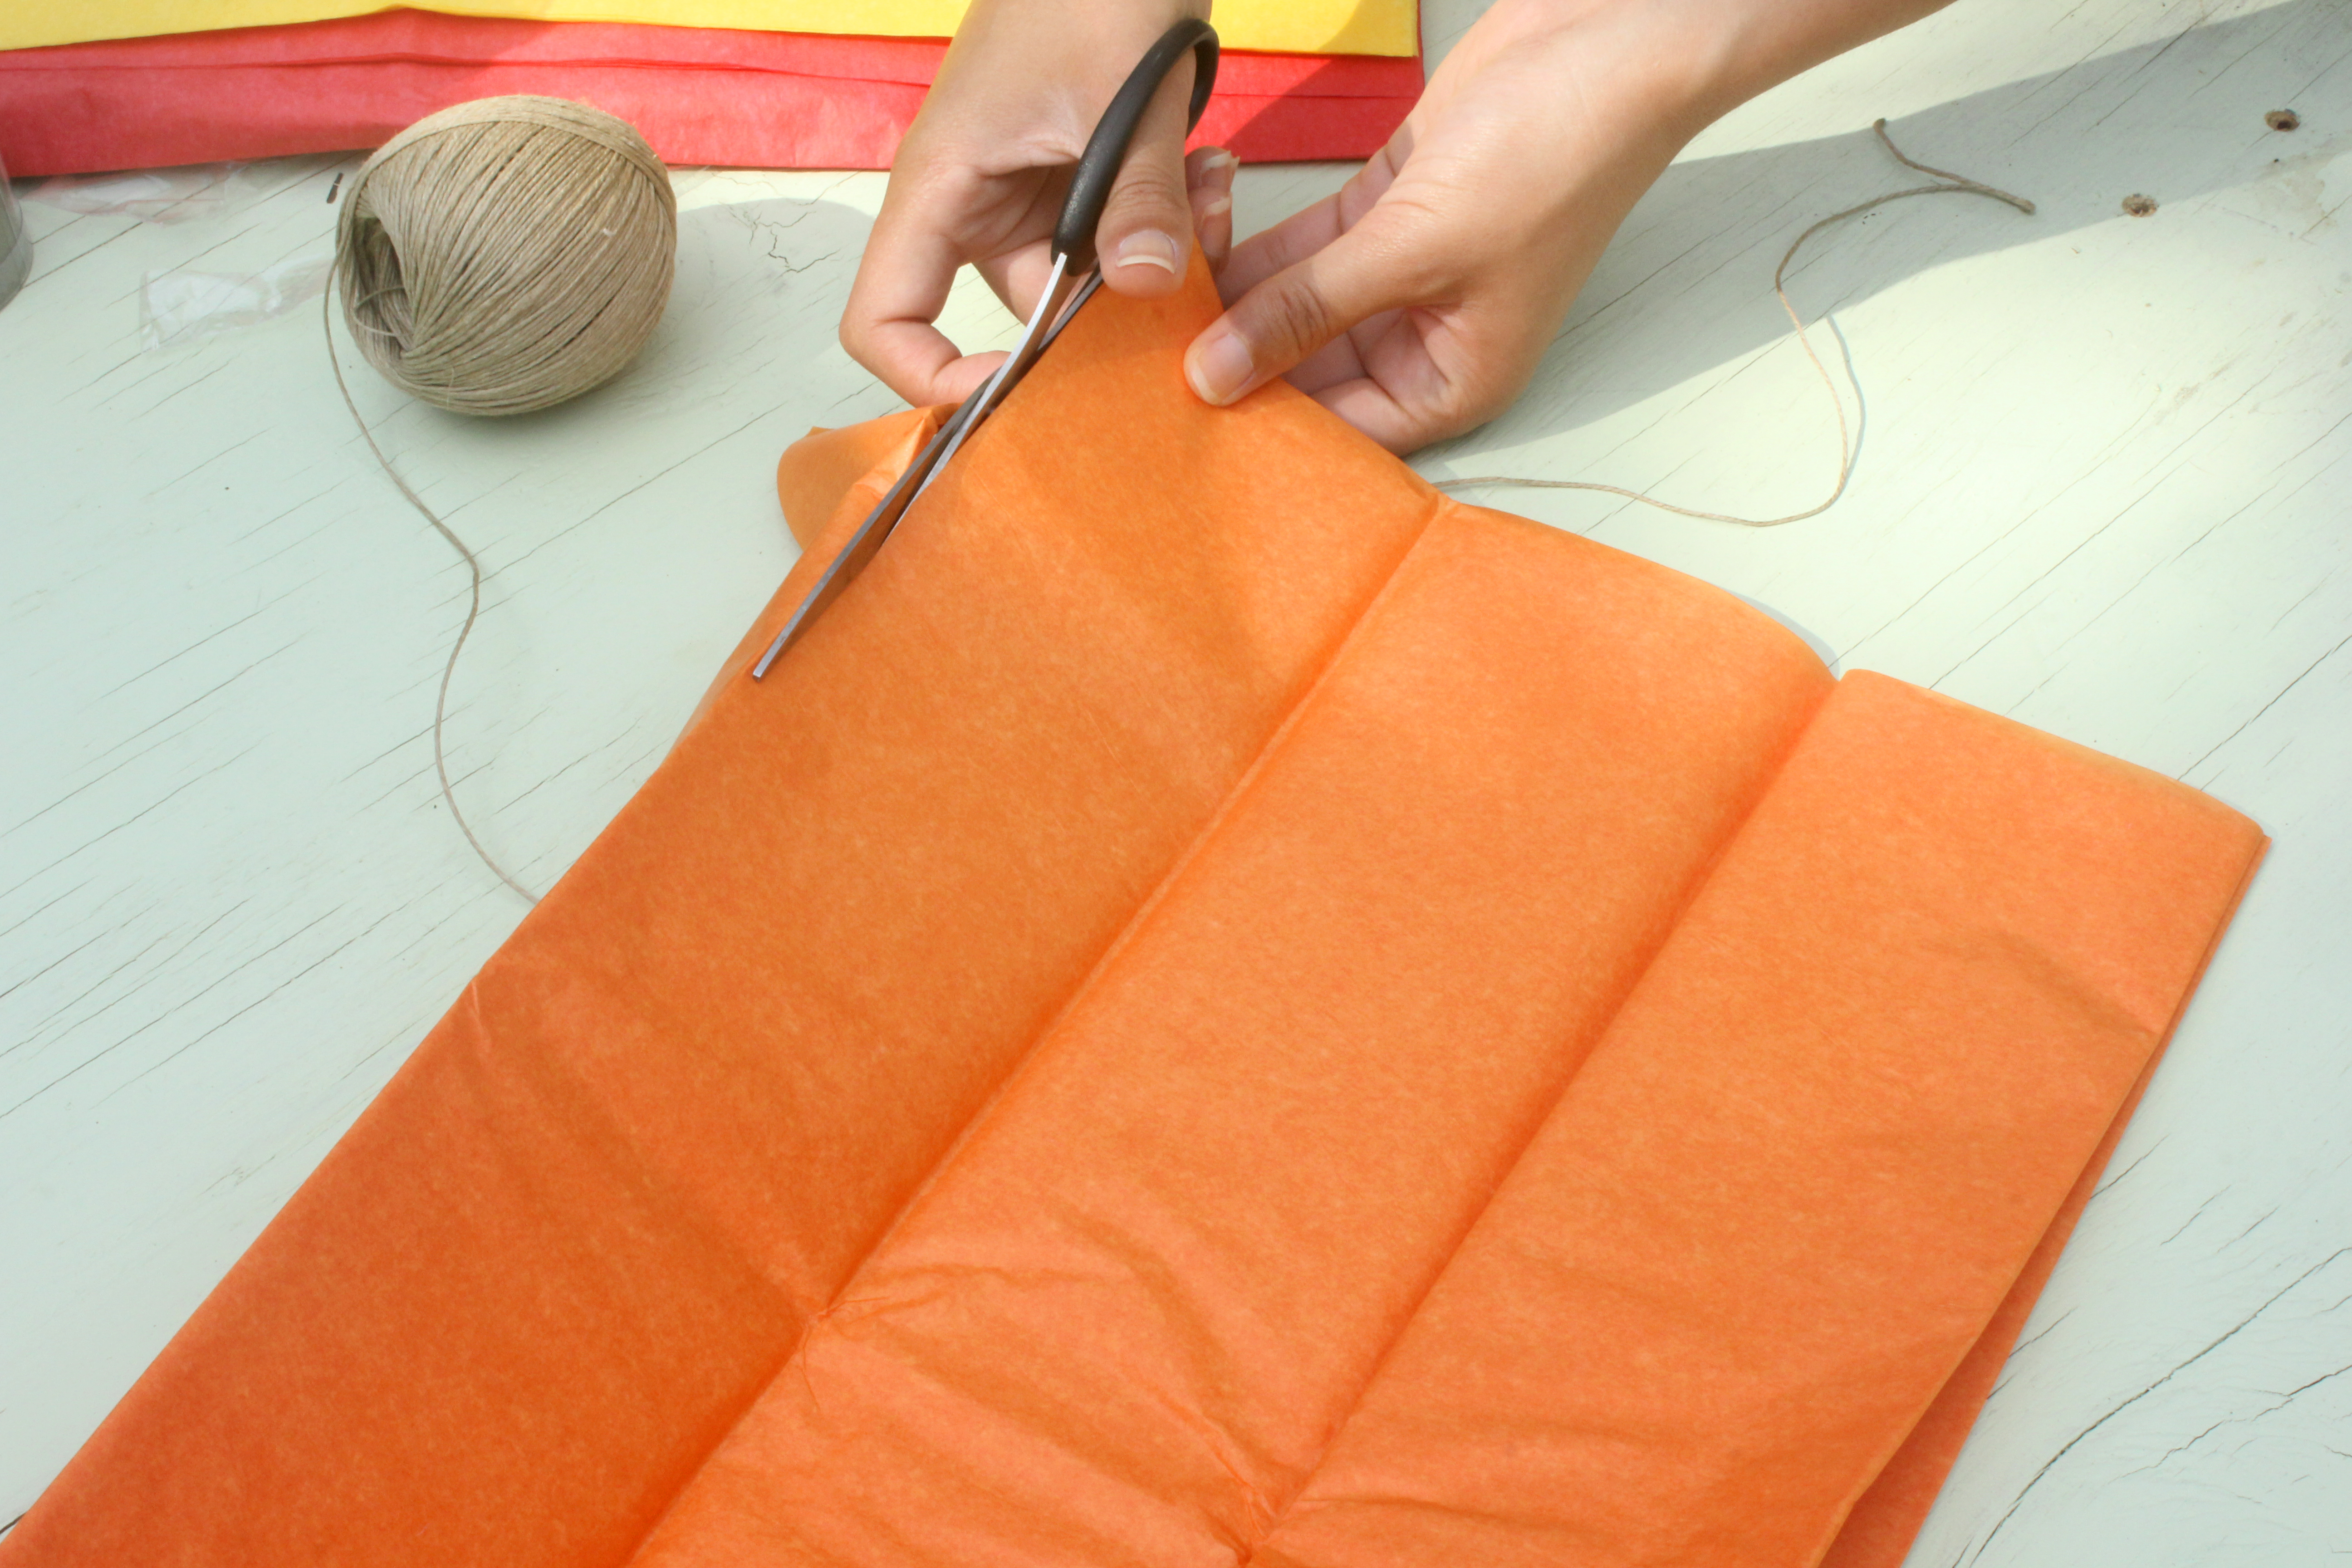
Step 1
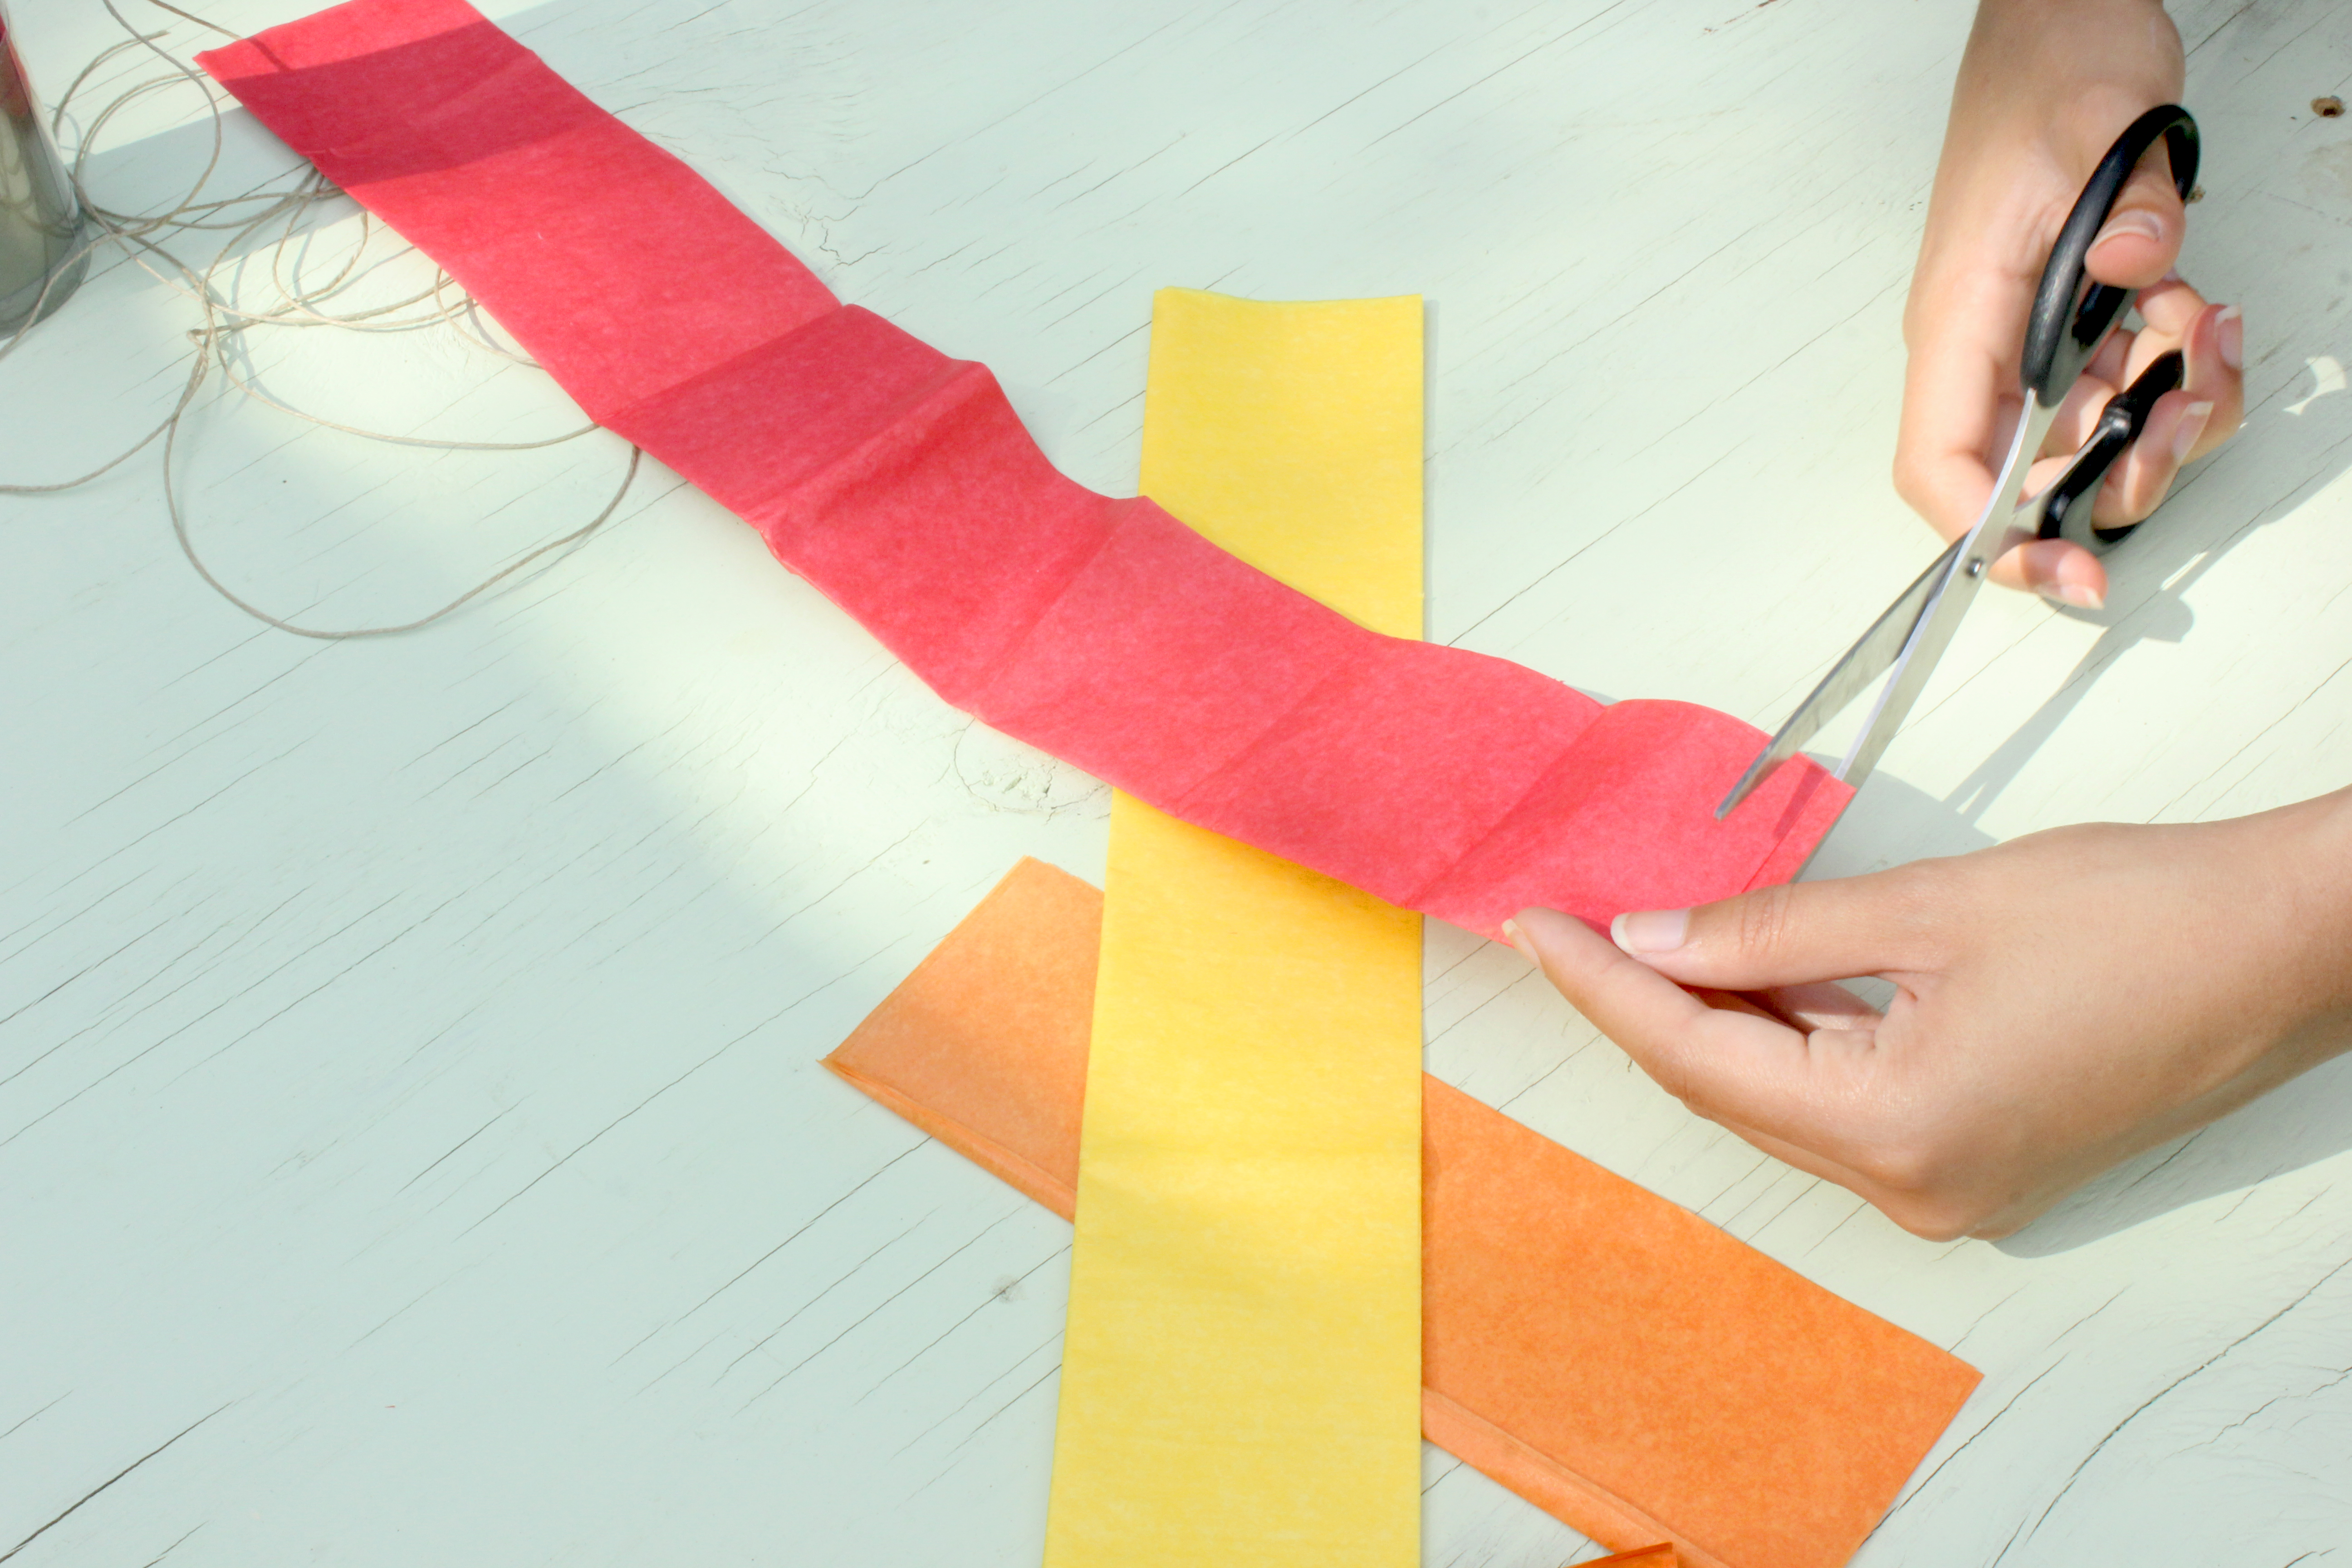
Take each of your colors, open all the way and then cut a long strip of tissue paper, about the length of the unfolded packet of tissue.
Tip – if you add cut just on the other side of the fold, it will be easier to attach your tissue pieces to your twine later!
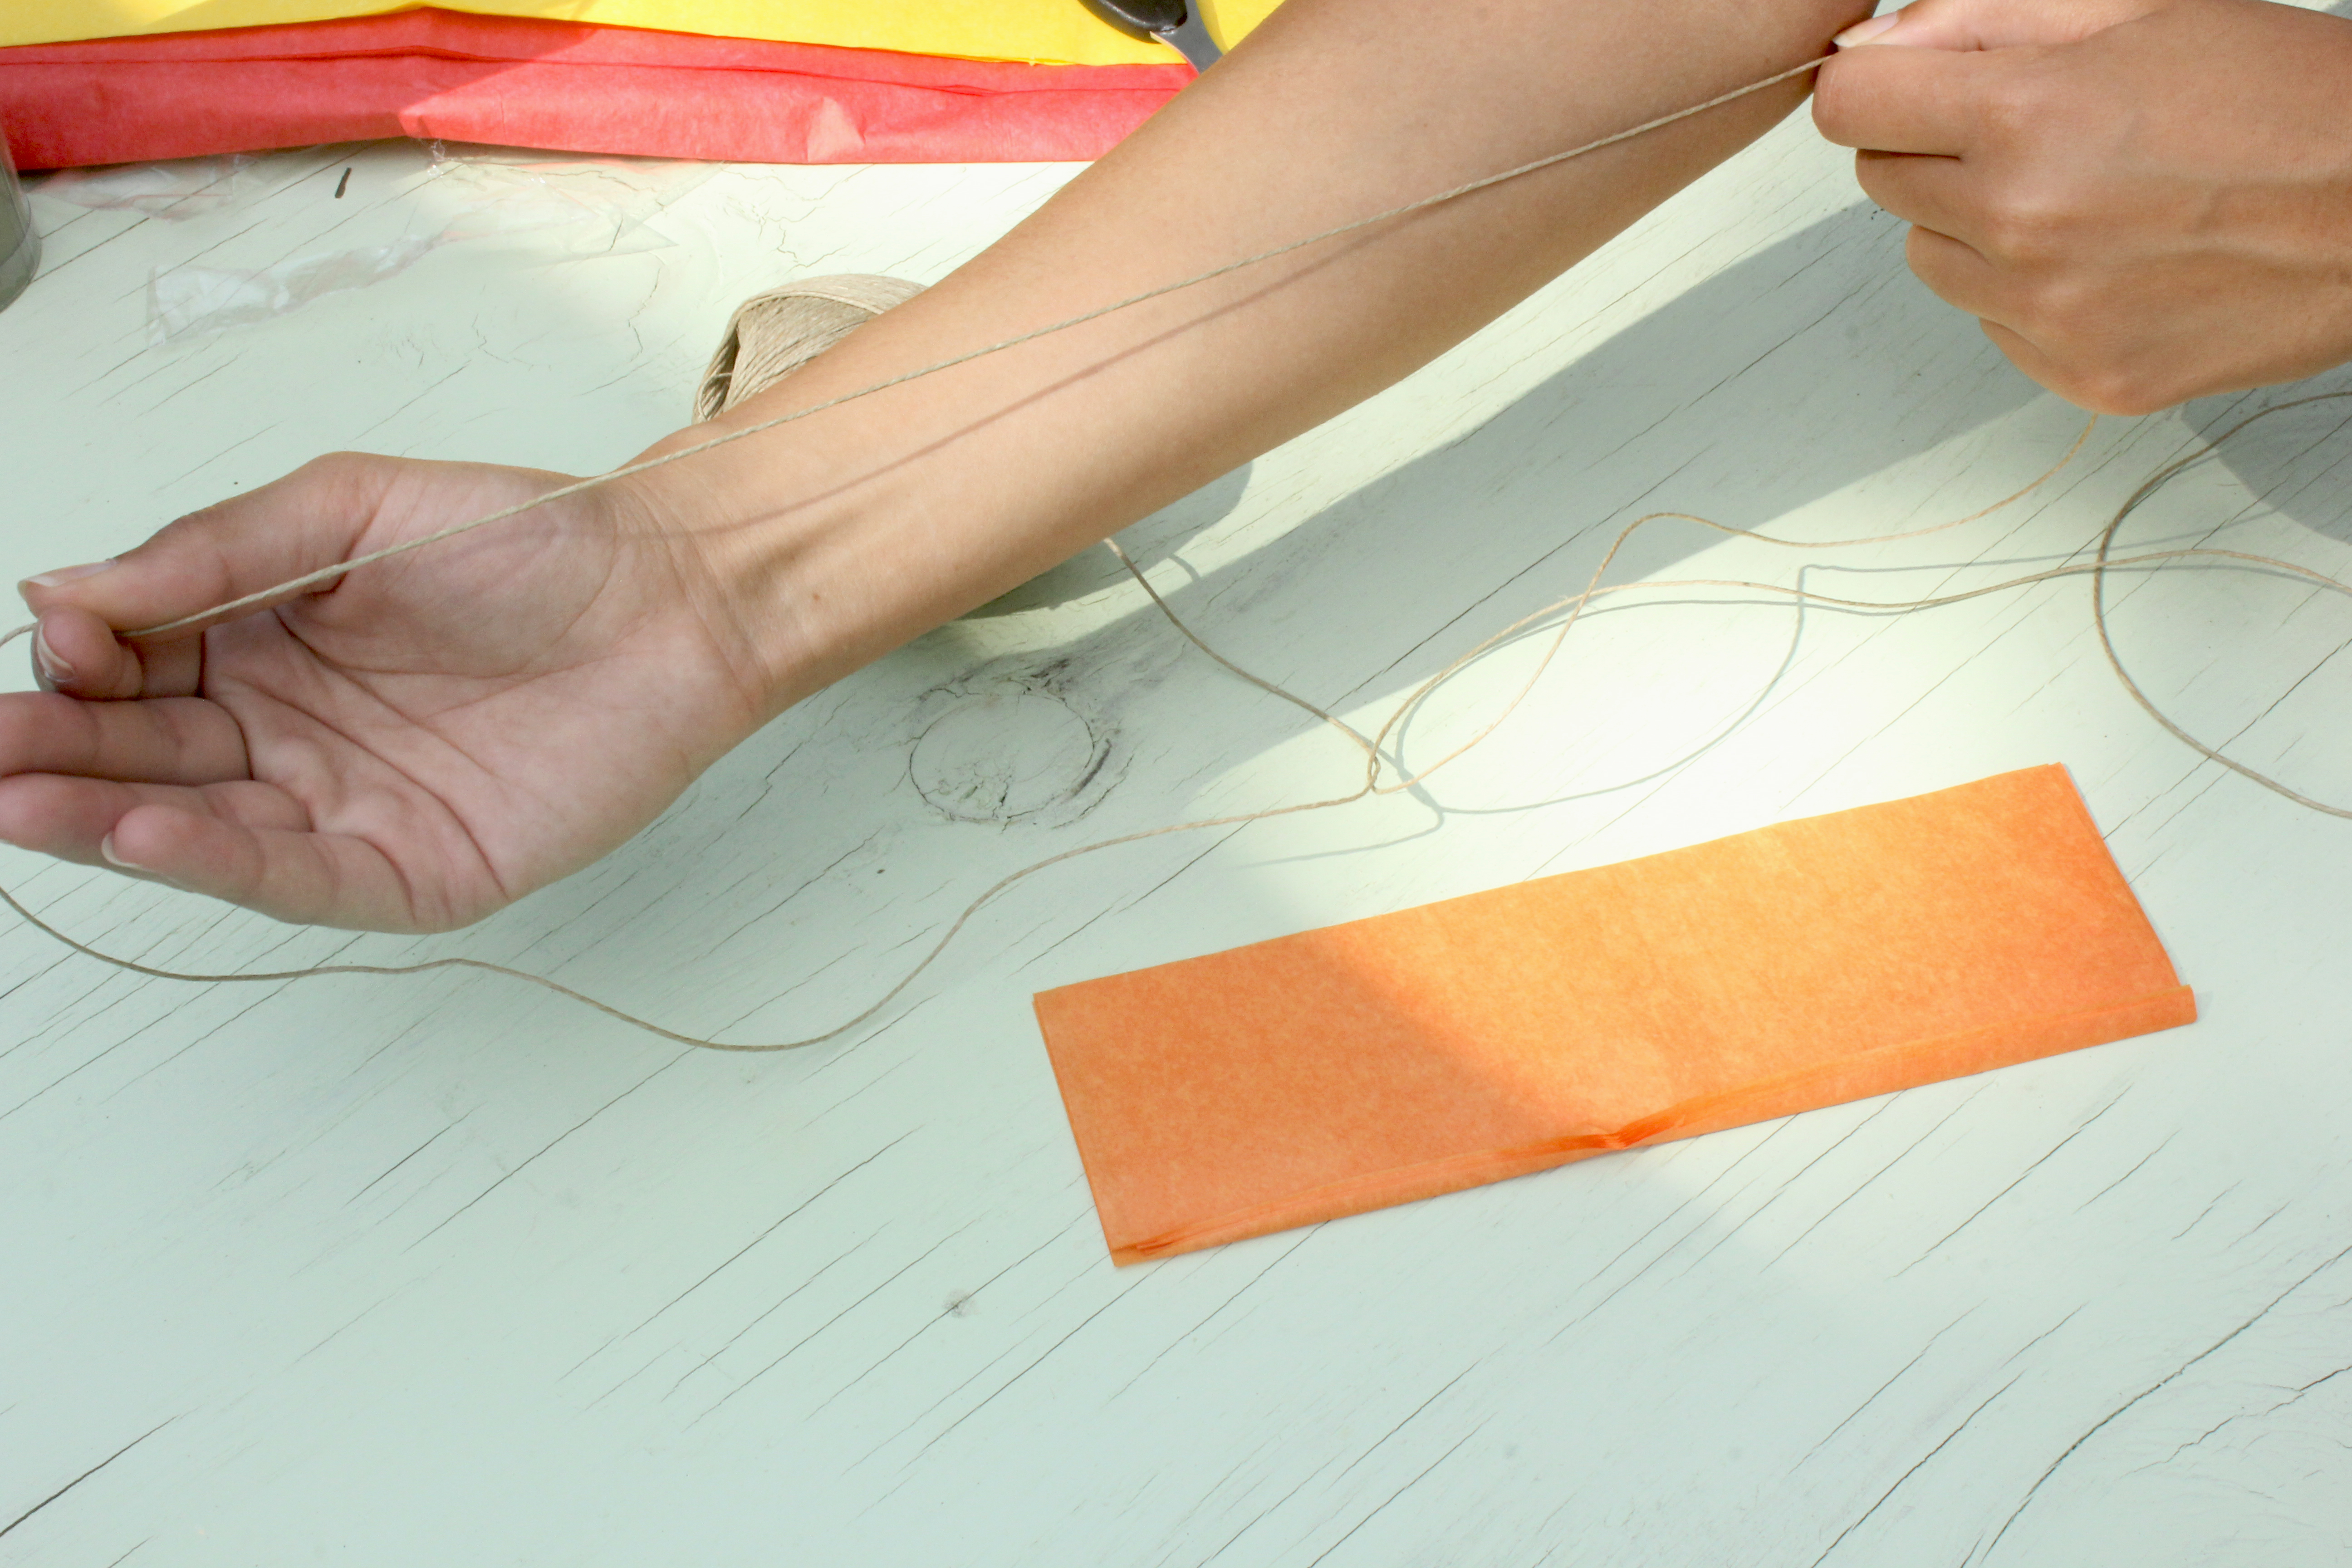
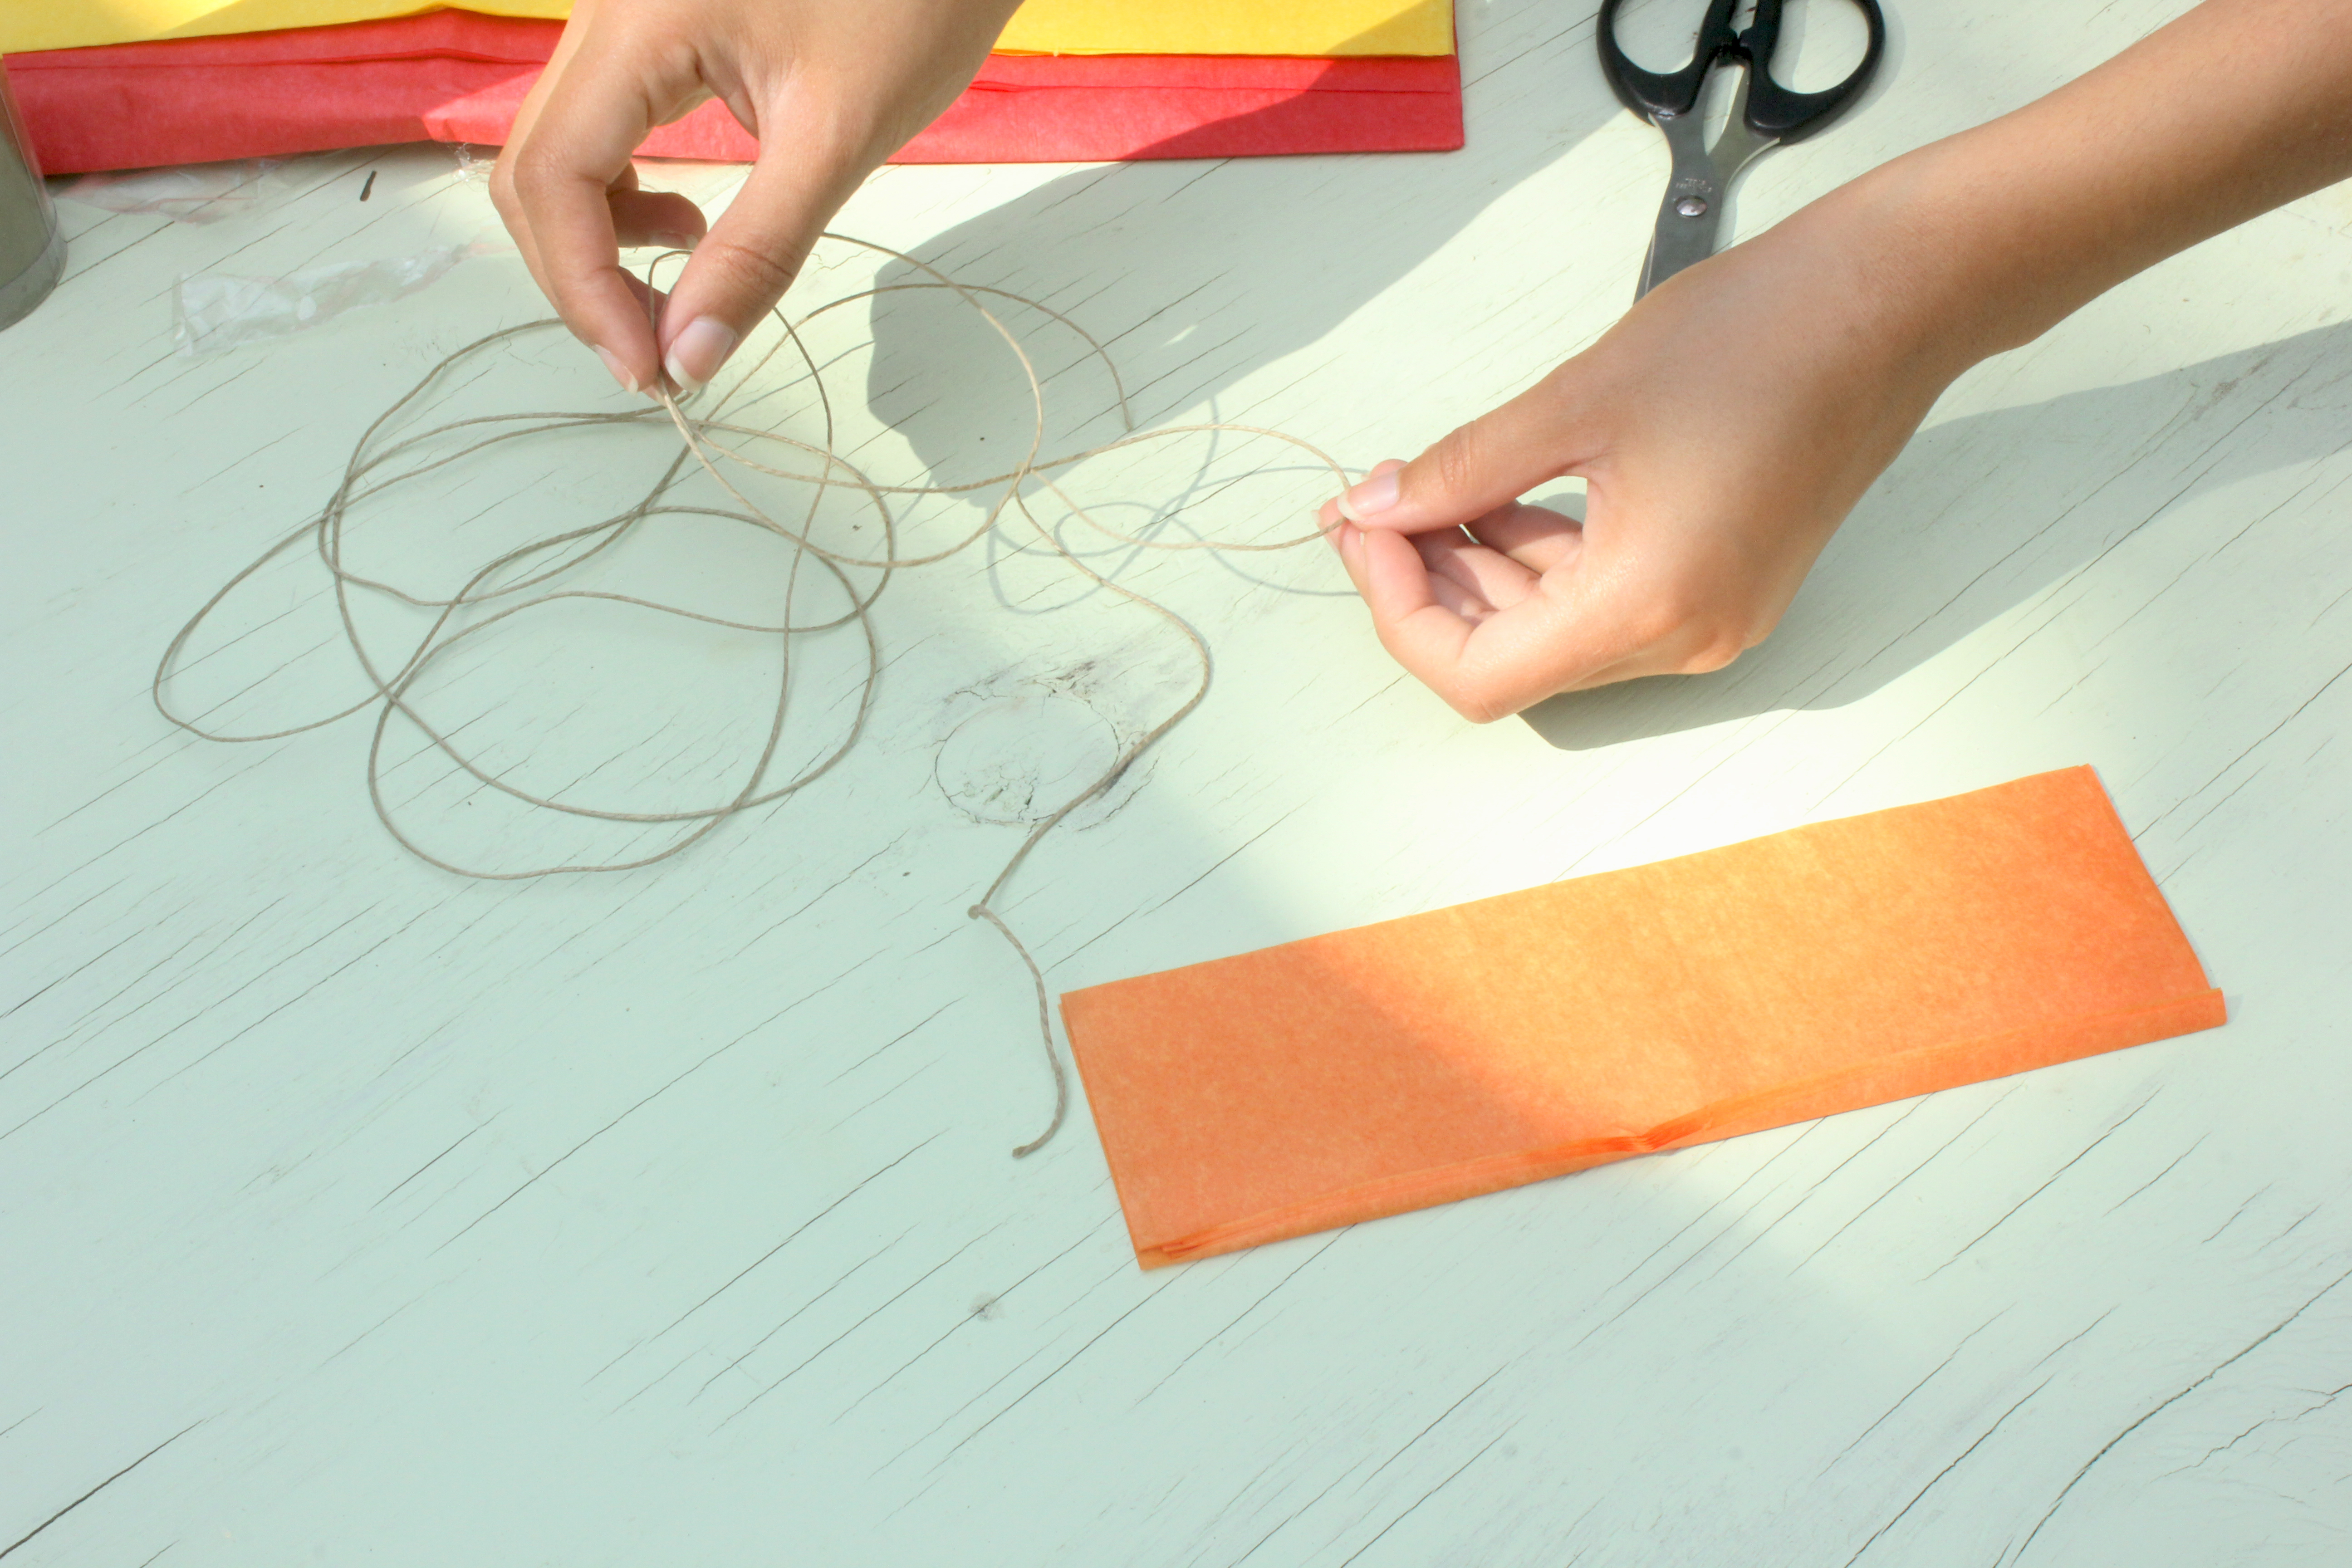
Step 2
Once you’ve cut your strip, it’s time to measure out your twine. Hold out your twine to about the length of your forearm (about a foot) and do that about 5 or 6 times. That should be enough twine for a standard length table.
Step 3
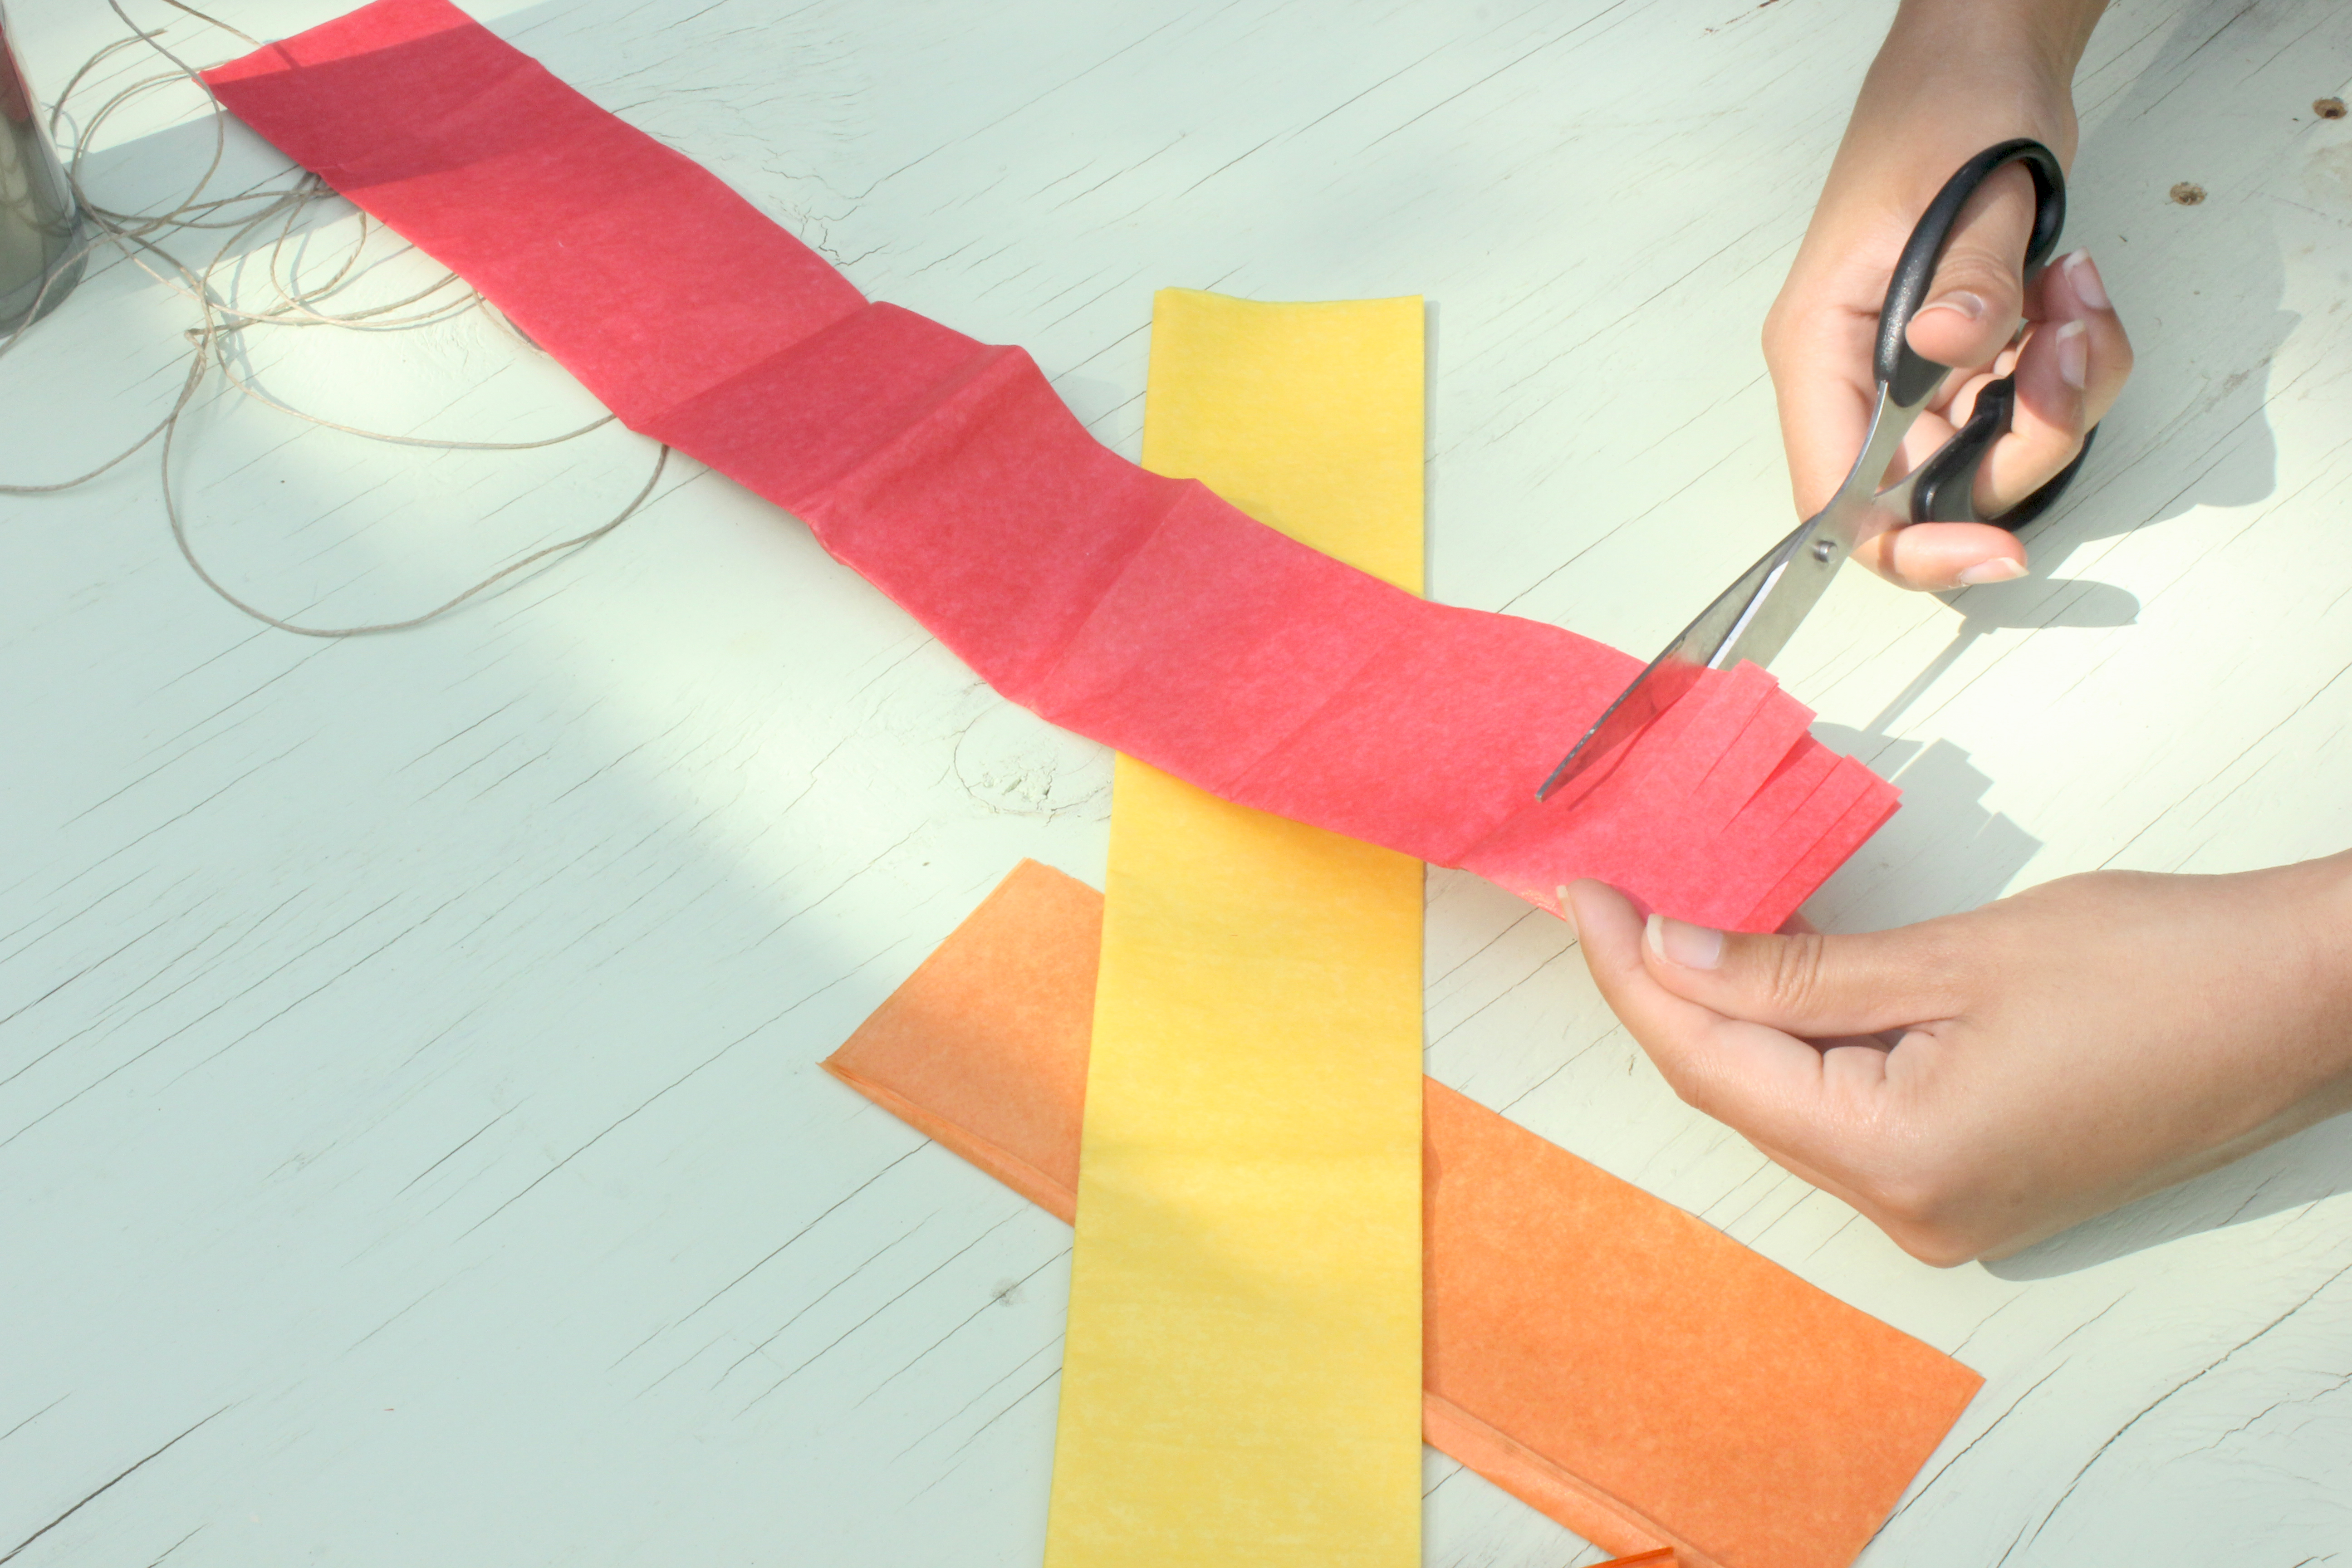
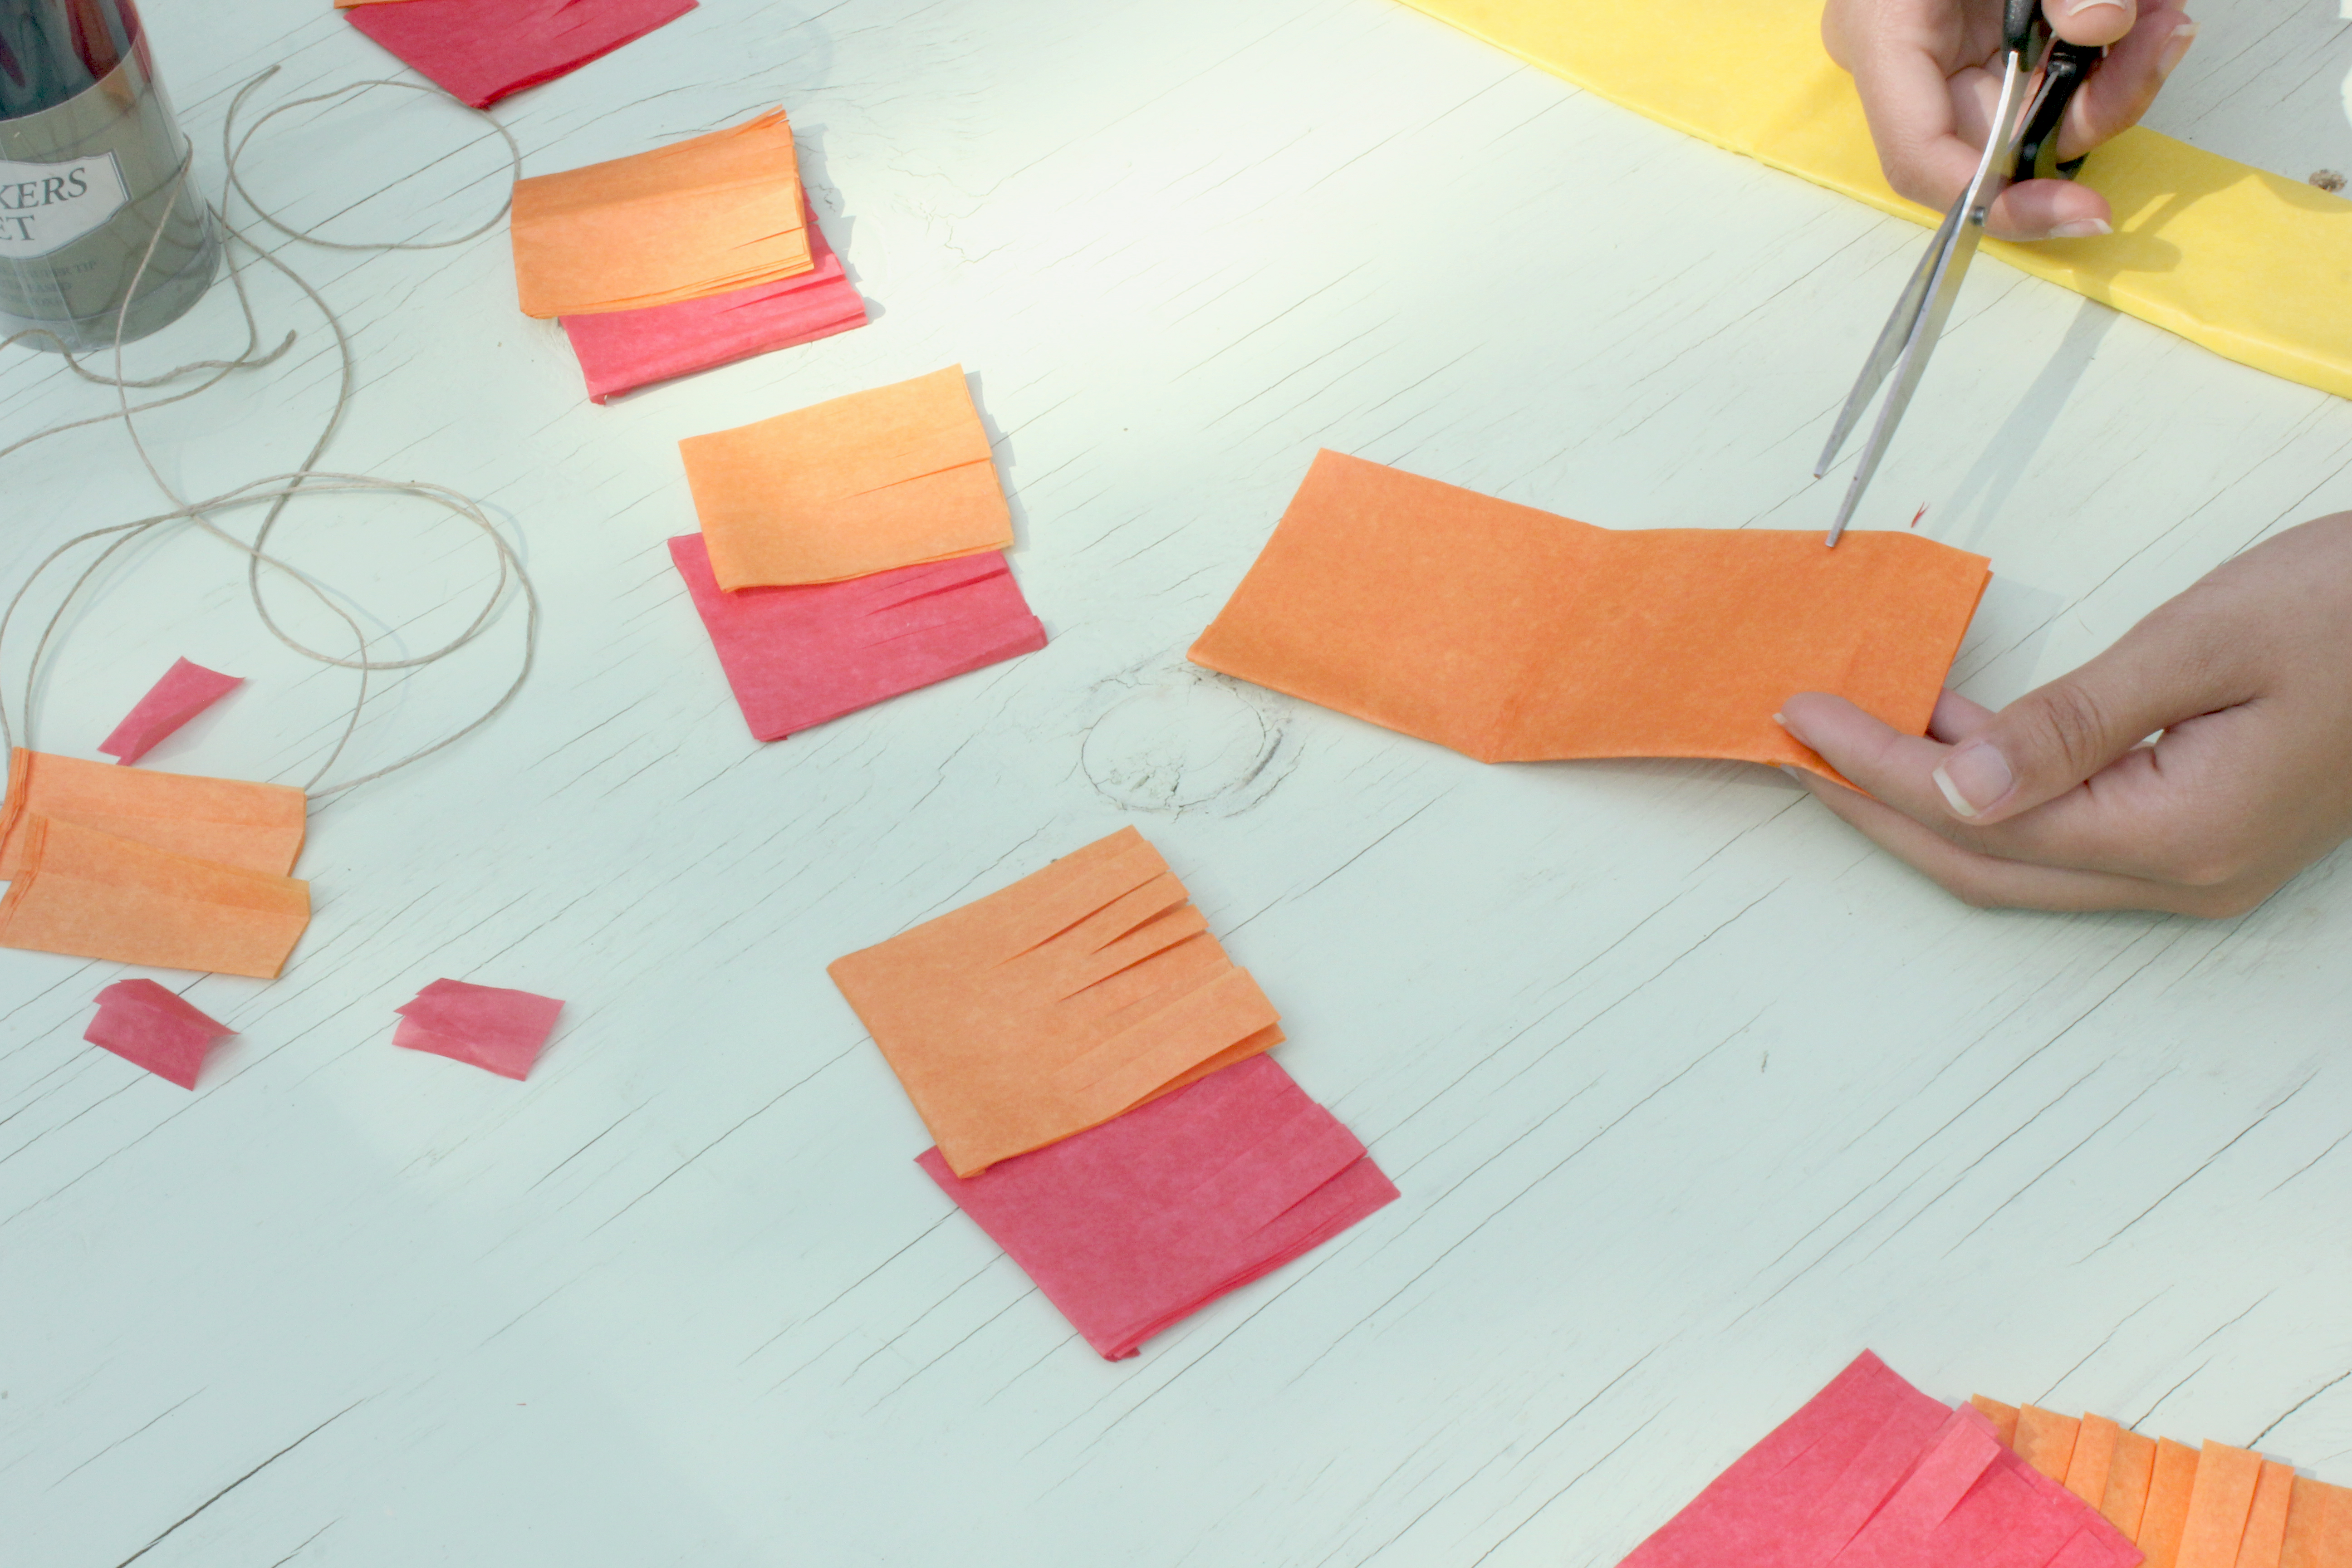
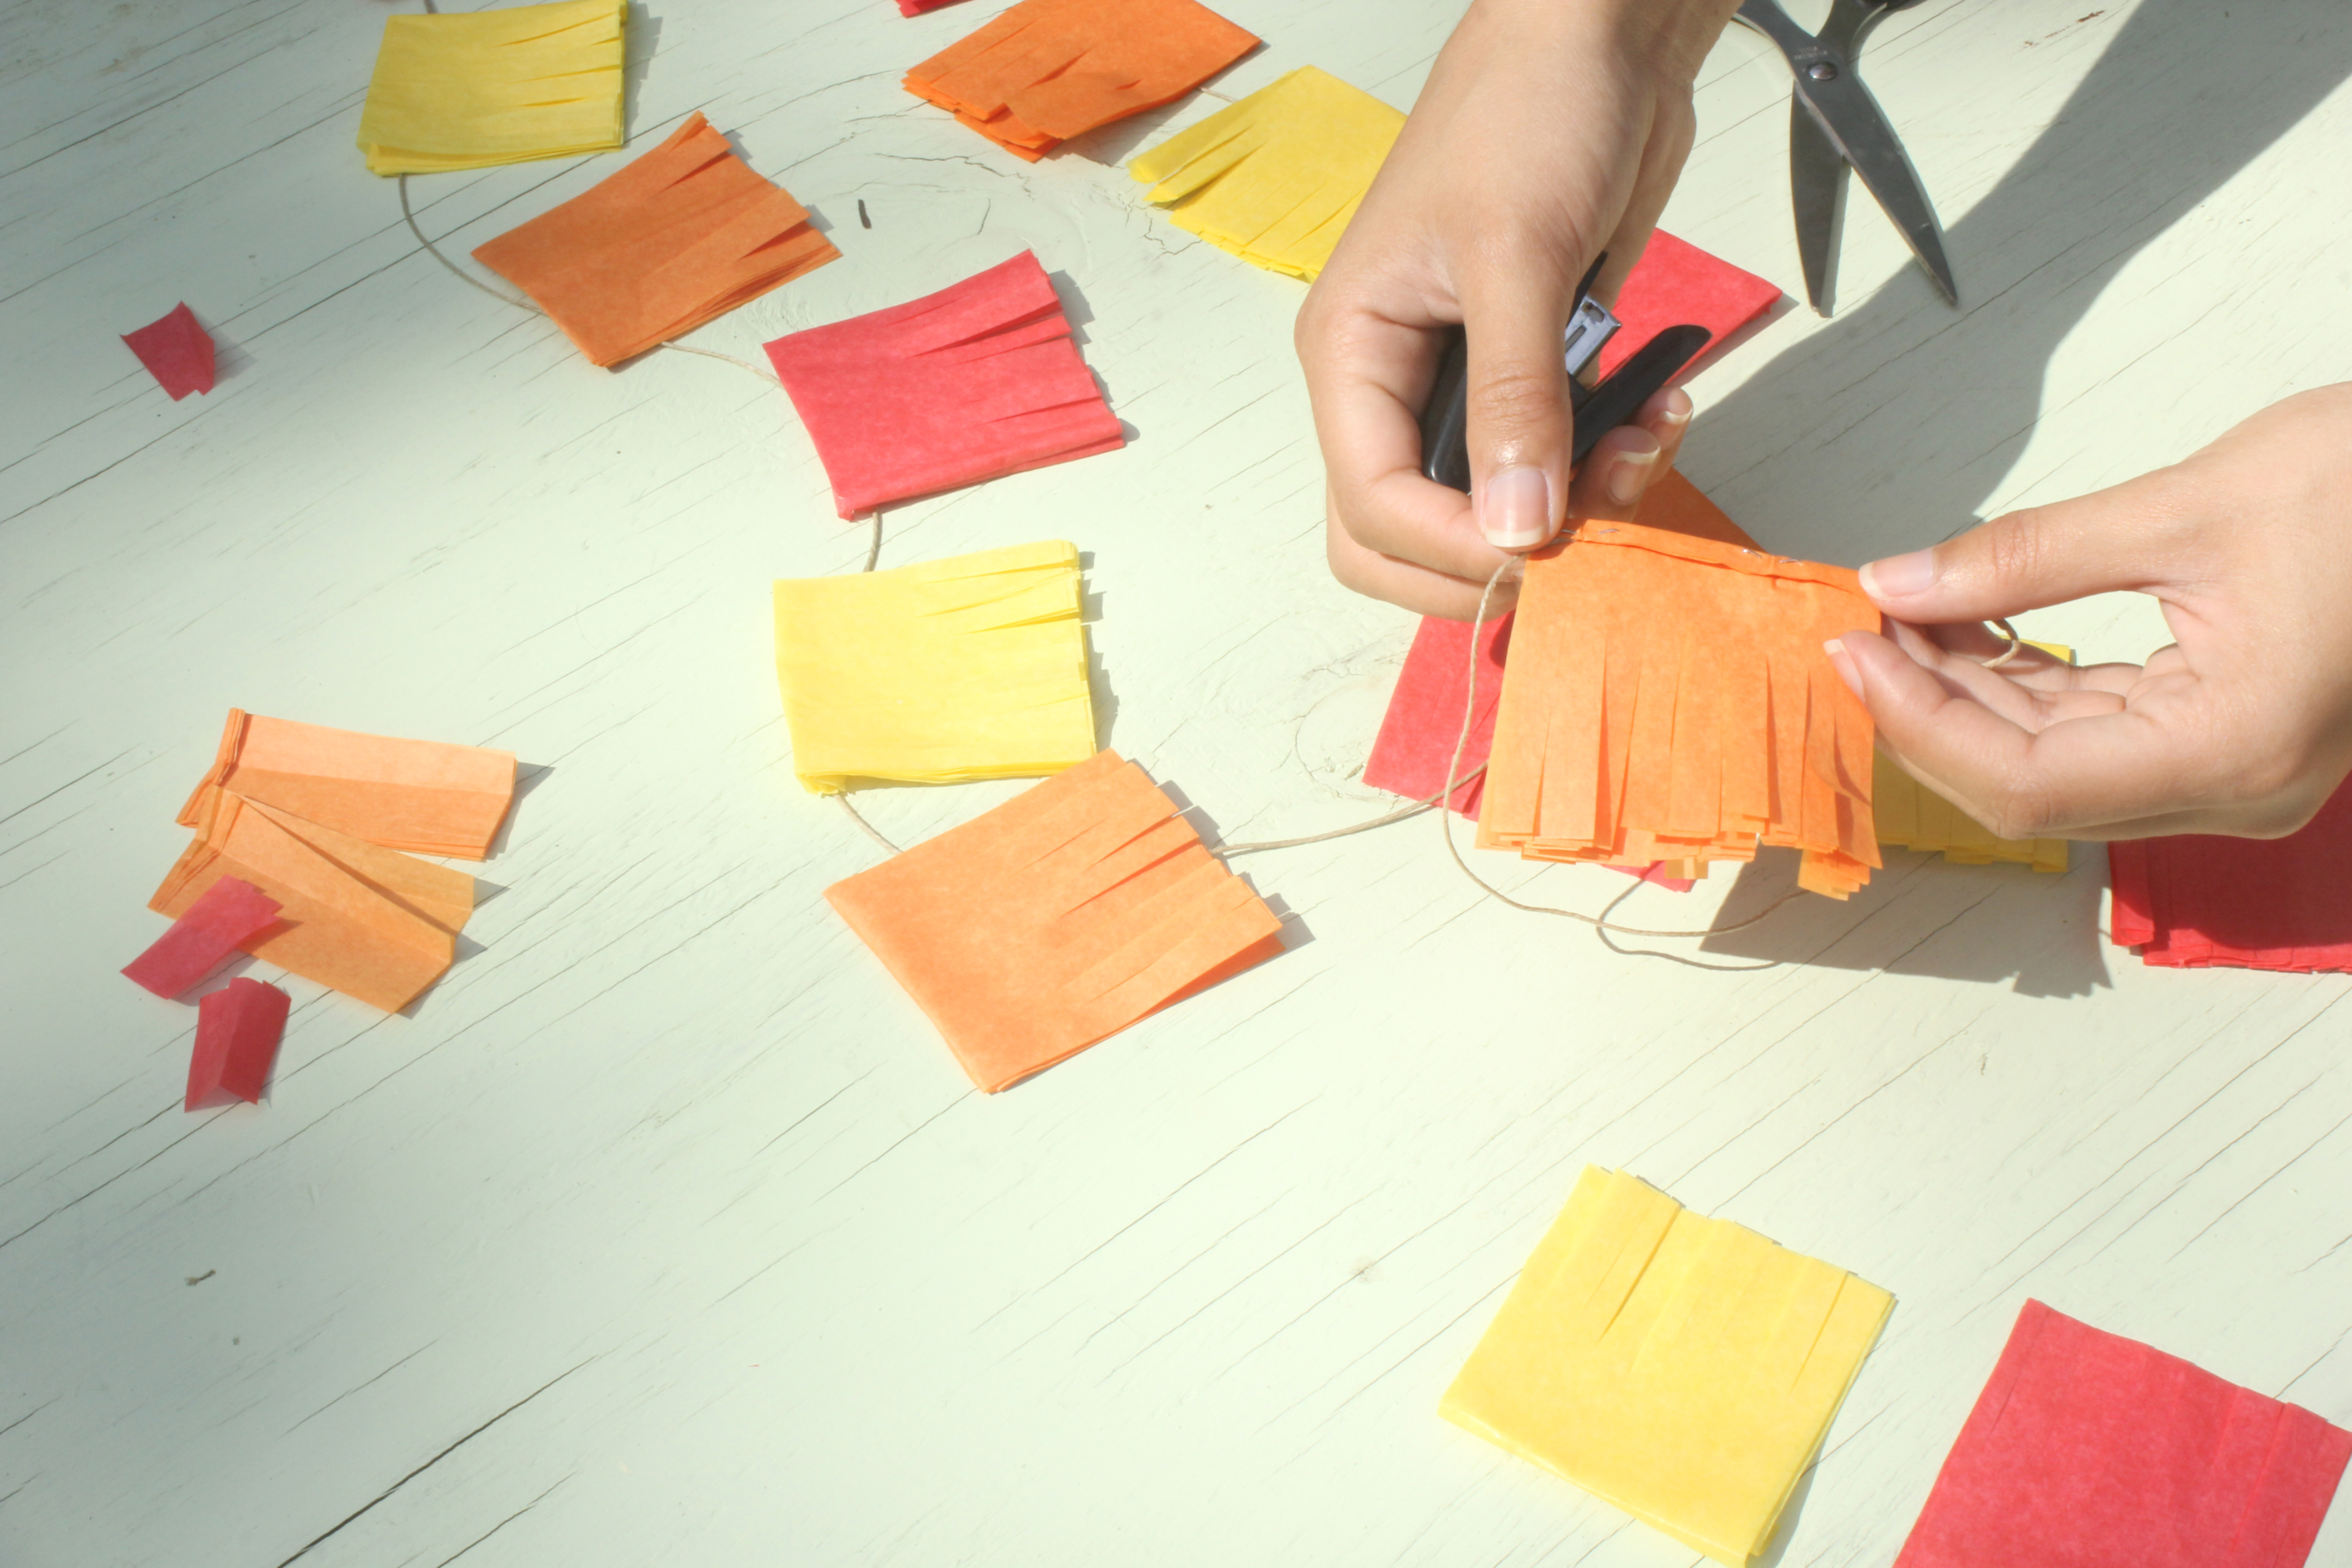
After you’ve cut your strips, take each color and fold in half, and then fold two more times. When you unfold, you should have 8 separate squares.
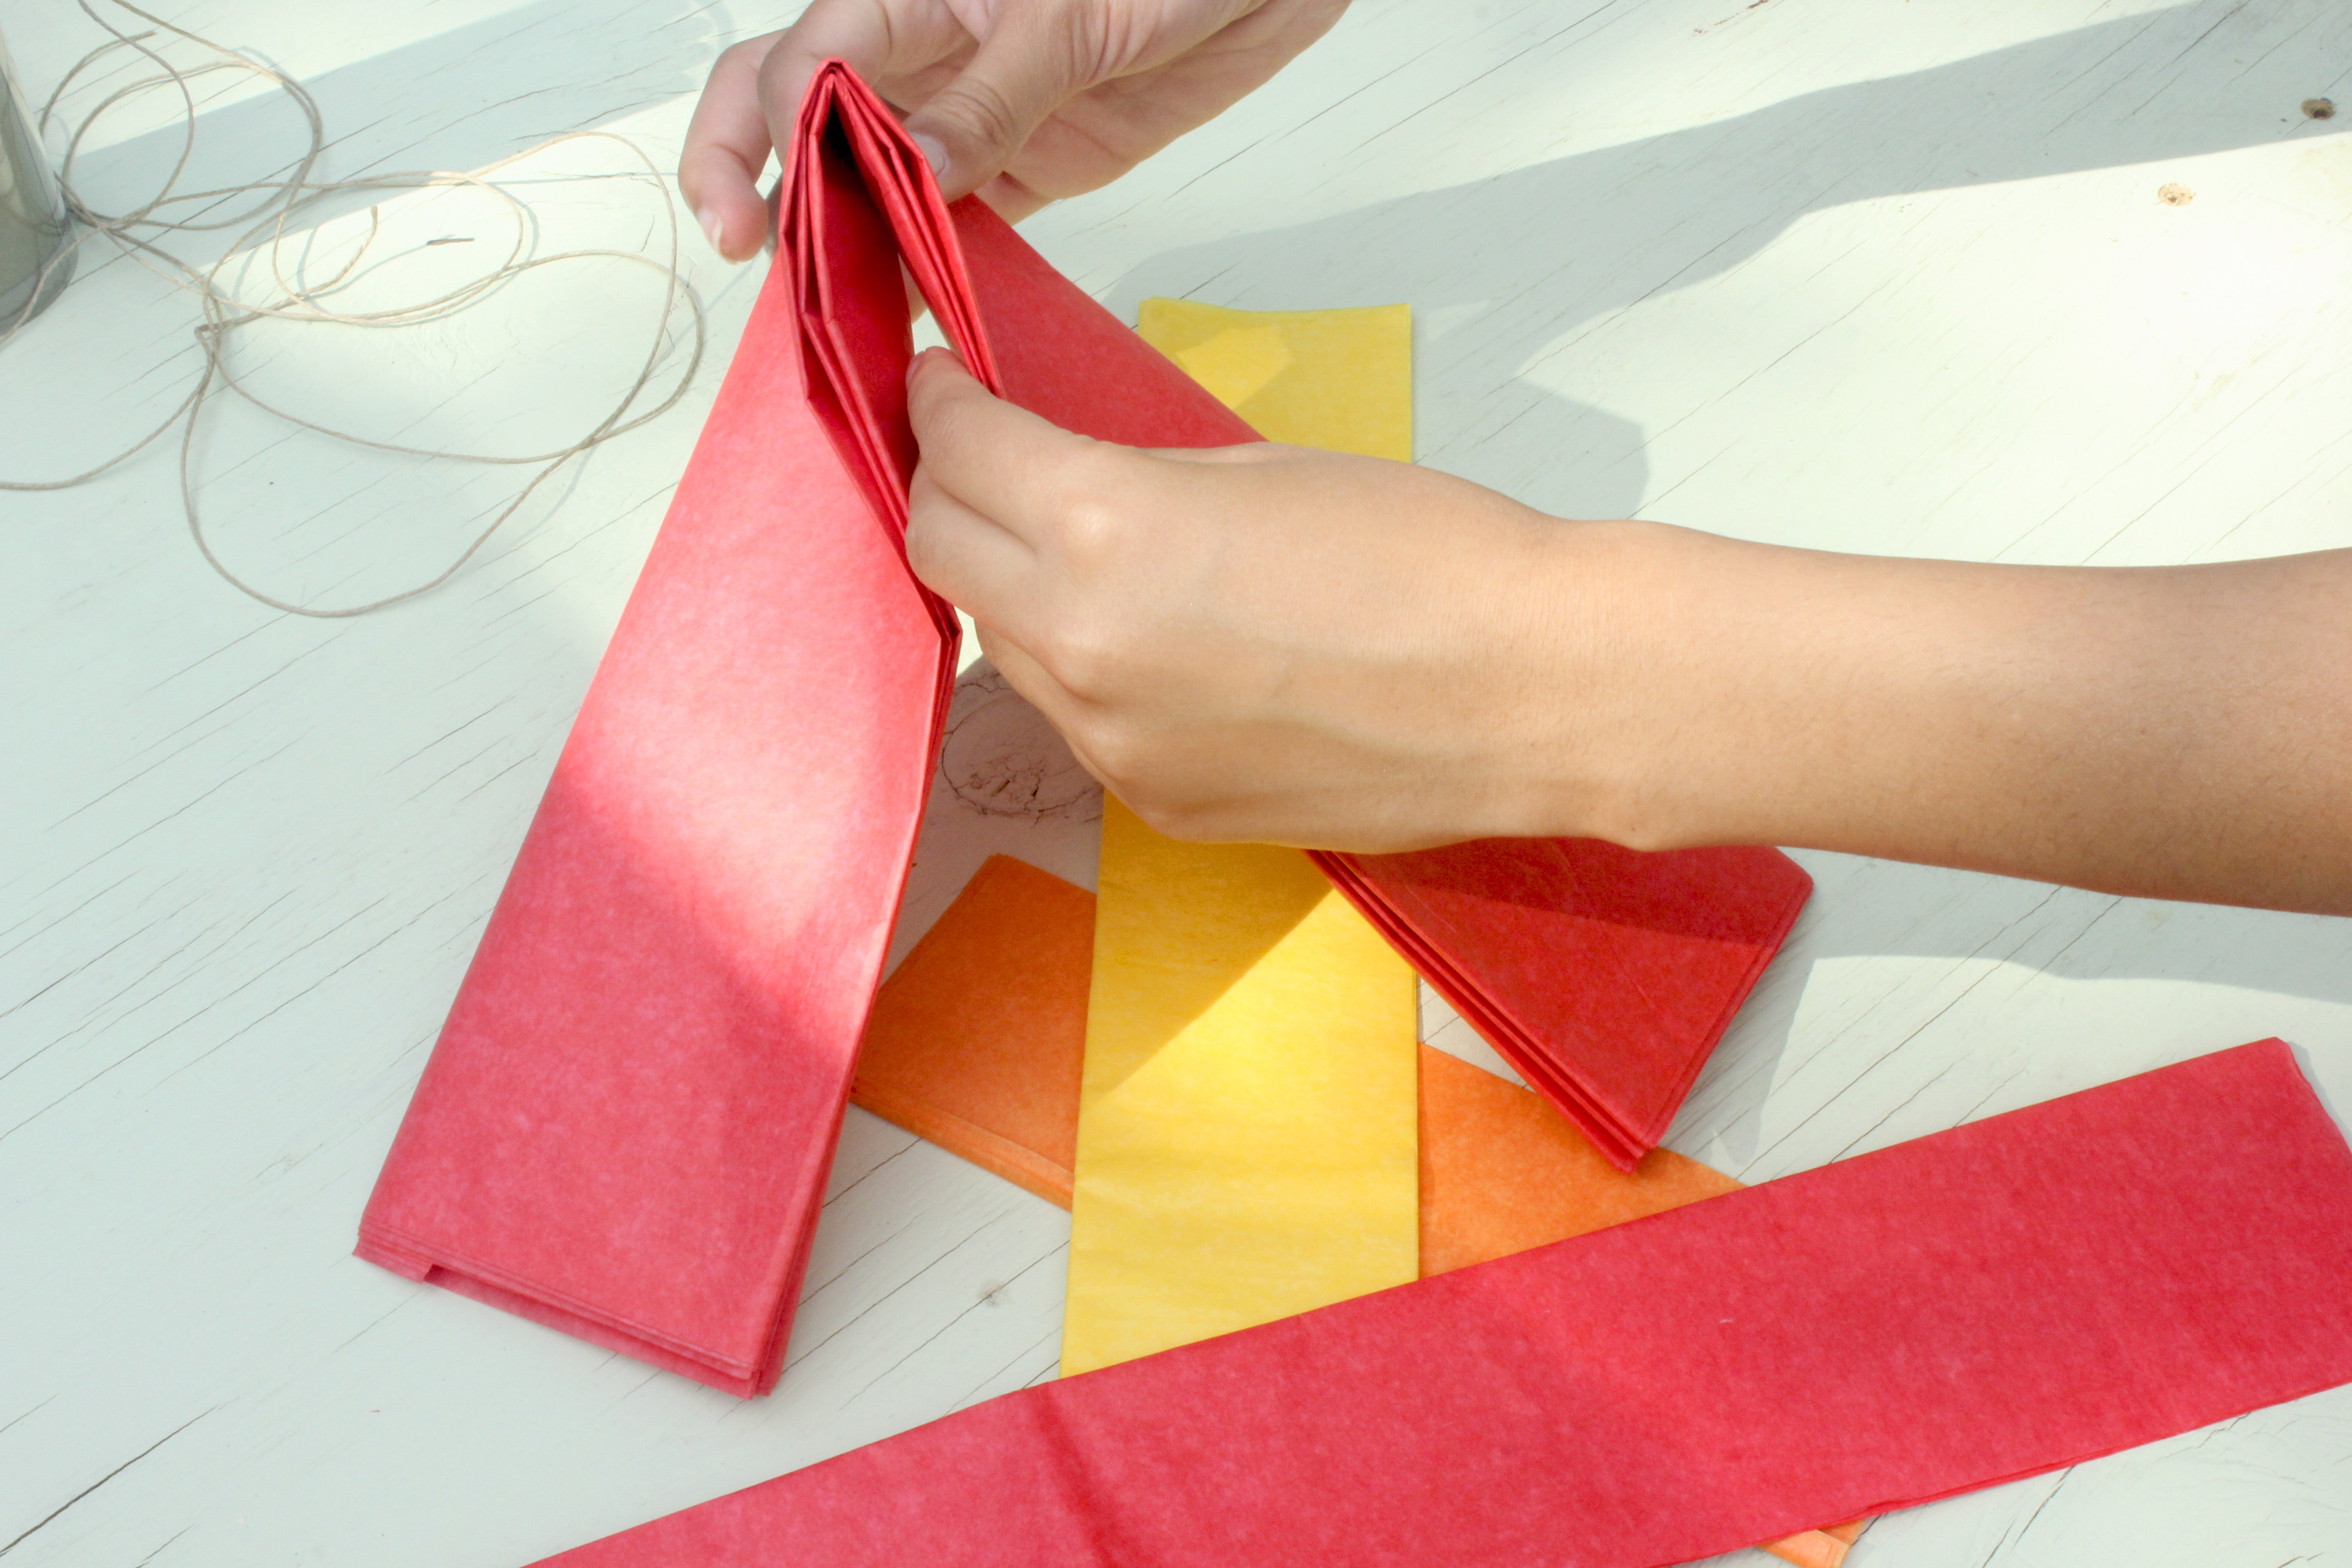


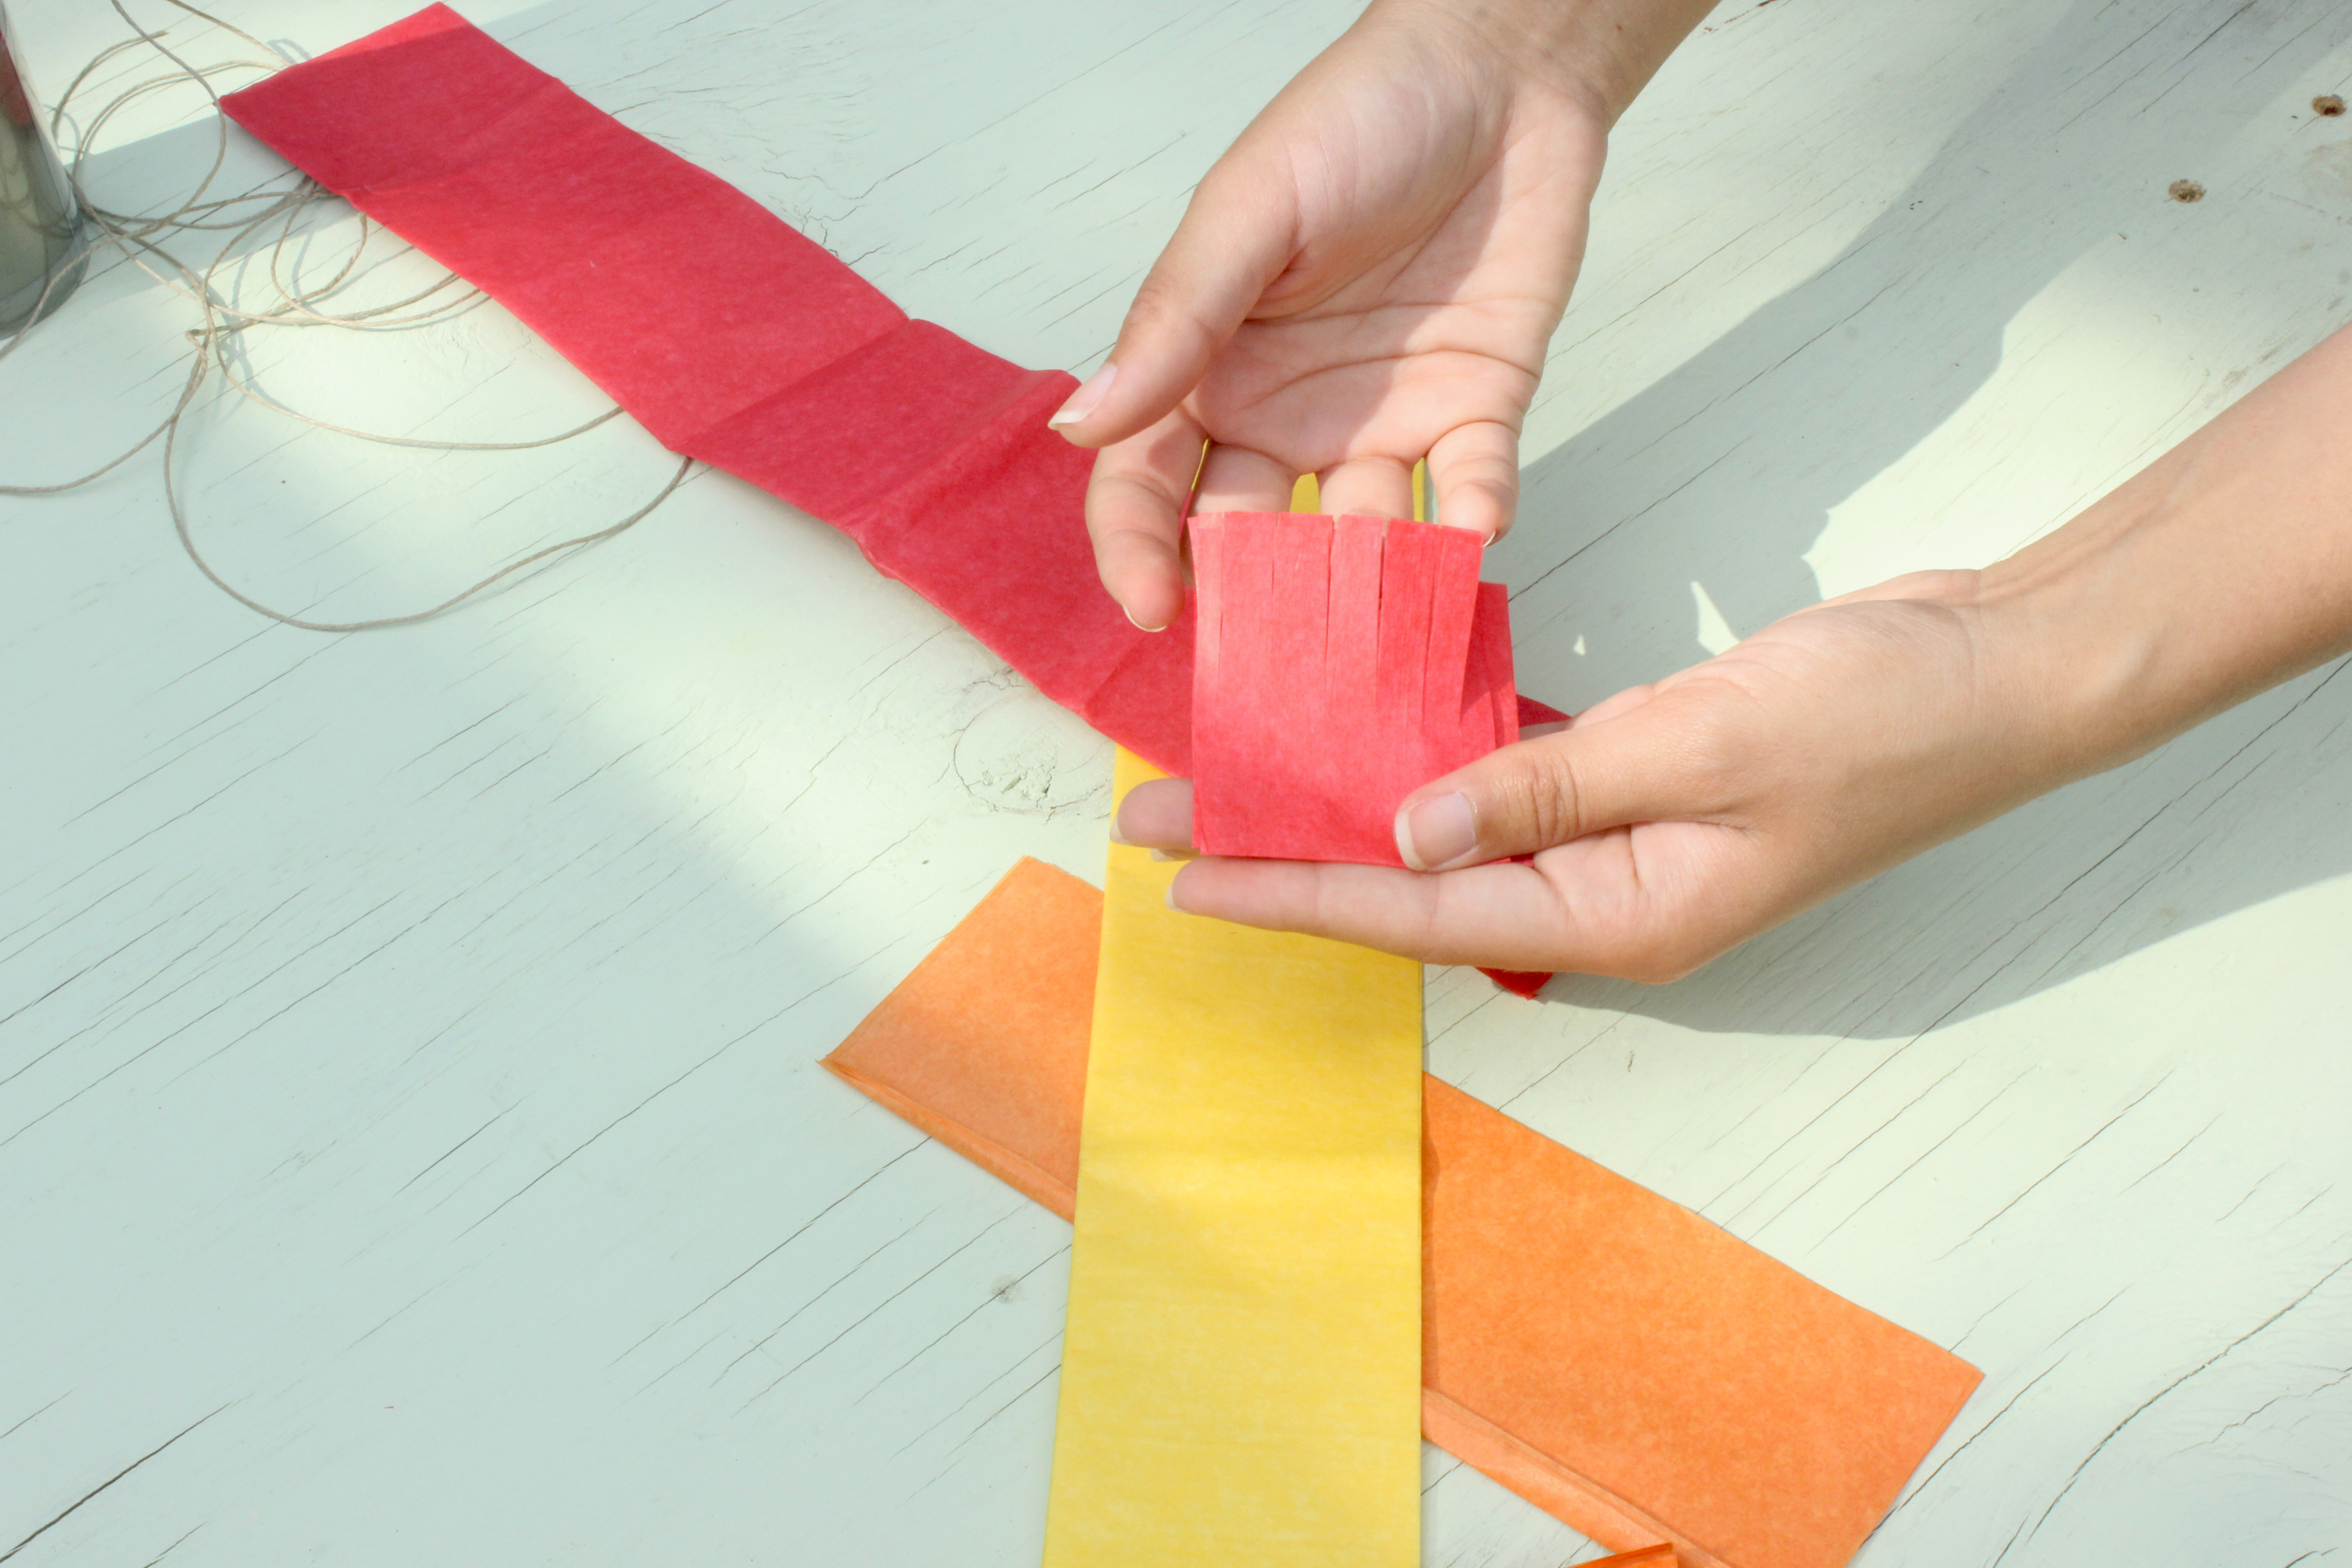
From there, go along the length of each color and cut fringe, when you get to each of your 8 sections, cut off and put aside. This will make it easier for you to layout and see the order you want to arrange your banner.
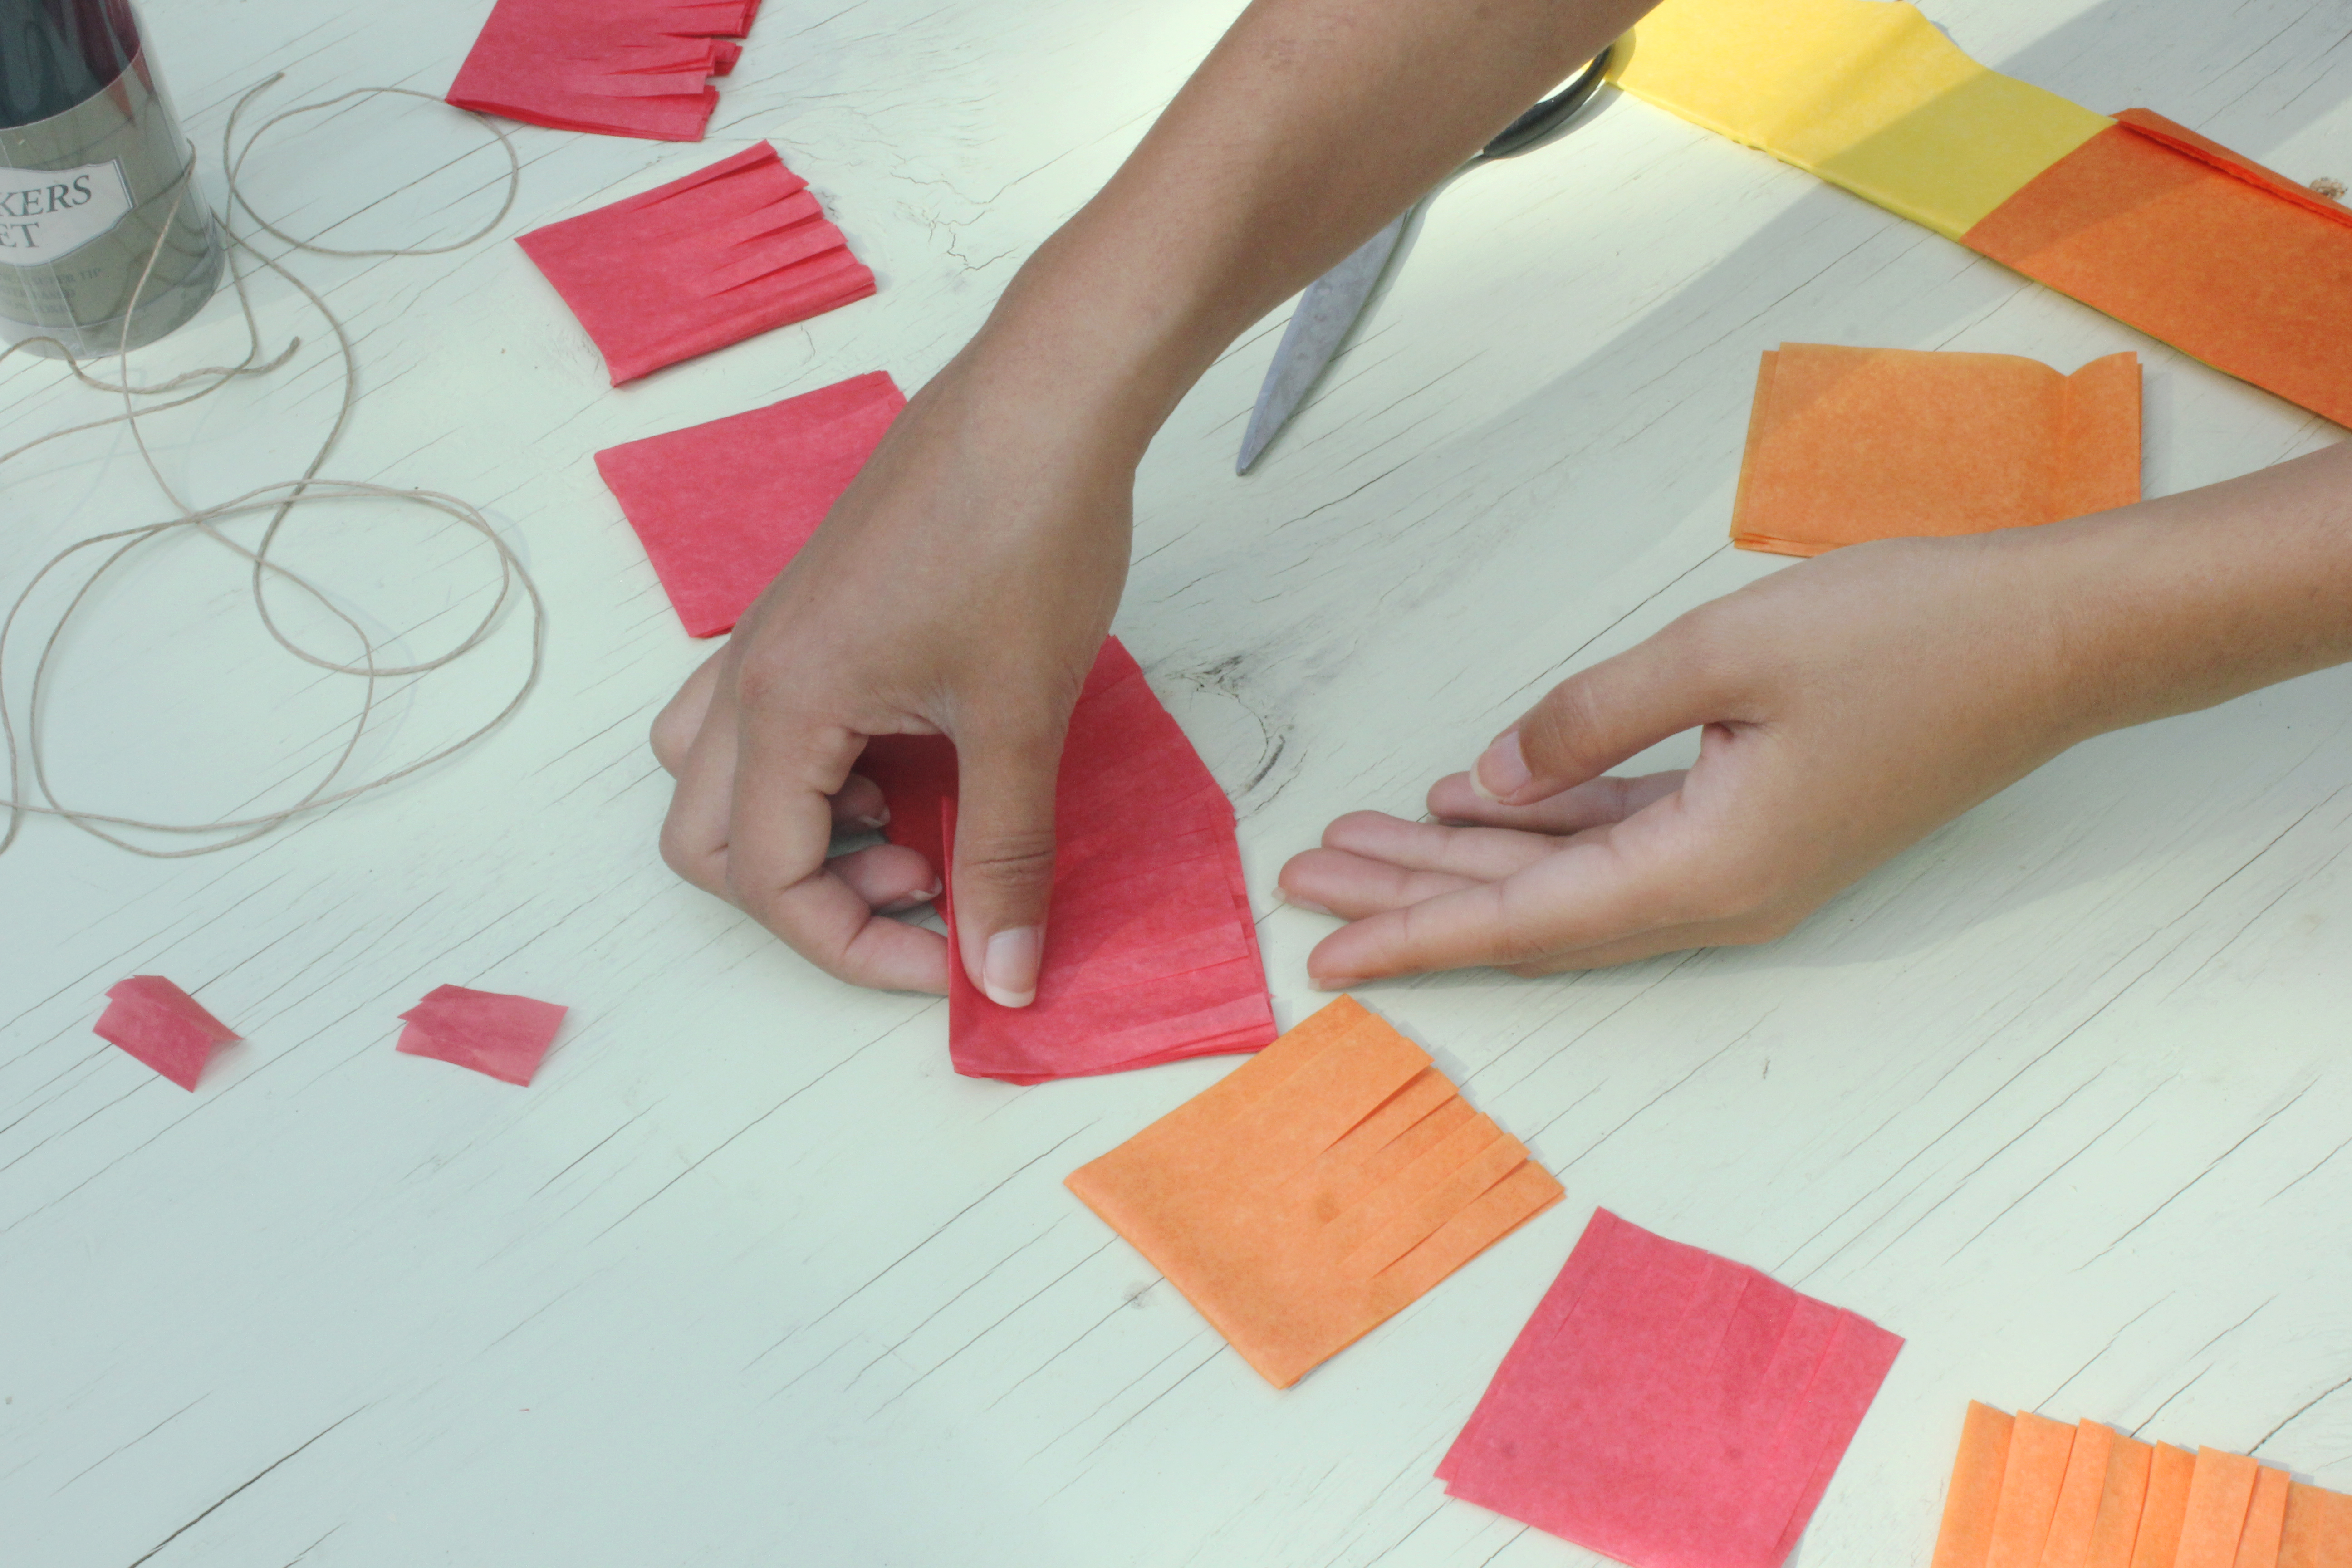
Step 4
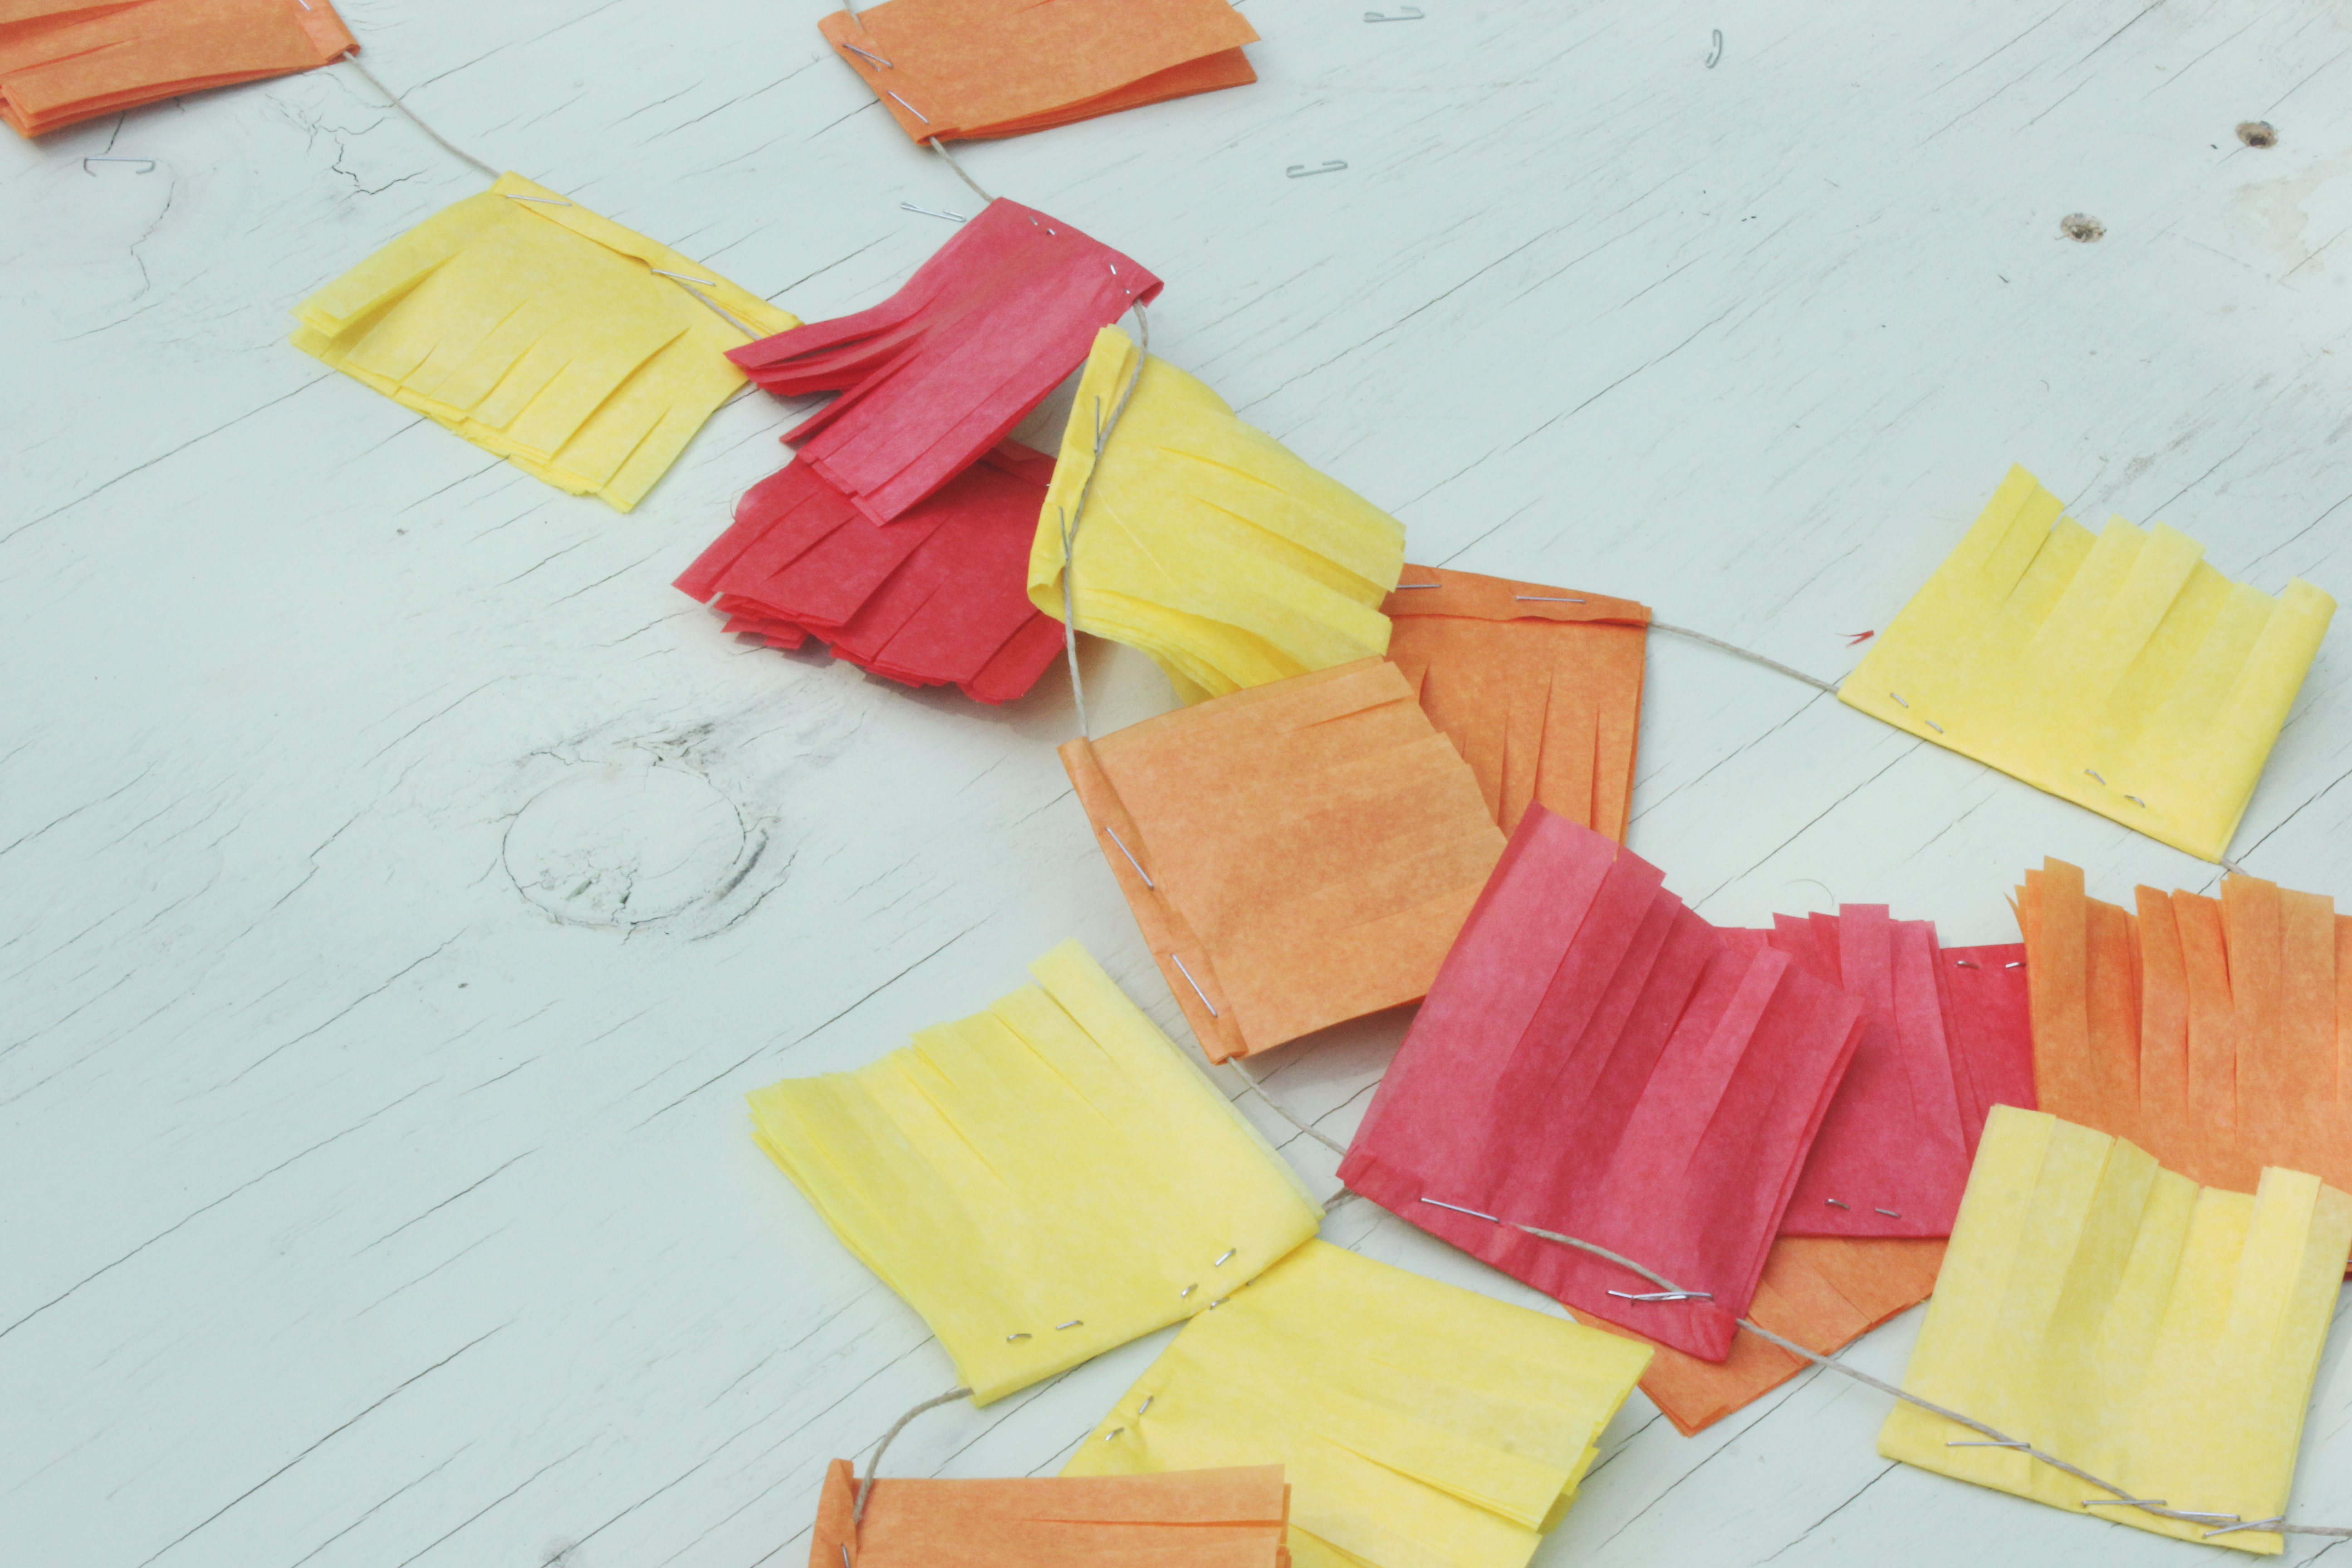
Find an arrangement you like! I chose a red, orange and yellow repeated pattern. Leaving a little room in between each section, it’s time to start assembling!
Because you cut each strip on the fold, it will be easier for you to attach to your banner. I used staples but you can definitely attach with tape or glue if you want. I found that staples were easy and no hassle!
Take your color section of tissue paper, and fold over your twine. Make sure to staple so that the folded part is facing the front of your banner (it just looks less like staples that way. ;))
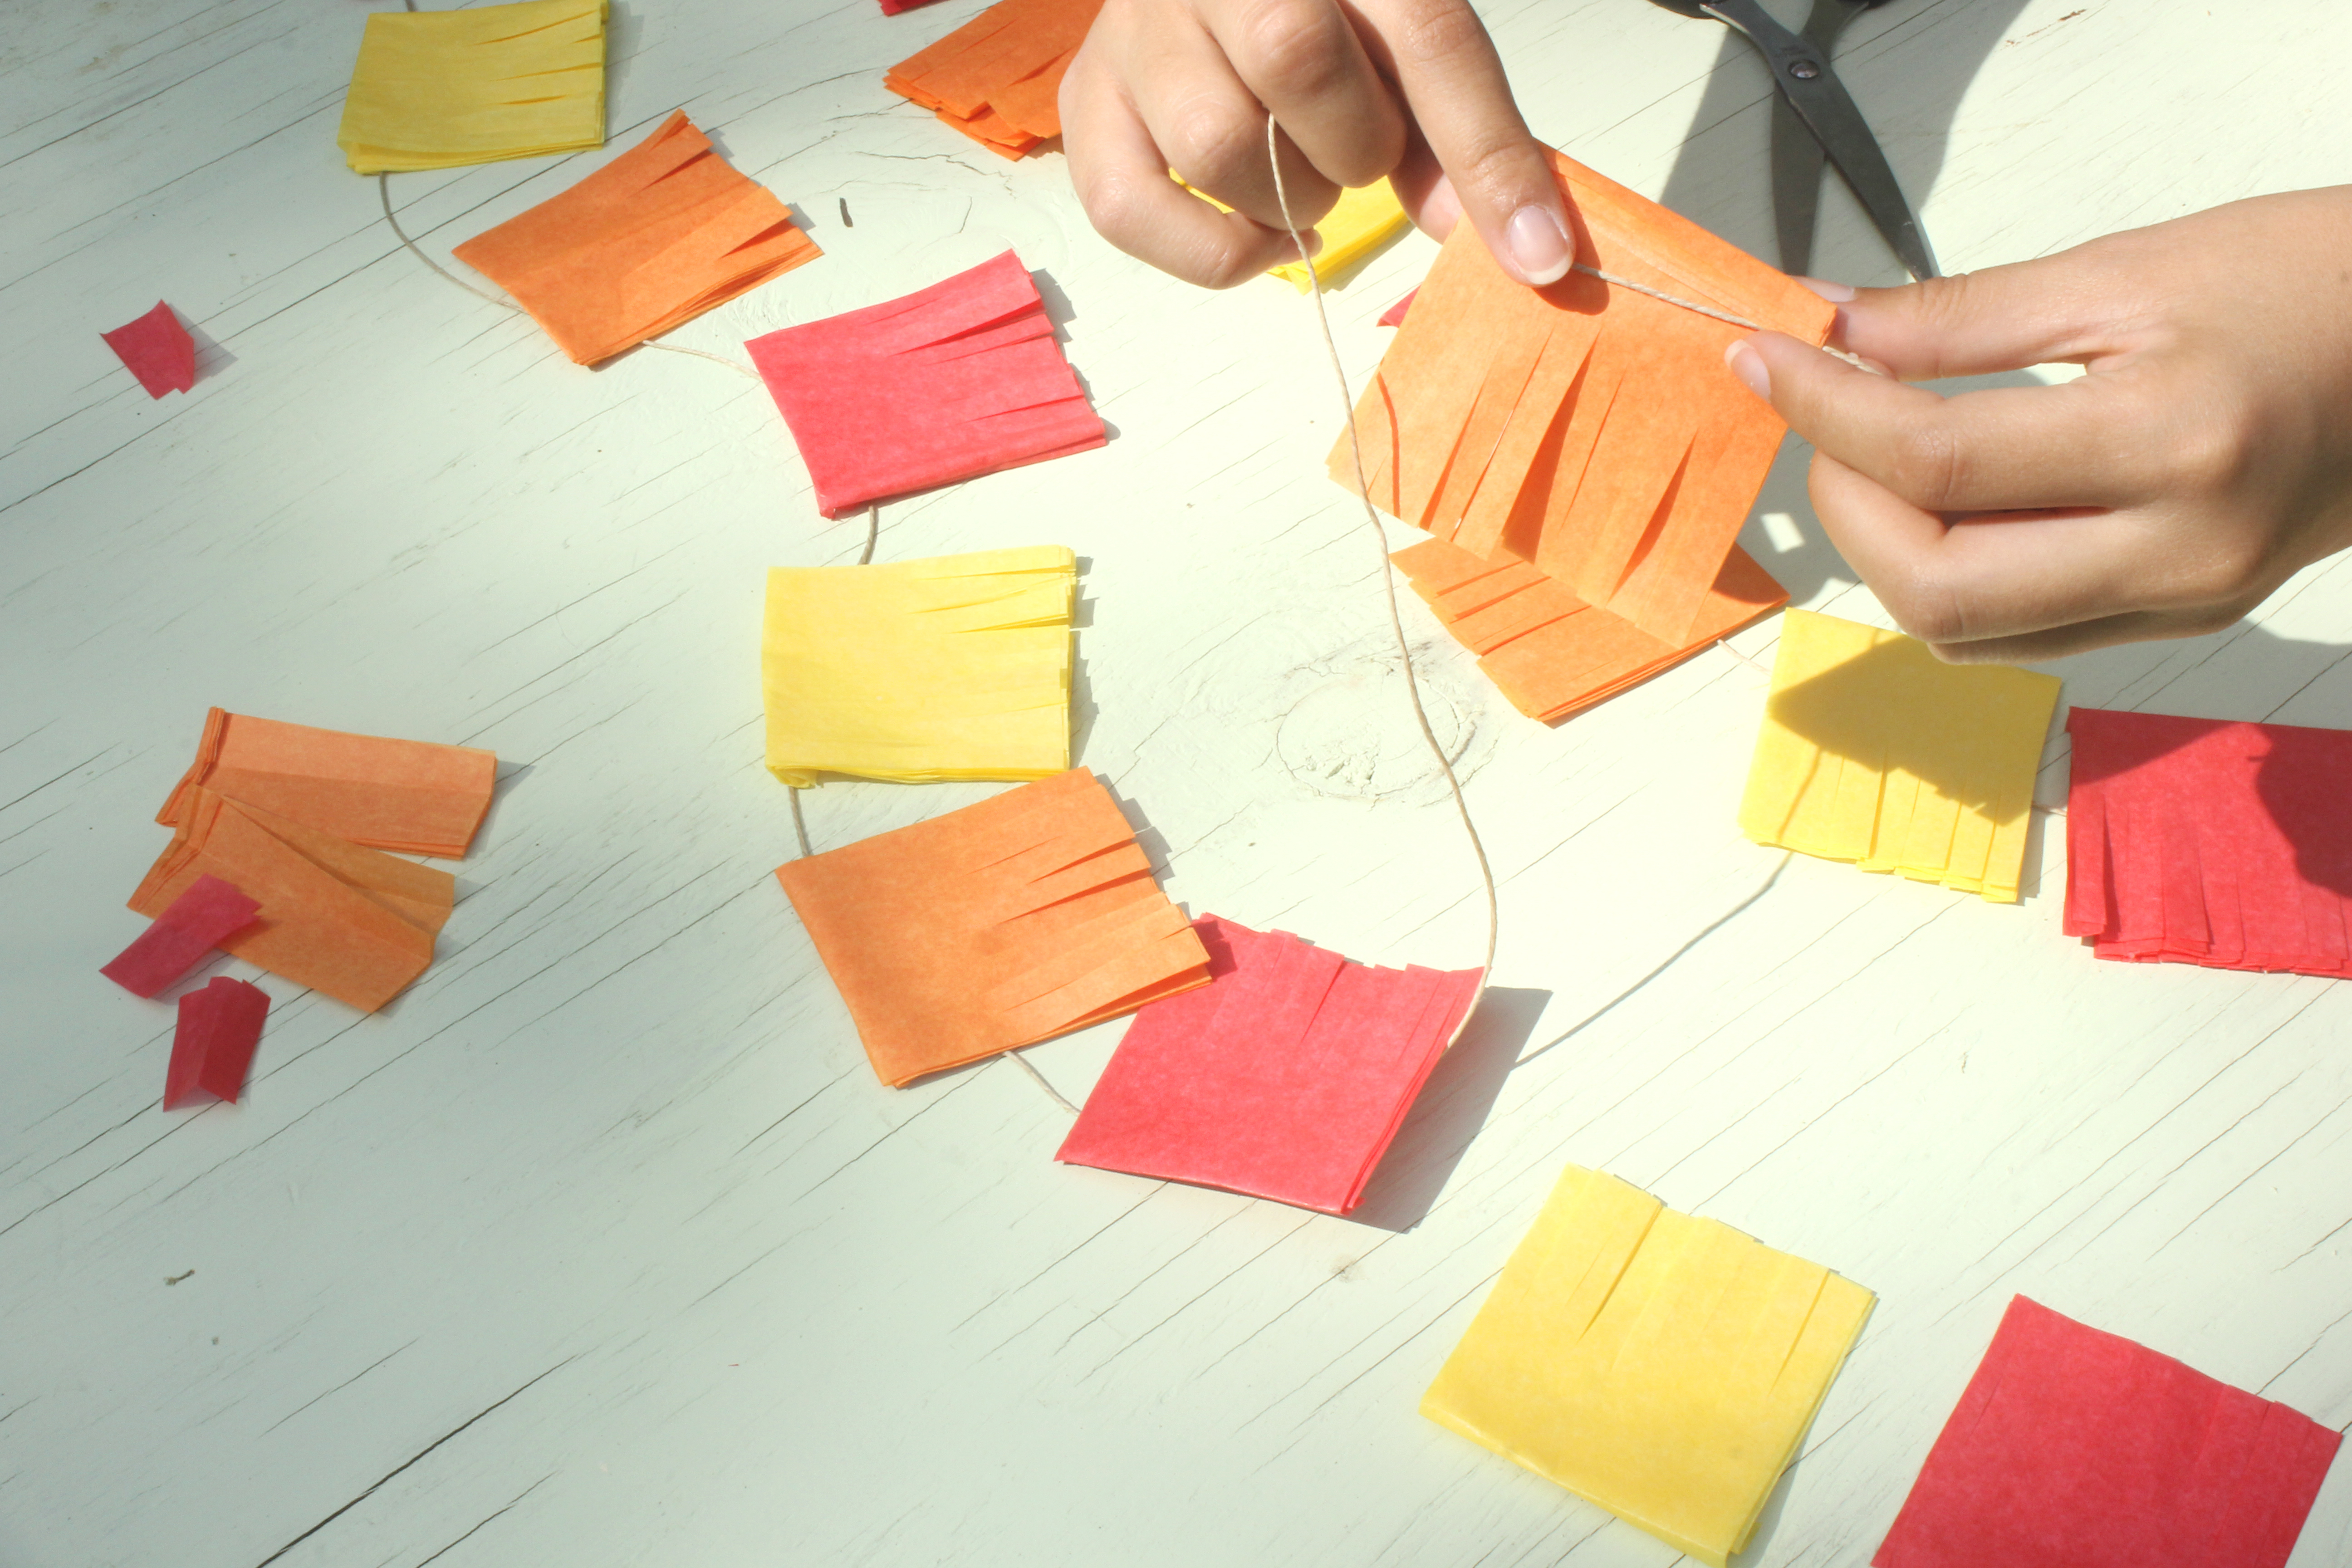
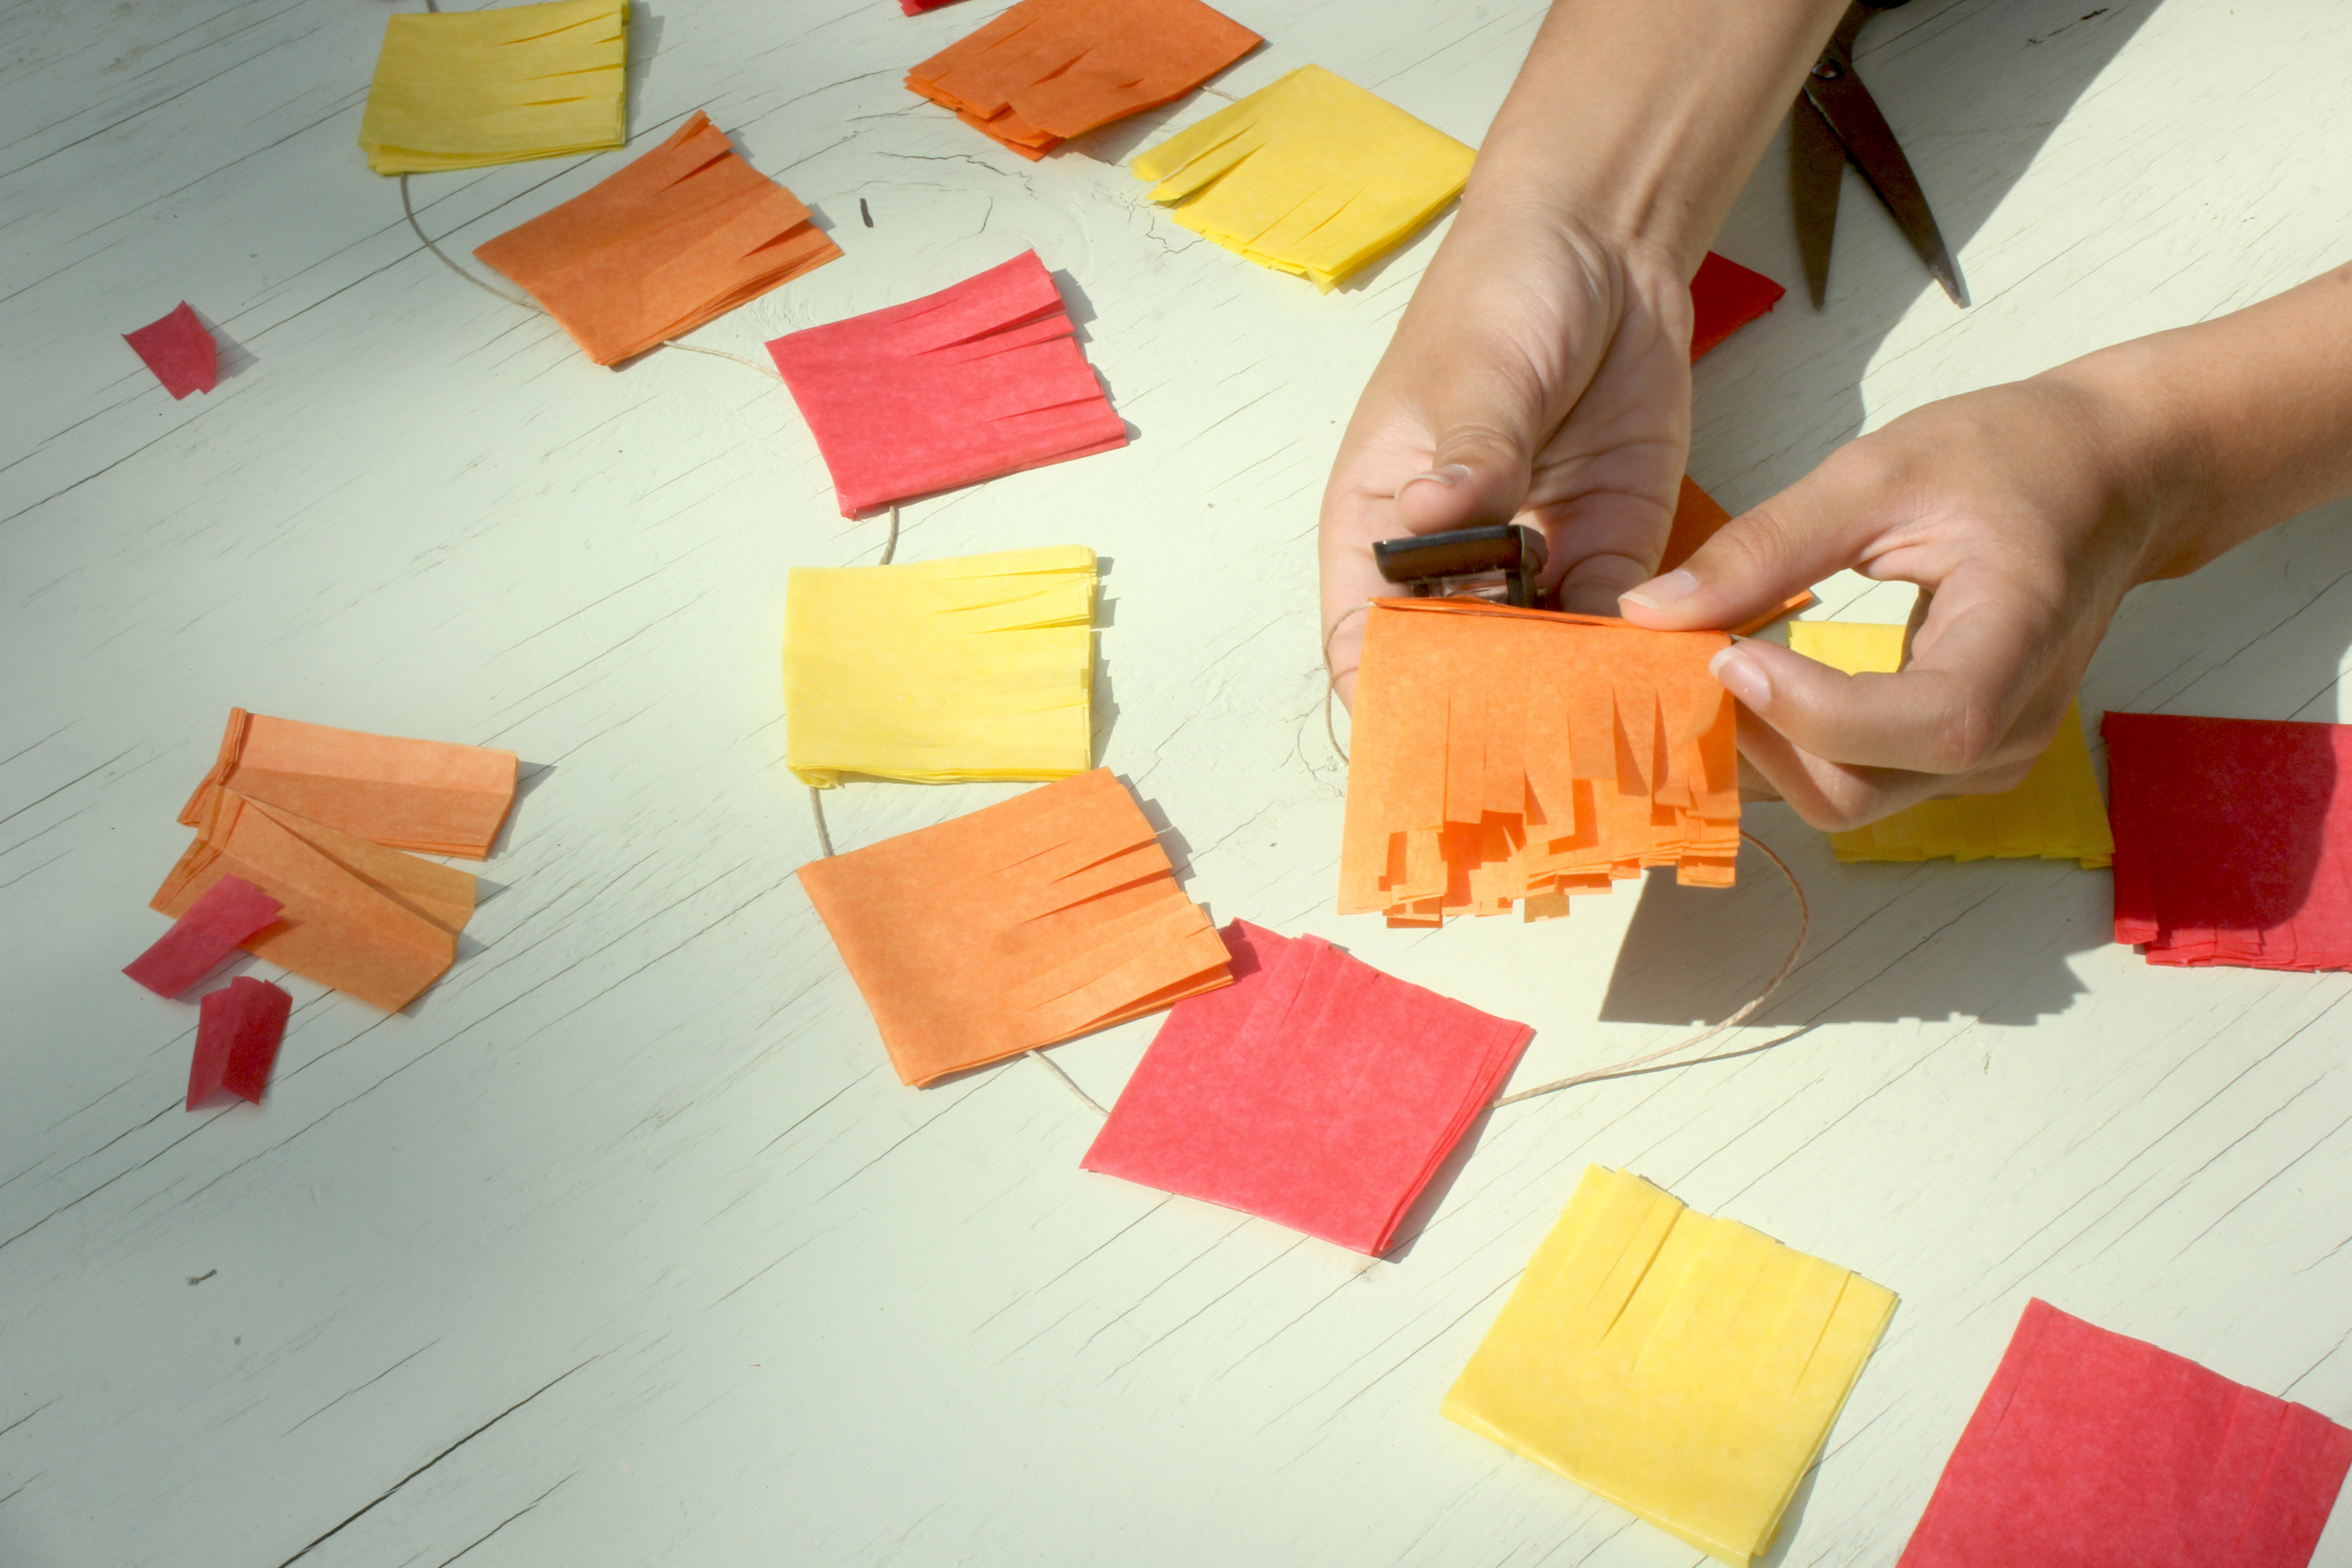
Continue this along the entire length of your twine!
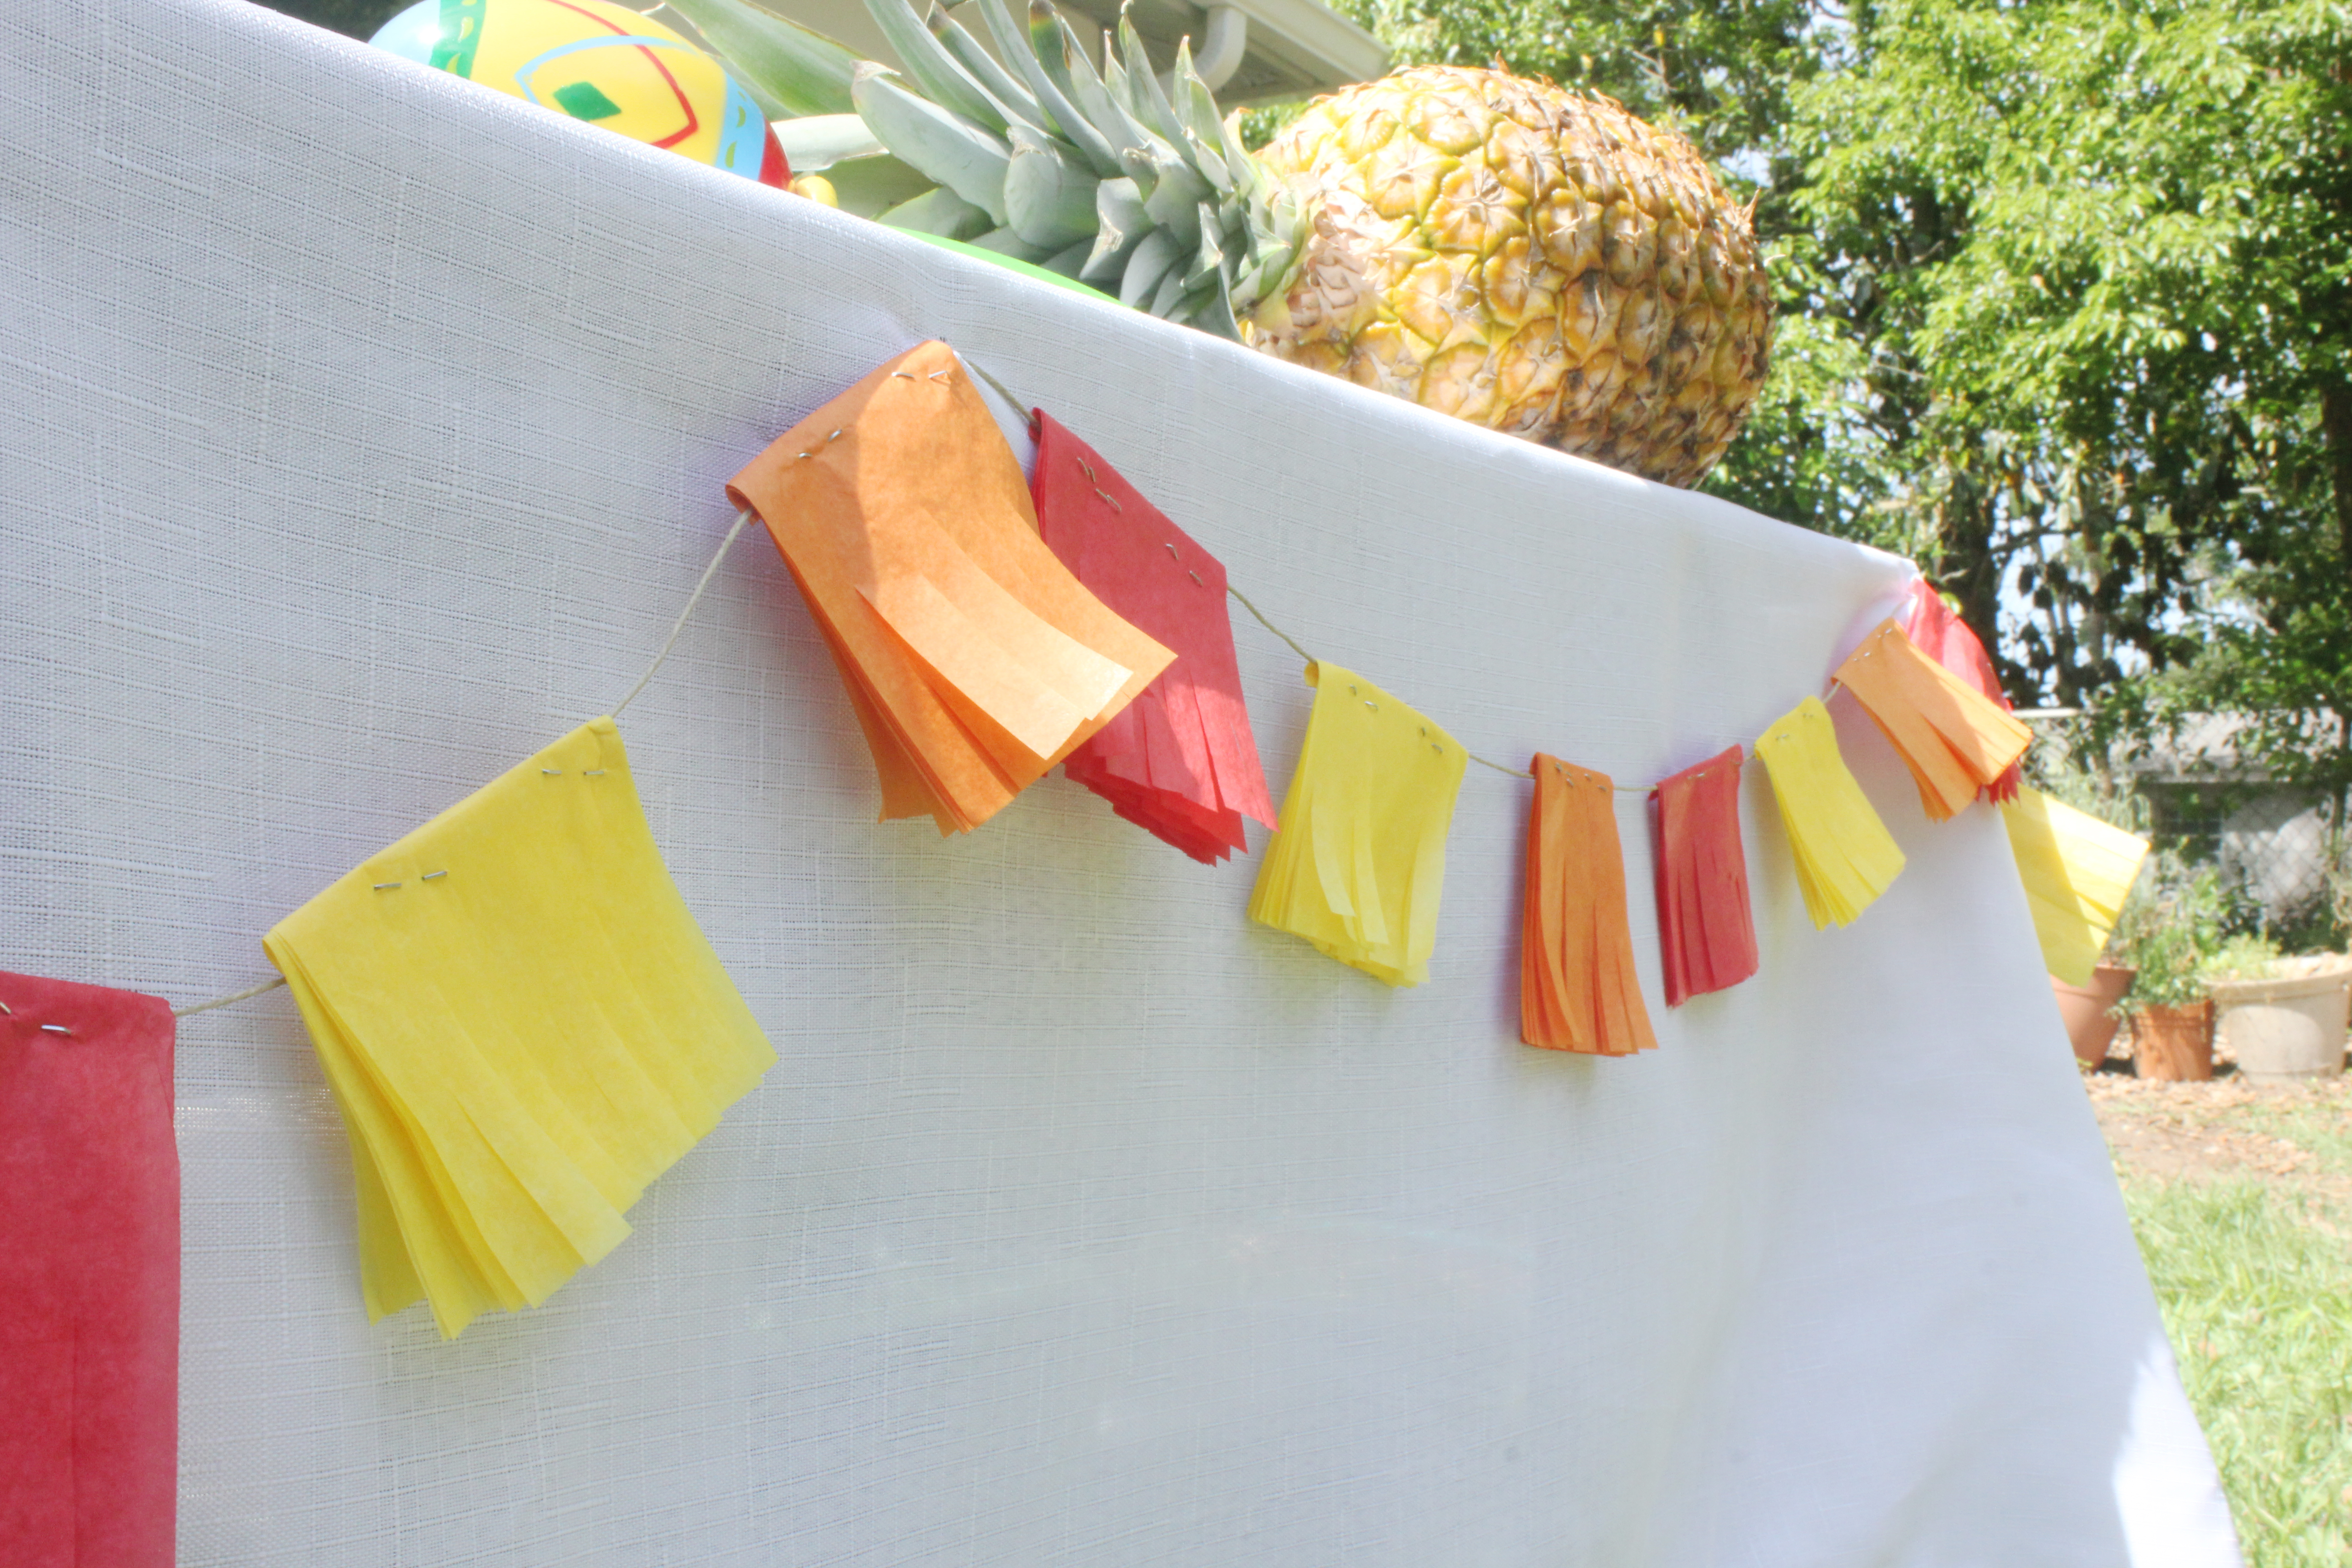
Voila!
A festive and colorful tissue paper banner. I used the cinco de mayo holiday for my inspiration, but you can definitely recreate this banner in whatever color your heart desires! It would be perfect for a baby shower, bridal shower or any sort of festivity where you’re creating a tablescape and need a little extra fluff!
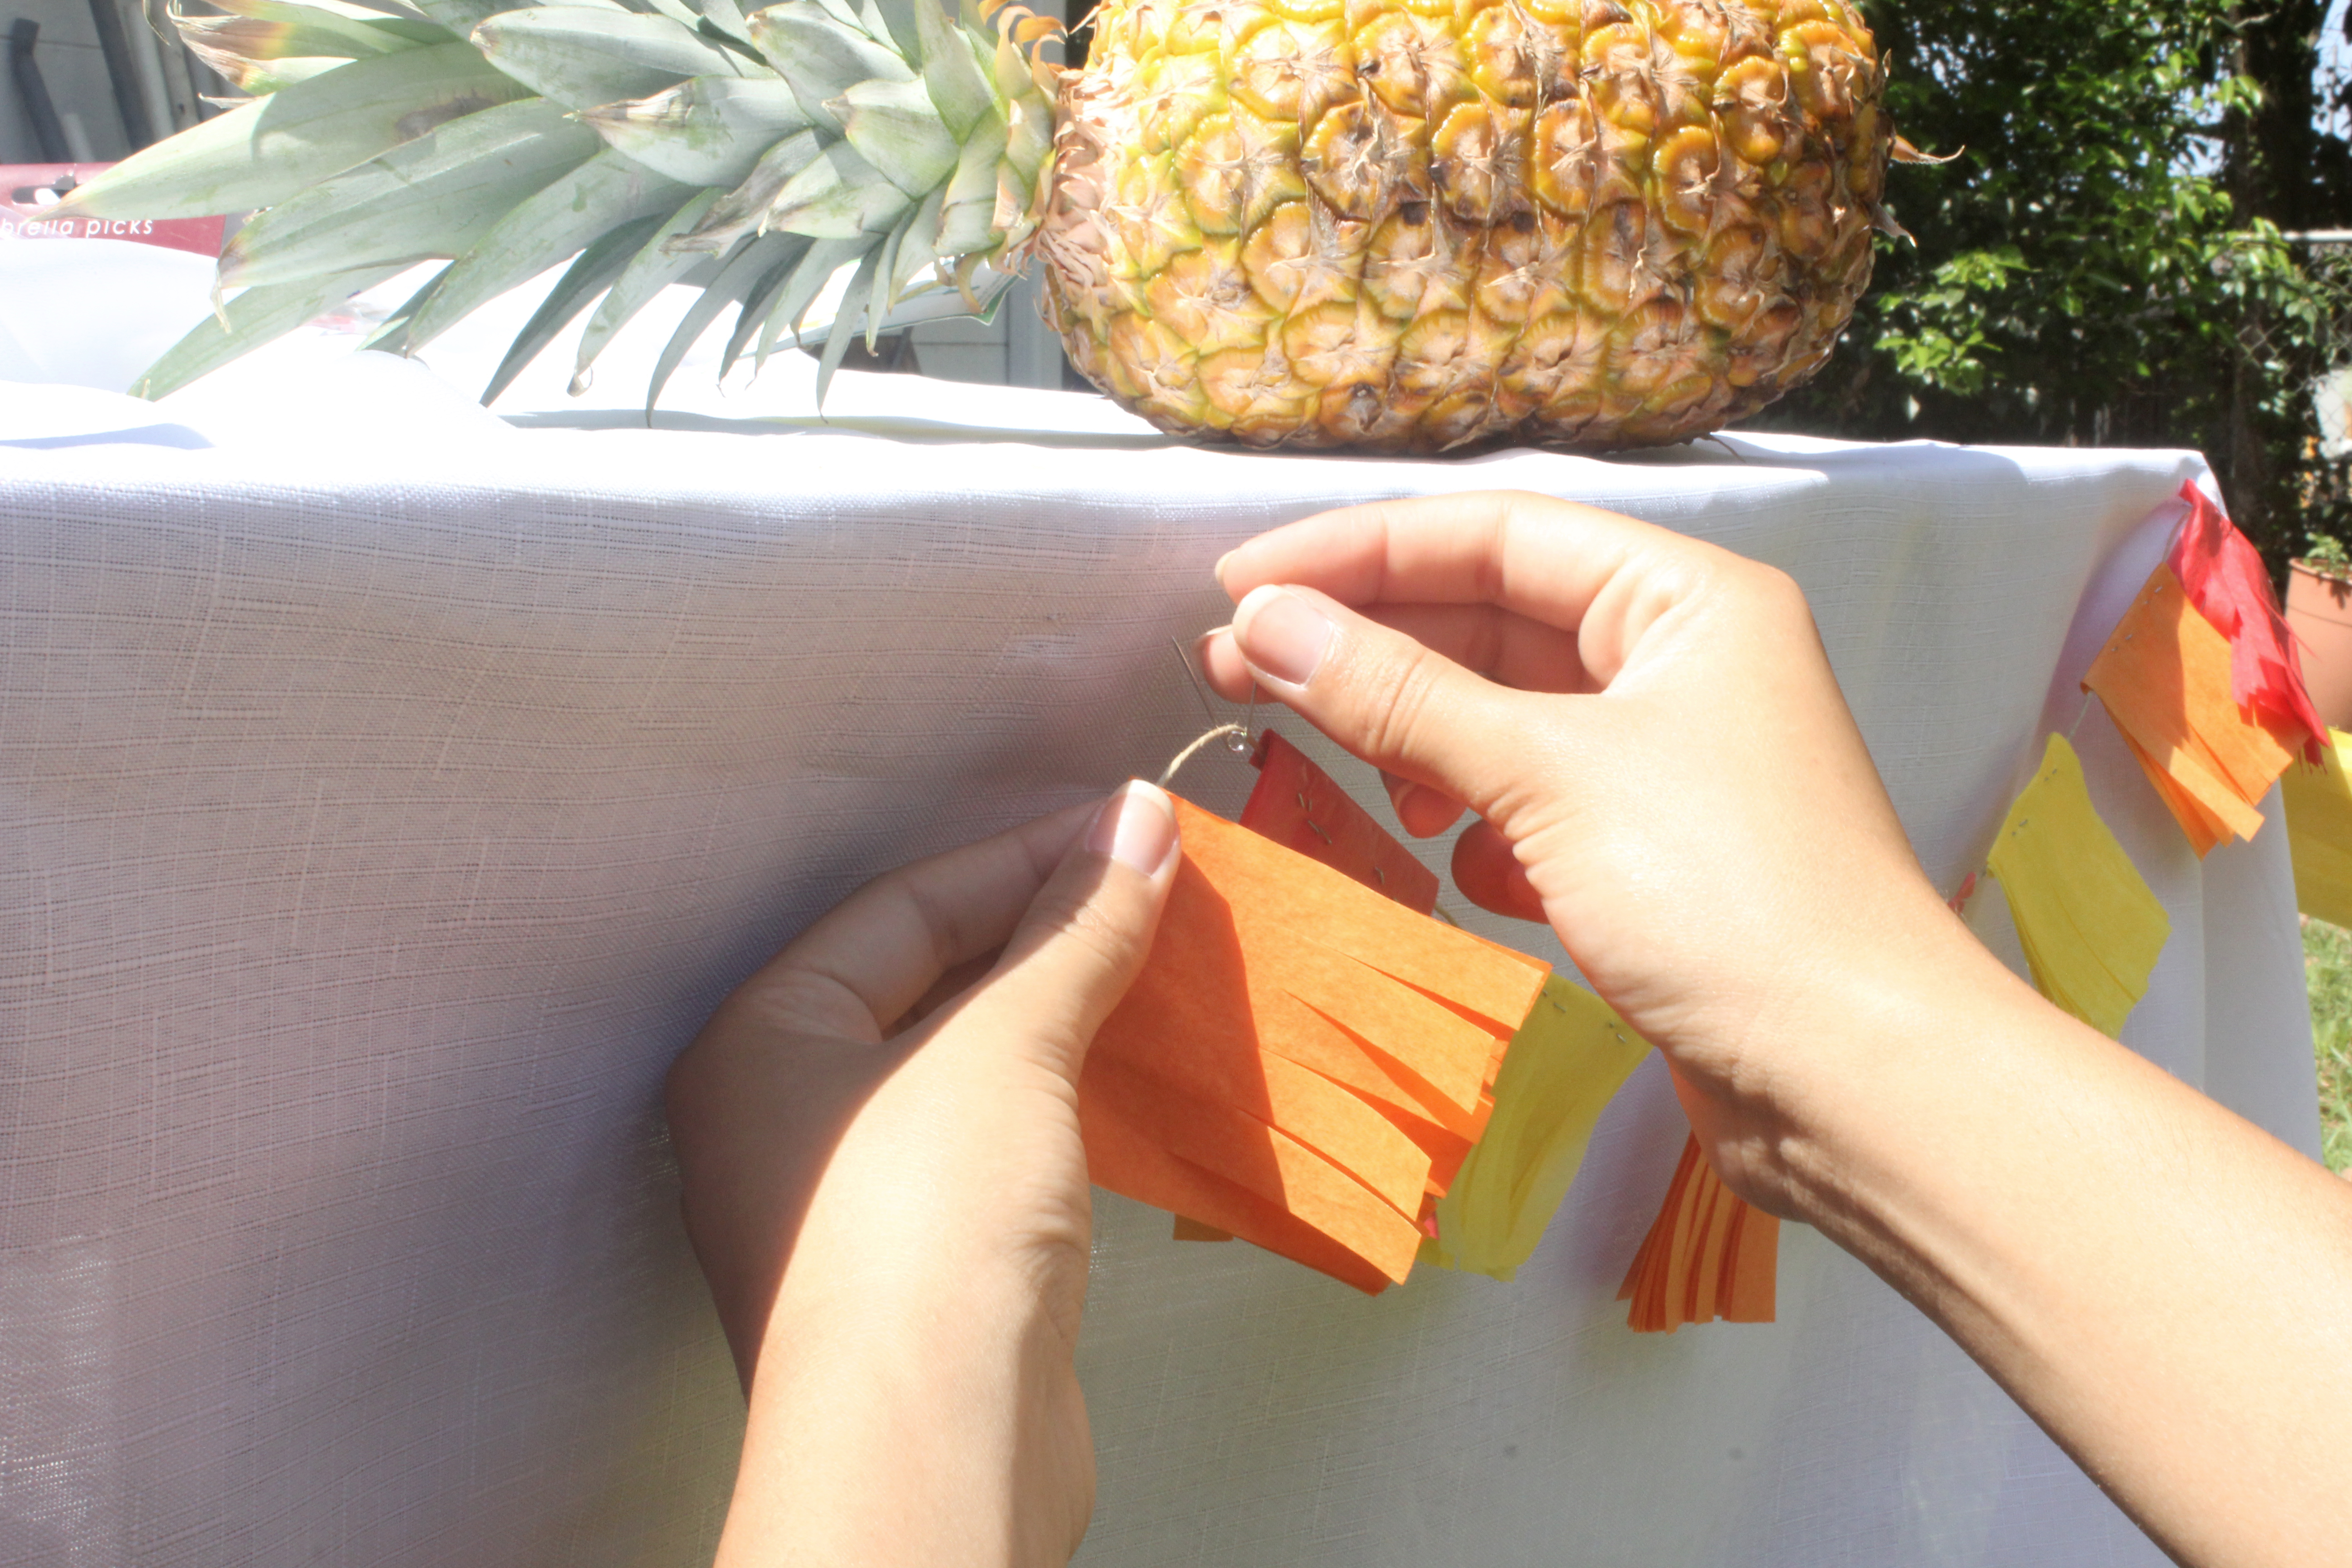
Helpful tip!
When attaching a banner to the front of a table, I find the best way to attach to the tablecloth is with safety pins. Loop your safety pins through the backside of the cloth so you can’t see them from the front, and just loop around the twine or string! Holds them on tight and make them easy to remove later.

Until next time, happy cinco de drinko and I hope you all enjoy innumerous amounts of guacamole and margaritas.
😉


I am making a banner for my 11 year old’s Birthday party today! This step-by-step guide is Everything I needed to know. Thank you SO Much!!!! Wish I could post a photo of mine when it’s done! Happy to share if it’s wanted.
Aw yay!! I’d love to see it – email it to me after you put it together. 😀