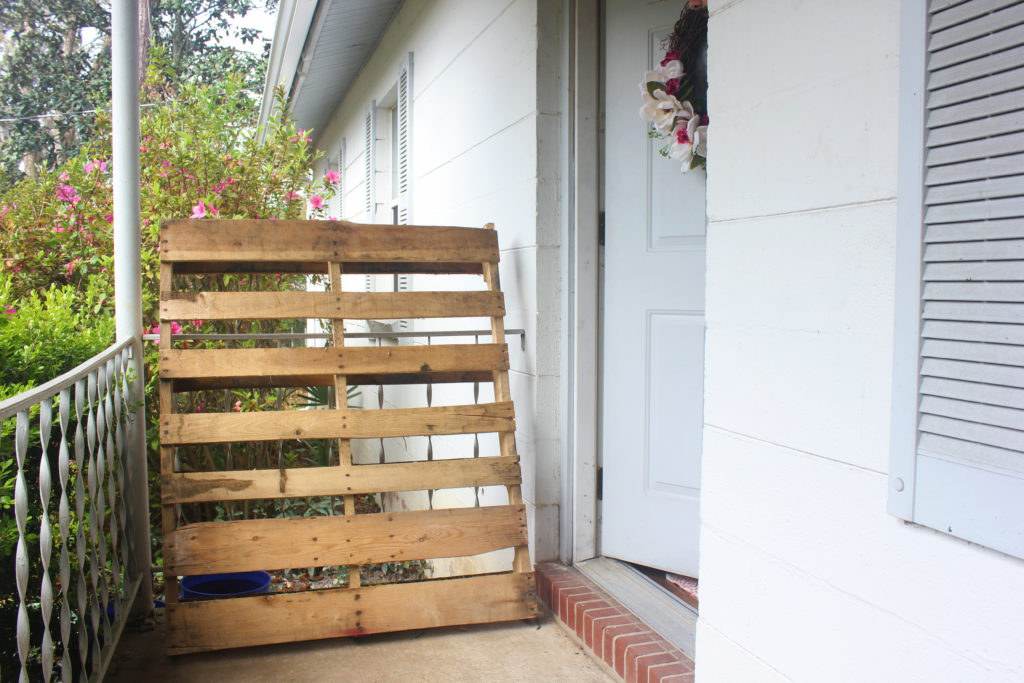
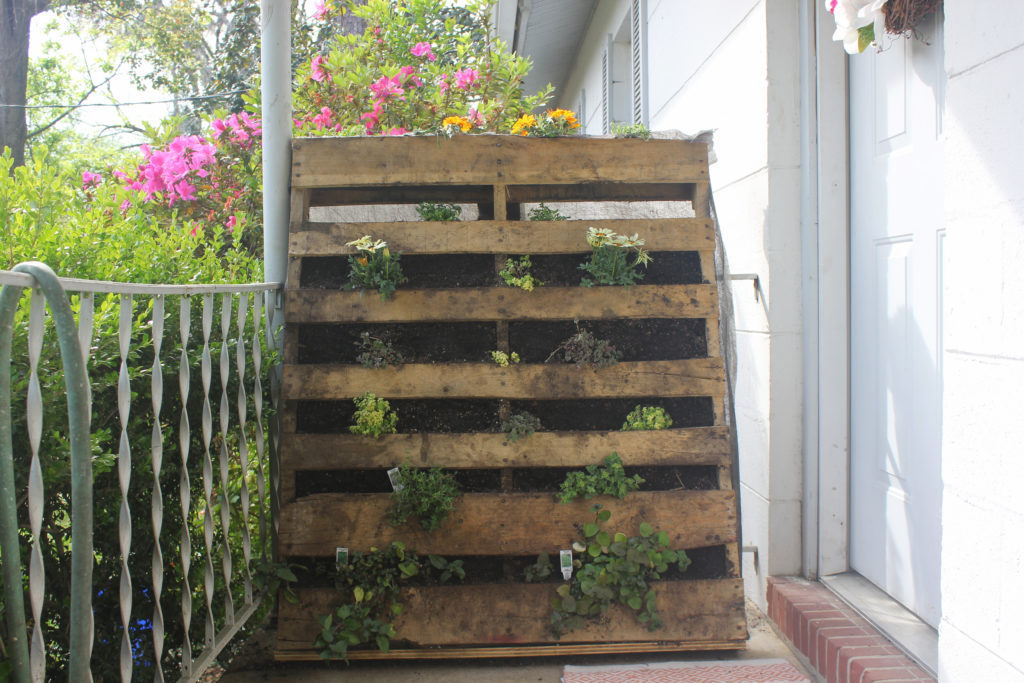
Latest installment of National Craft Month, coming at ya! Lately, I’ve really gotten into the whole gardening thing. If you talk to my boyfriend, he’d say “I don’t know why it took you so long”. Especially since that’s his wheelhouse and spends most of his days with his hands and toes in the “soil” (apparently it’s not dirt. It’s soil, lol) That being said, I was so excited by how my front door wreath came out, and we’ve had this pallet sitting around the house for so long, that it was basically a no-brainer to pump up the curb appeal – pallet planter!
That way, every time someone and more frequently, every time I walk through my front door I can see the flowers and little succulents in the pallet!
Check it out – this is how we put it together. (FYI, this was over the course of a few different days, because you know, work and running out of staples etc.)
Enjoy!
Supplies
Wooden pallet (you can usually find them laying around behind home improvement stores, or construction sites) – It’s fo freeeee
Weed barrier landscape fabric – $9.67 (Home Depot)
Heavy duty staple gun – we already had this, but if you need to buy one, $16.97 Home Depot
Plants for your planter – Varying prices
Potting Soil Mix – Approx. 4 bags/4-6 cu. ft of soil (check the bag for your measurement, Pallet sizes vary) About $6.00/each Home Depot

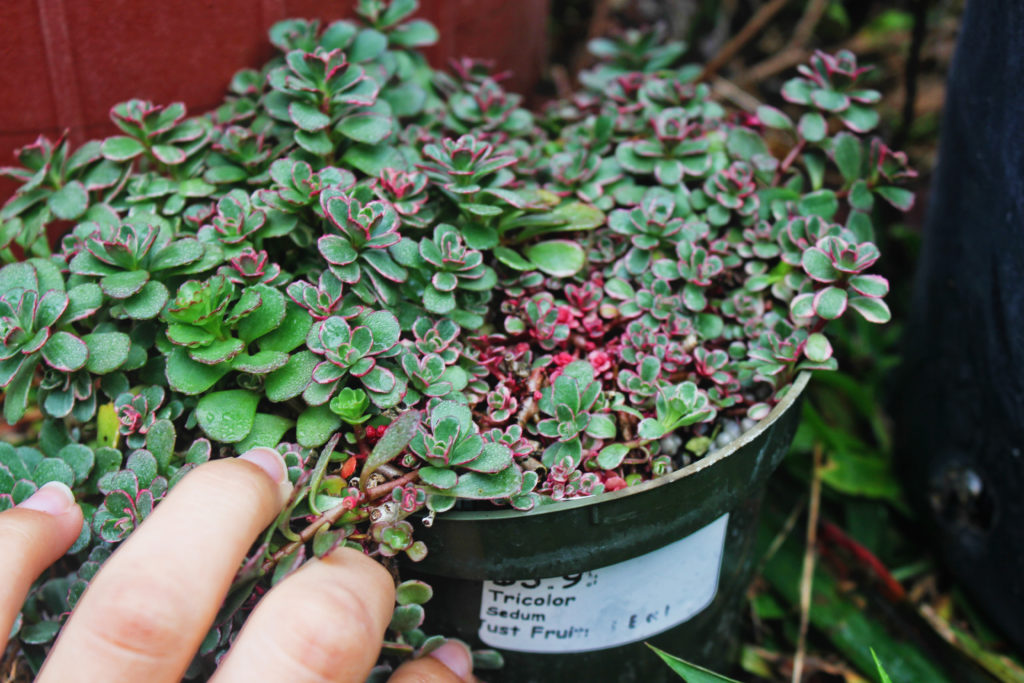
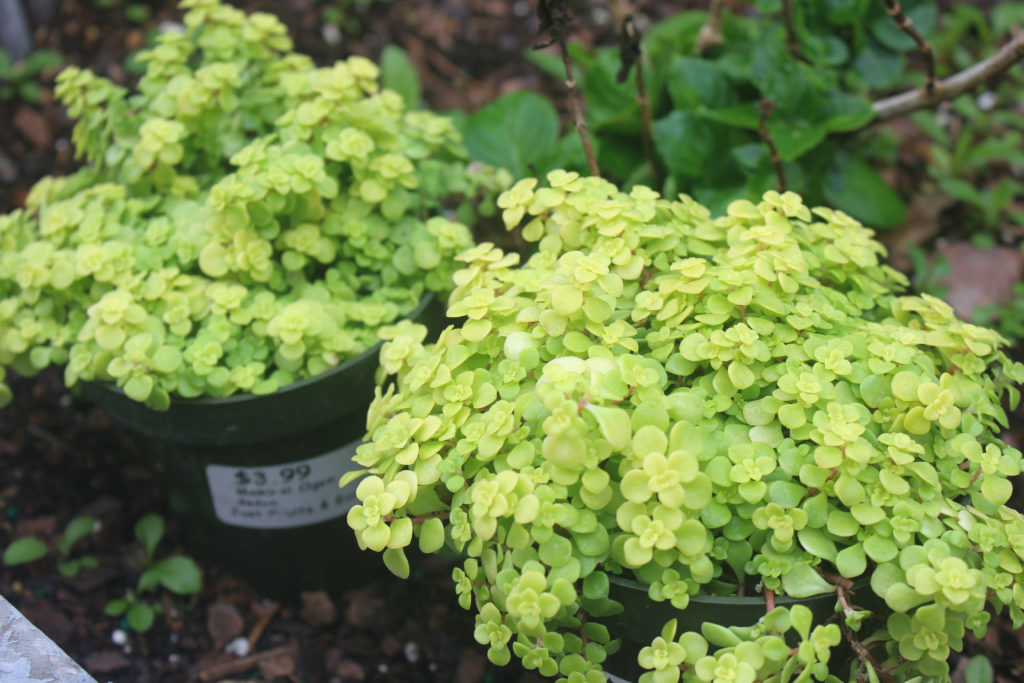
We took a little trip to Just Fruits And Exotics a few weeks ago and I absolutely fell in love with these adorable little succulents!
The two that we bought were small succulents called sedum. The two varieties below are tricolor and Makinoi Ogon.
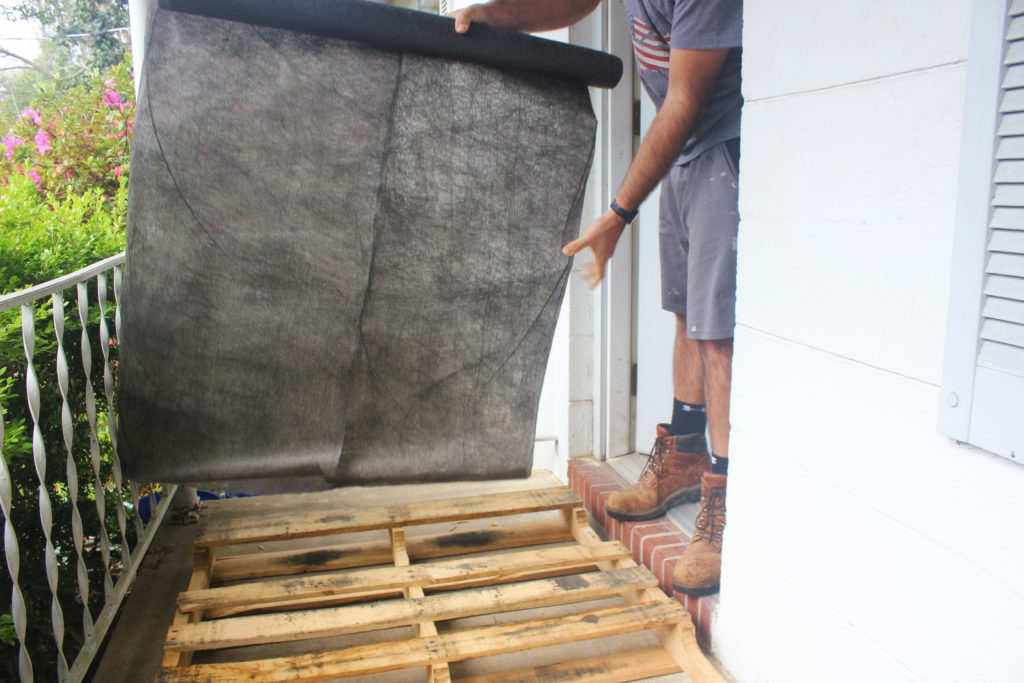
Step 1 – Prep the back of your planter
Lay your pallet flat, with the front facing down
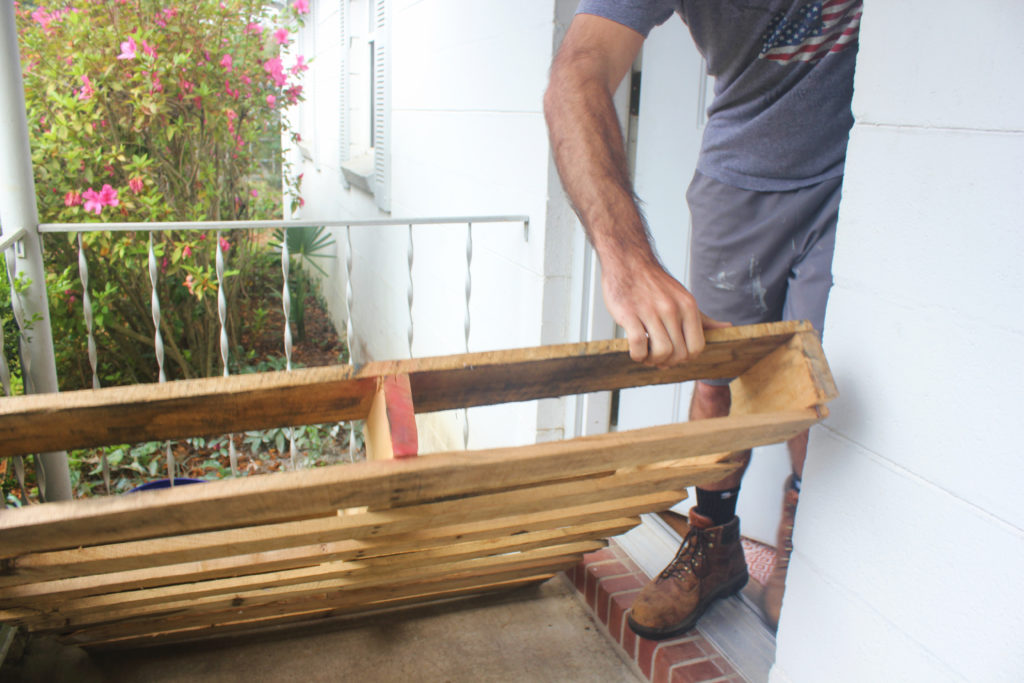
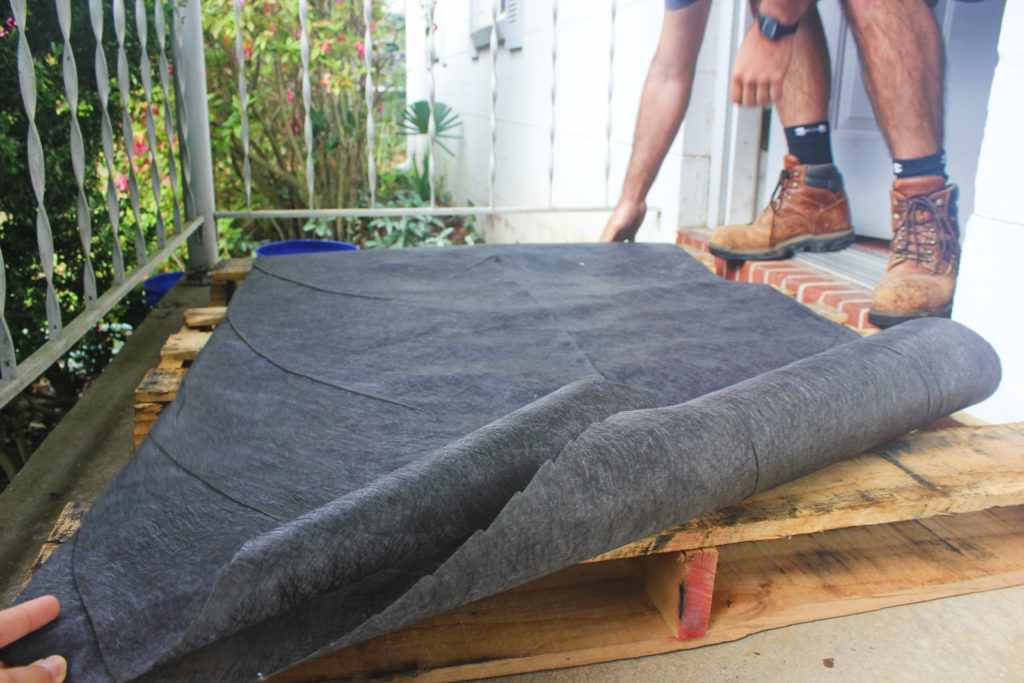
You’ll be putting your gardening fabric over the back of your pallet to hold your soil and plants in the planter.
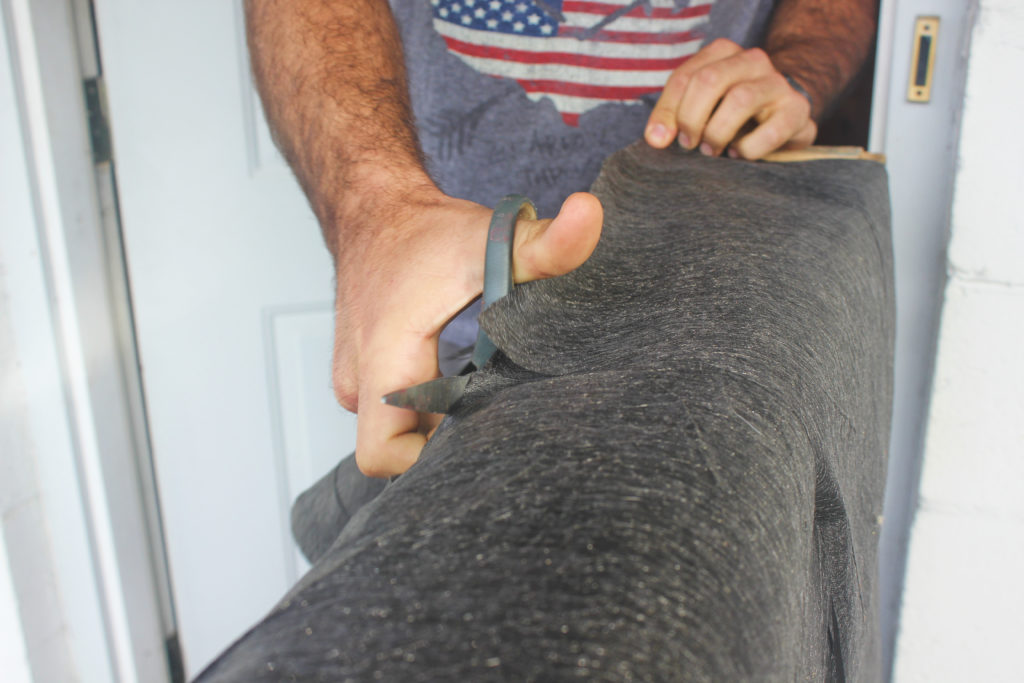
Double it up, making sure to leave extra for around the edges and the bottom, and then cut.
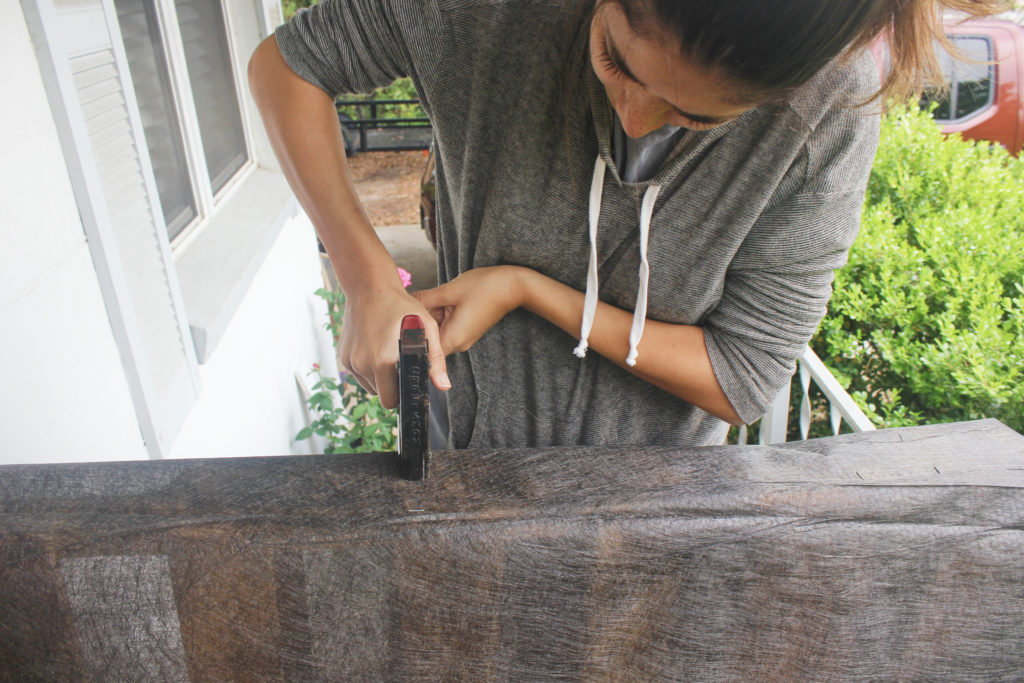
Step 2 – Staple your fabric down
Using your staple gun and heavy duty staples, secure your fabric to the back of your pallet. Don’t be shy with your staples, the more, the better! Make sure it’s pulled tight. Your fabric will be holding everything in so you definitely don’t want to mess this part up!
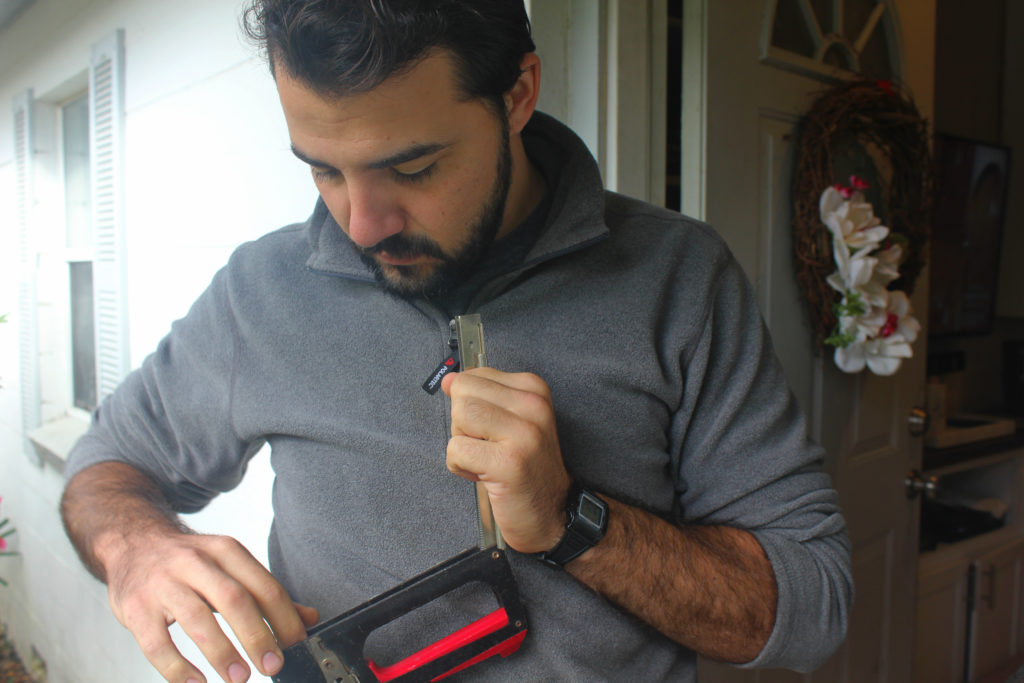
I have him load it, and then I do the stapling for most of the pictures until my hands get tired. 😛
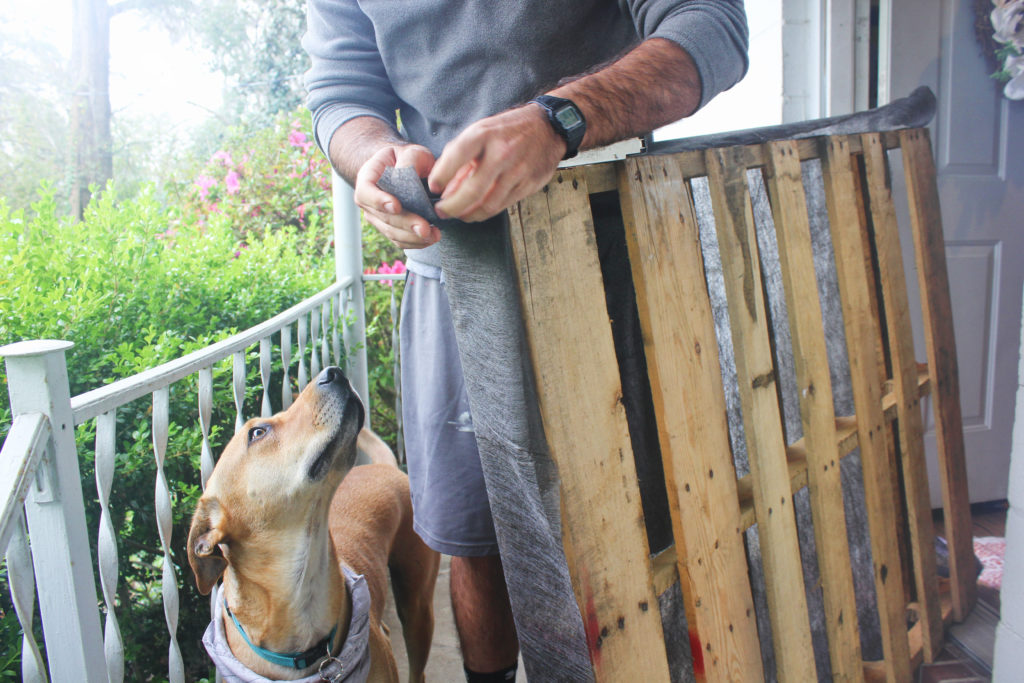
The bear thinks that he might be able to help out. Look how interested he is.
Make sure to wrap your fabric around the bottom!
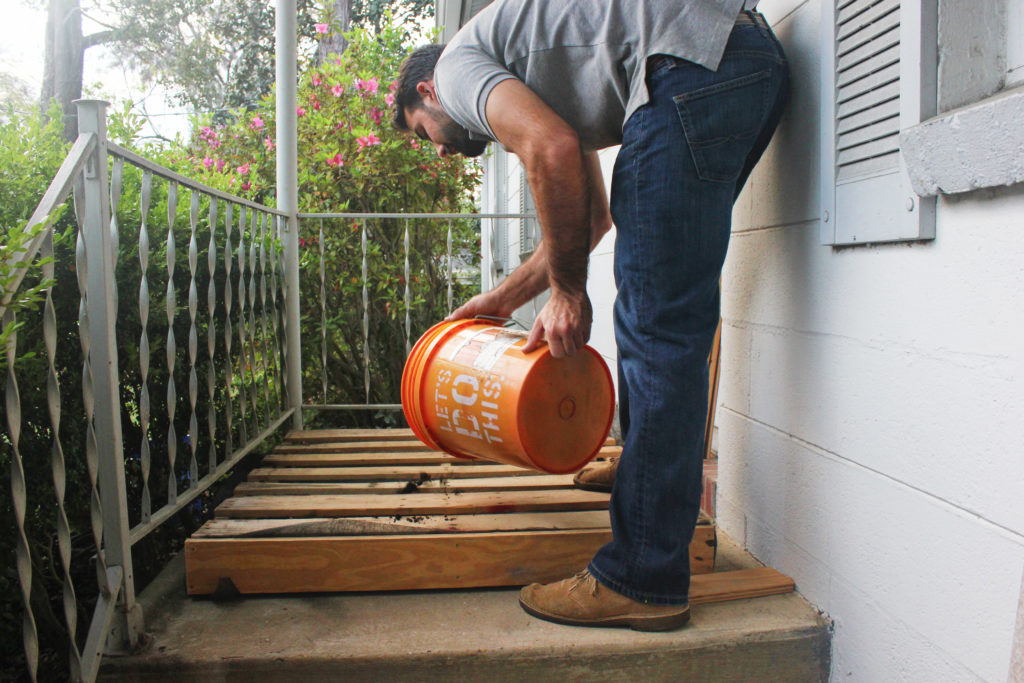
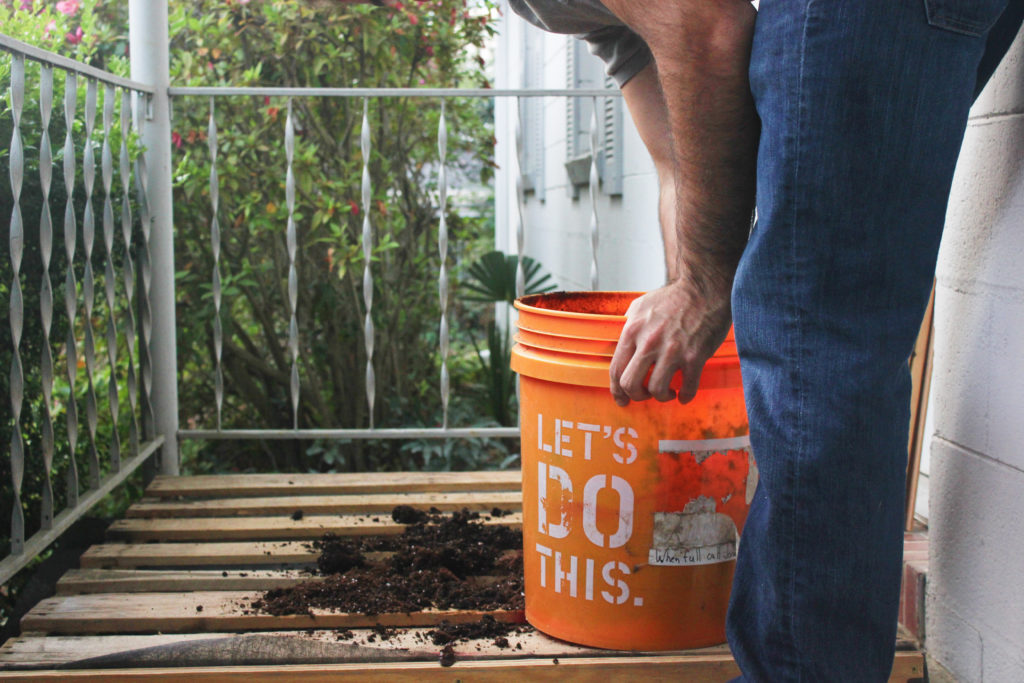
Step 3 – Add your “soil”
Take your potting mix and spread throughout the pallet, making sure to pack the soil tight so it won’t fall out. Especially near the bottom.
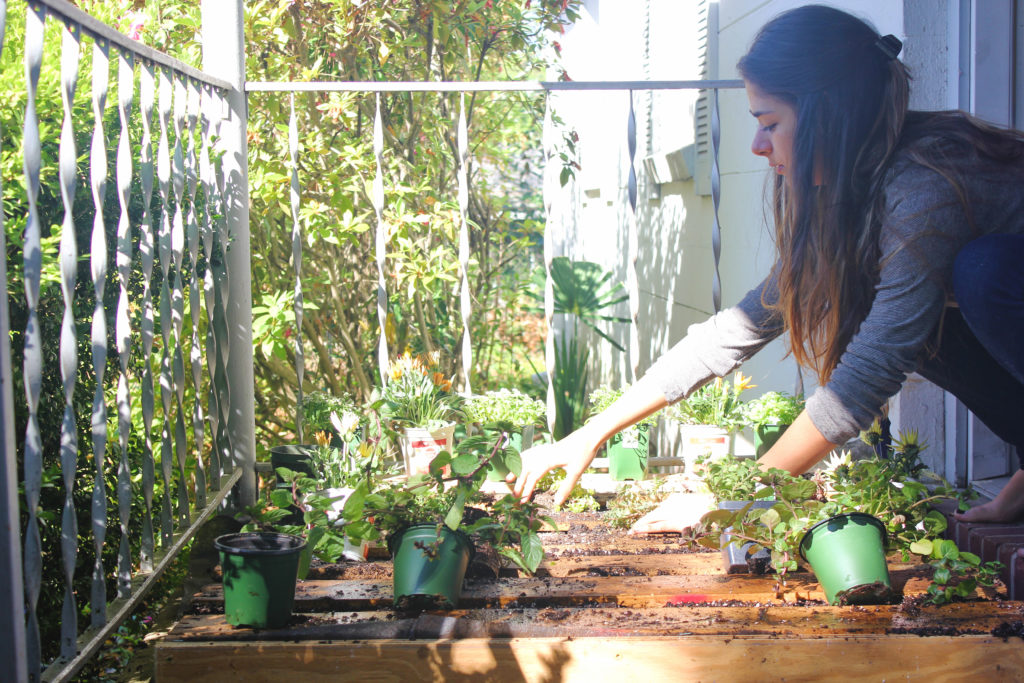
Step 4 – Arrange your plants
Now it’s time to arrange your plants. We added some chocolate mint, thyme, and a few bright colored flowers to fill up the rest of the planter. You can get these at your local nursery or home depot.
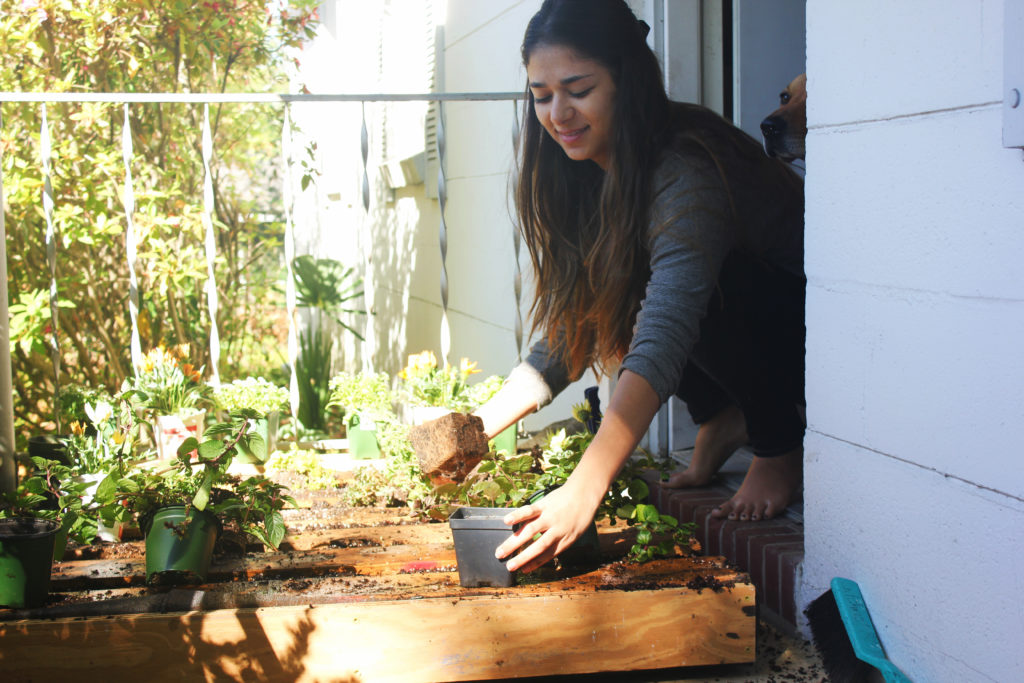
Step 4 – Planting time
Once you’ve staggered your plants and are happy with the layout, it’s time to plant! Gently remove the plants from their plastic pots.
Make sure to press your soil down one more time before lifting your planter.
Tip: Pinch off a little section from the very bottom of the roots of the potted plants before putting into your soil. After you pull them out of the plastic pots, they are so used to that confined space, their roots won’t spread as quickly. If you remove a little from the bottom, they will take hold of the soil quicker. 🙂
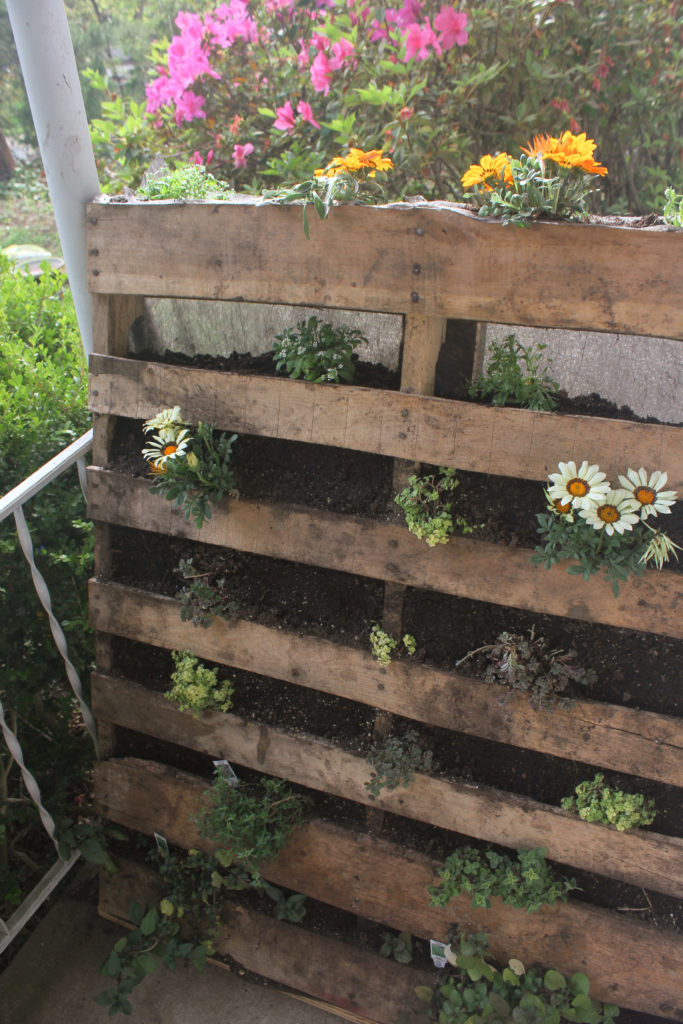
Final Step – Stand your planter up
Finally it’s time for the finished product! Carefully lift your planter and set on an angle, because GRAVITY.
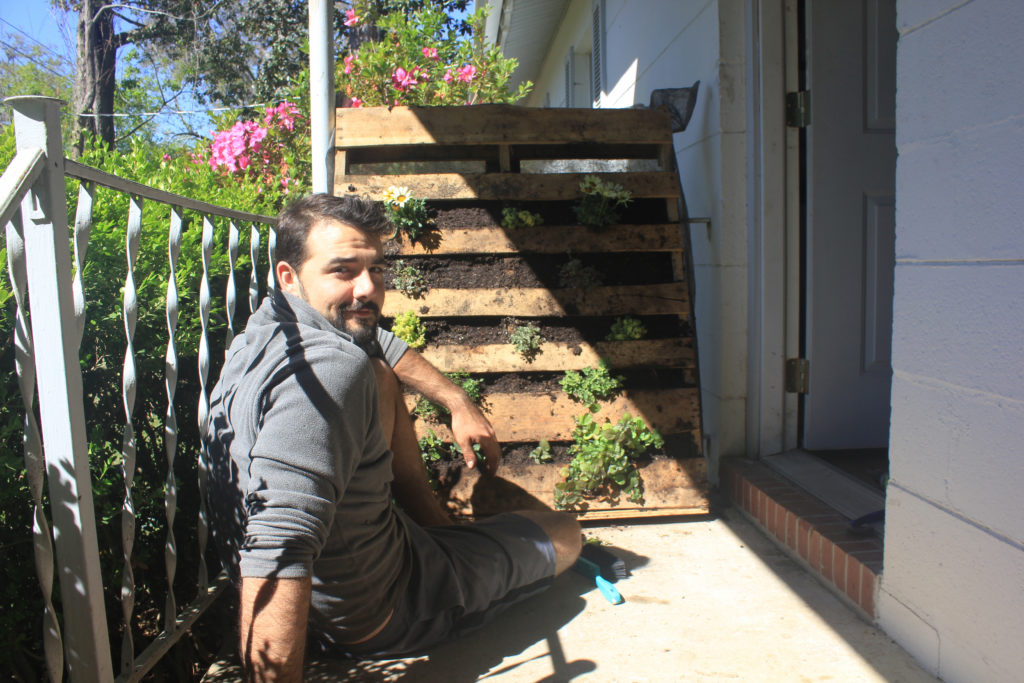
And, voila! 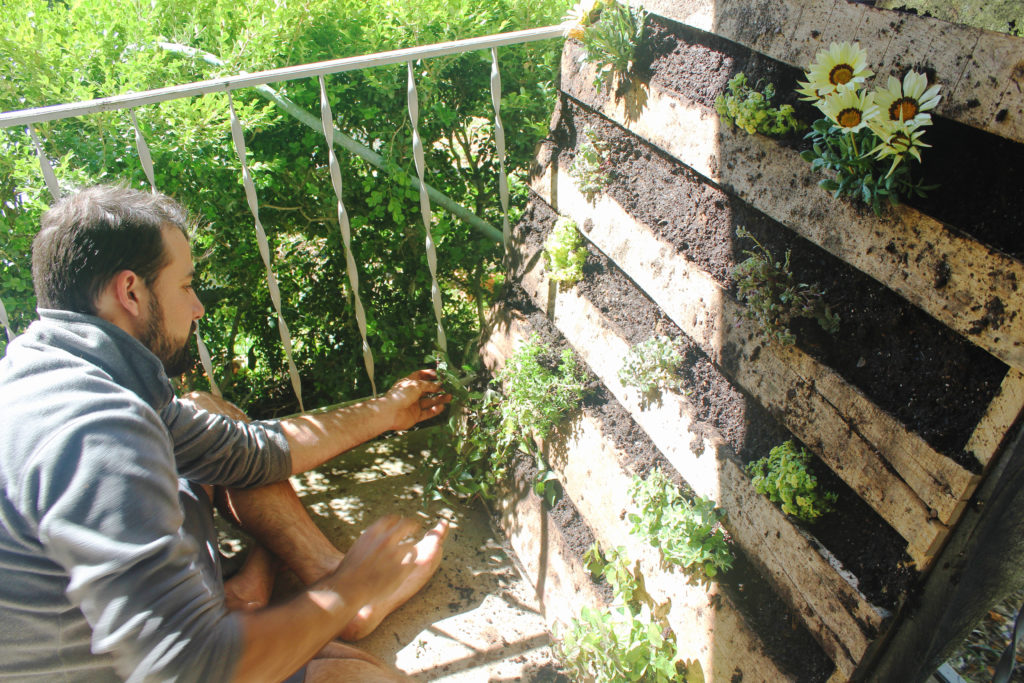
Stud.
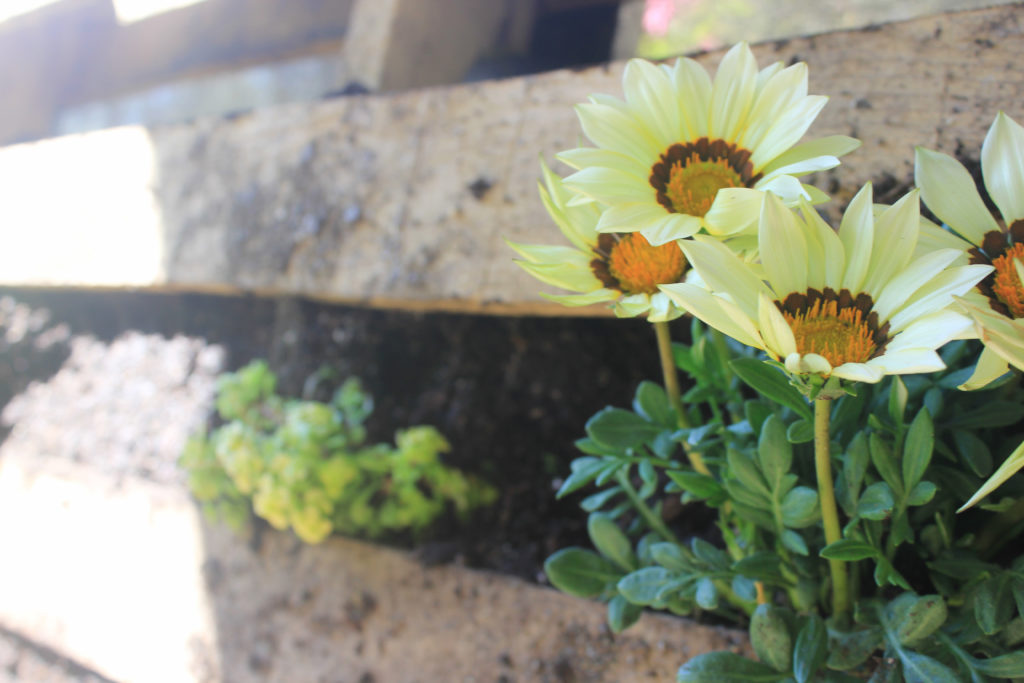
The earth laughs in flowers.
-Ralph Waldo Emerson


Leave a Reply